
This project to make a snowball wall backdrop is sponsored by The Snow People, but all opinions are my own.




Over the past few Christmases, my decor has changed quite a bit. In 2017, it was classic red and white. I then went all blue and grey for 2018. But neither of these felt quite right.
So this year, I’ve pared it right back. I’ve stripped away the dominant colours and gone for a muted white and pale wood theme, more reflective of my normal home decor style. I’ll share more about why in an upcoming blog post – but the bottom line is, I LOVE it. 🙂
However, with such a simple theme for my Christmas decor, I was in danger of it looking a little too minimal. Particularly, the wall against my Christmas tree. I normally decorate this with festive bunting or wall hangings (like this origami star garland or this felt leaf holly garland). But I knew something like that would overpower the space a little this year. So I thought outside of the box… and I made a snowball wall backdrop. Of course!

The white-on-white effect has the perfect, subtle effect I was hoping for. It adds a nice touch of texture to the room, without dominating the space. And it’s made from snowballs – can you get any more festive?!
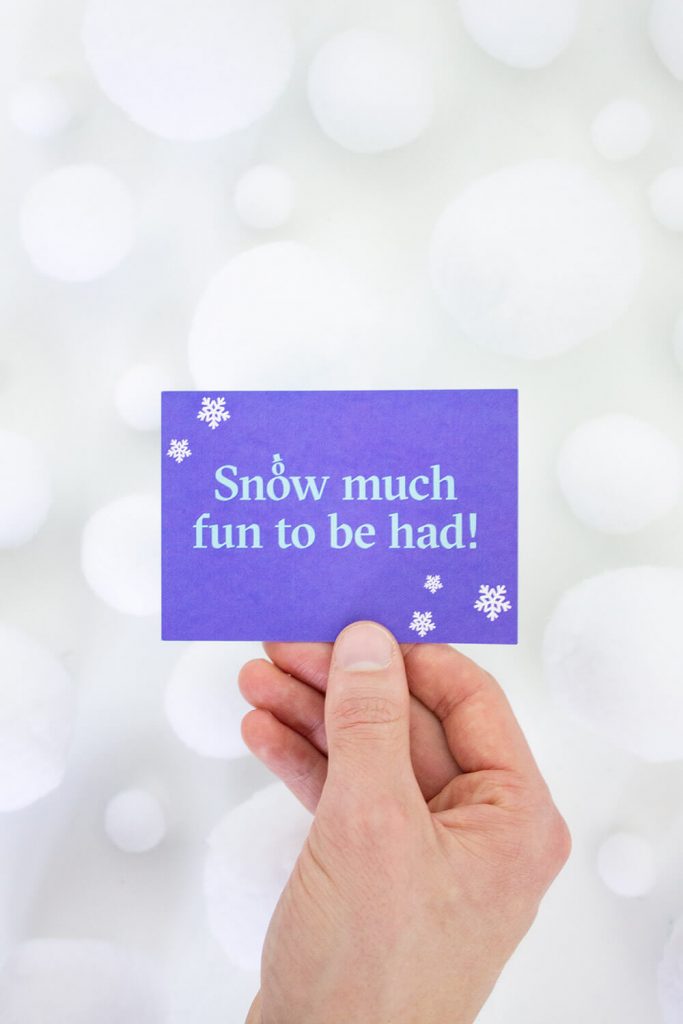
I used the snowball craft kit from The Snow People to make it. It’s filled with a whopping seventy(!) toy snowballs of varying sizes. They’re really easy to sew through and string up, and they look impressively realistic. Perfect for DIY Christmas decor like this!
How to make a snowball wall backdrop
Supplies
- Snowball craft kit
- Long needle
- Clear cord (e.g. jewellery or fishing twine – I used this)
- Tape to stick it to the wall


Tutorial
1. This is a really simple project! Start off by threading your needle with the clear cord (you might need to actually tie it to the eye of the needle, as it tends to slip out otherwise).
2. Pass the needle through the centre of one of your snowballs – it should go through really easily.
3. Unravel 2-3 metres of the clear cord (but don’t cut it off just yet). Then slide the snowball down this full length.
4. Next, loop the needle back round to the part of the snowball you first passed it through – and pass the needle through a second time. Basically, you’re wrapping the snowball in a loop of cord. This will create some friction, so the snowballs don’t slip down when you hang them up (yet it will still leave you with enough looseness to adjust the positioning slightly, if necessary).
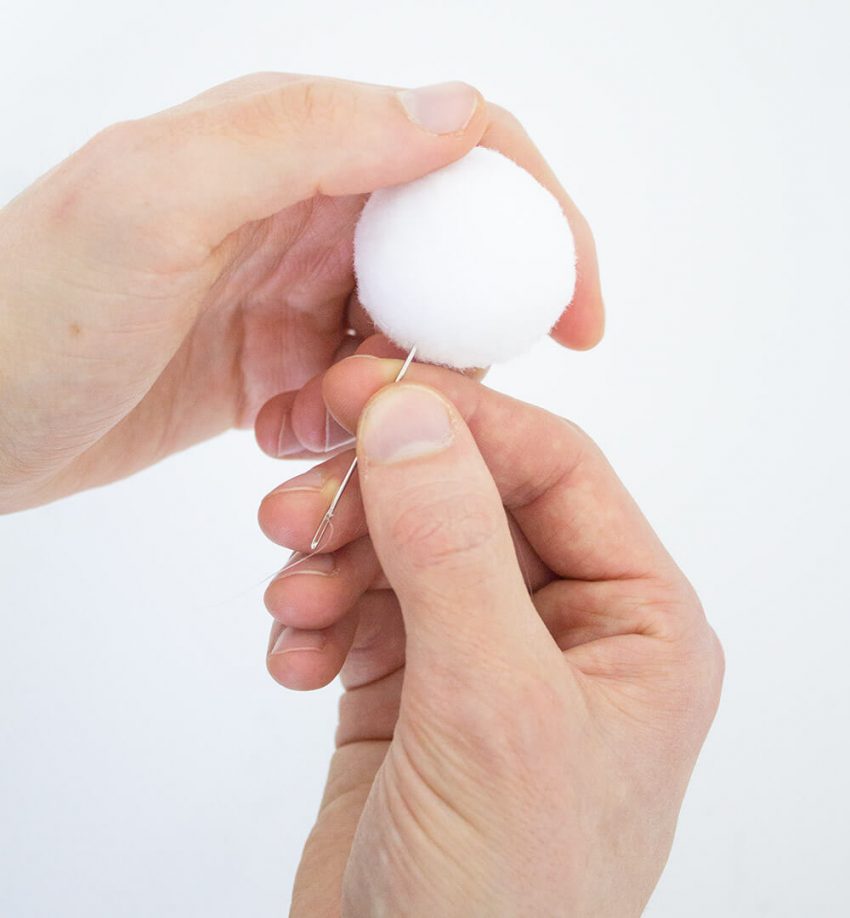
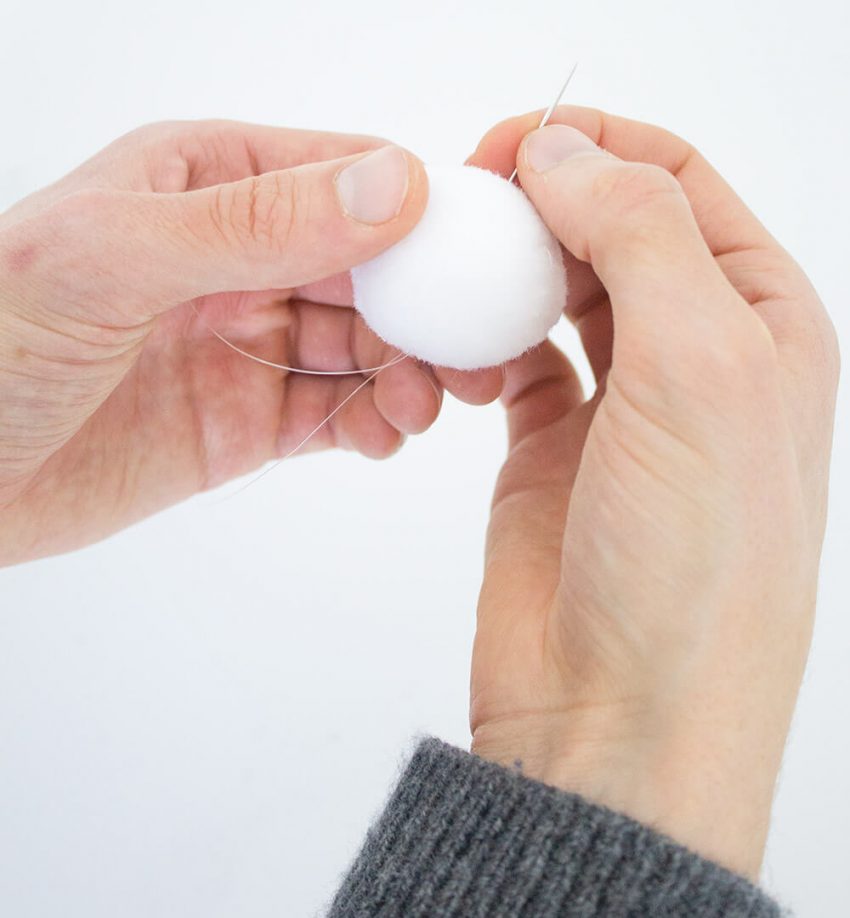
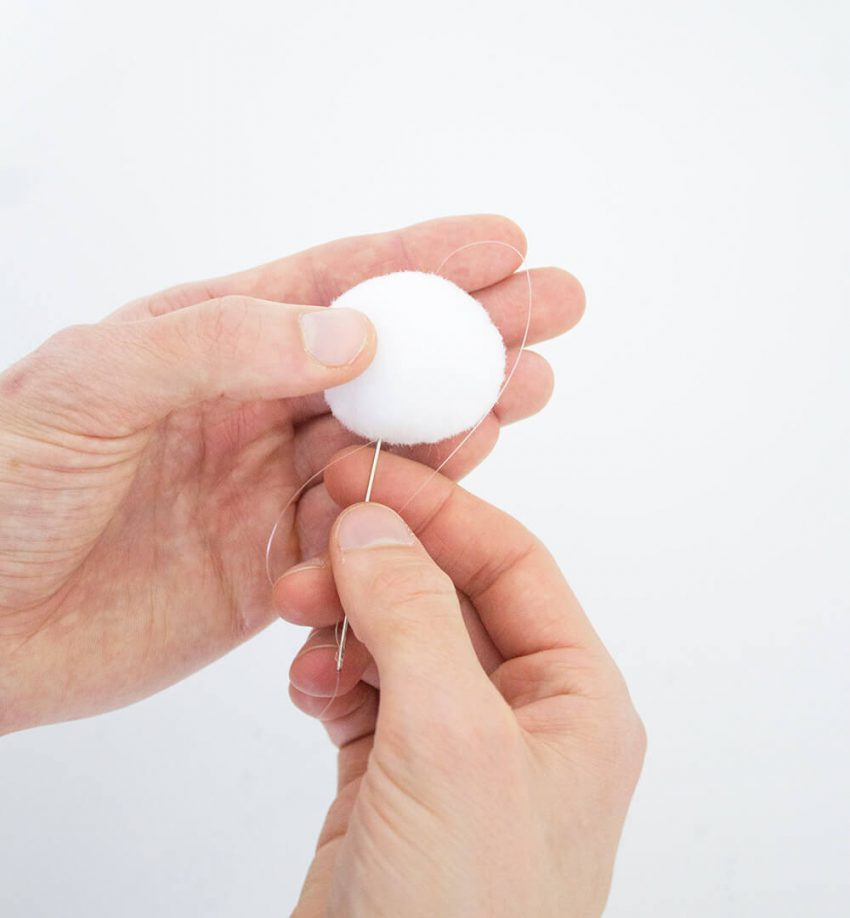
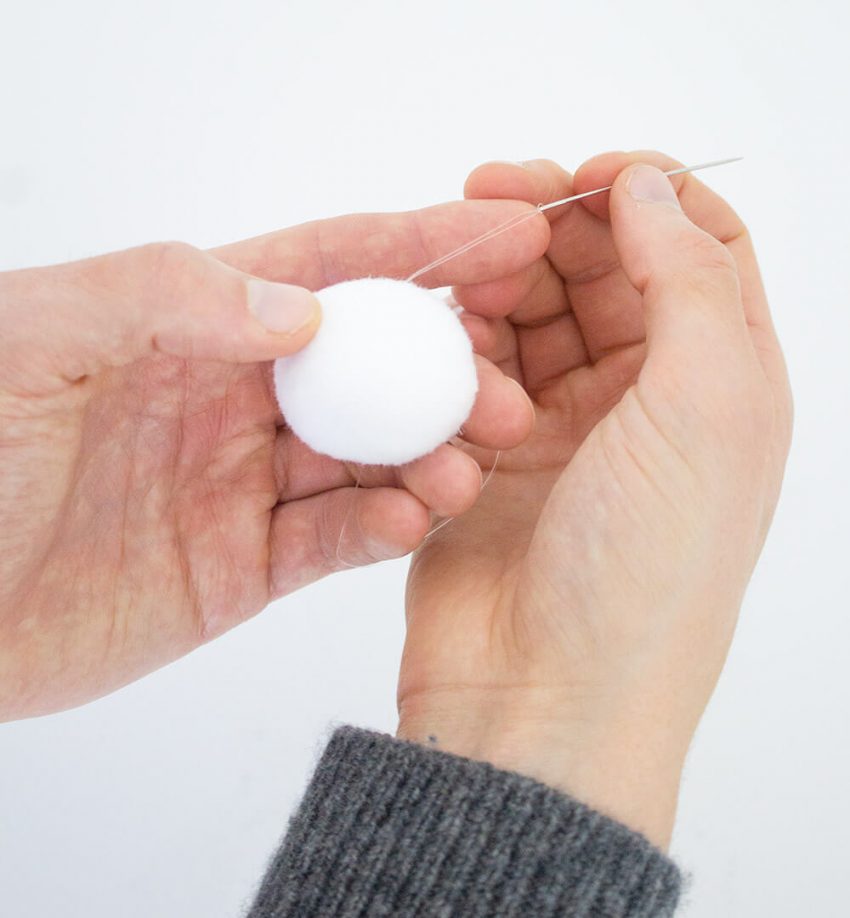
5. Repeat this process with more snowballs, making sure to add them in random size order. Leave a 15-20cm gap between each snowball.
6. Once you’ve added enough snowballs to fill the height of your wall, cut off the excess cord – making sure to leave around 20-30cm excess on either end. Tie off both ends, to prevent any snowballs falling off.
7. Finally, stick one end of the snowball hanging to the top of your wall. Repeat this process to make multiple hangings, until you have enough to completely cover your wall.
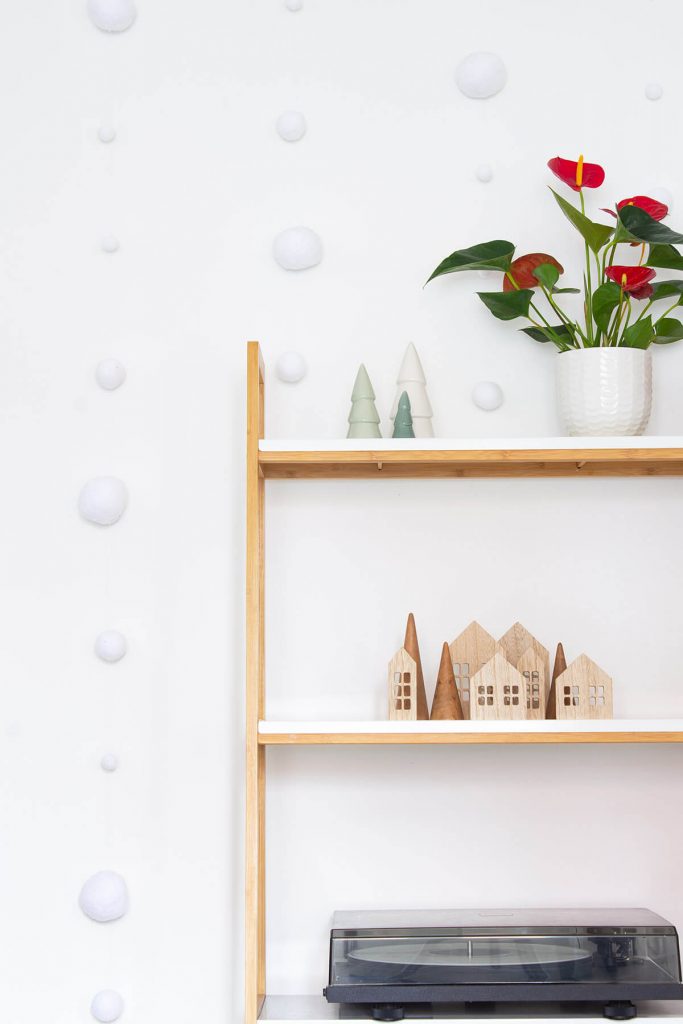
I made this over three evenings, whilst watching television. It’s the perfect easy, relaxing craft for this time of year. And the results look so good!
In fact, Gareth (my partner) said it looked like a shop display, and that he felt like we were in a Selfridges window. High praise! Let’s hope the Selfridges visual merchandisers are reading and want to commission me for next year’s Christmas displays… 😉
Thanks so much to The Snow People for sponsoring this project. You can grab your own set of snowballs on their website – they’re also perfect for kids crafts, gift toppers and garlands.
Happy crafting! – Mike.
Please share this project so it can reach more people! Thank you!



2 Comments
Tommy Holmes
December 13, 2019 at 9:47 amGreat work Mike, it looks like a real snow. Perfect for decorations.
Mike
December 13, 2019 at 1:02 pmThanks so much! 🙂