


I was recently commissioned to write a piece for the It’s In Nottingham Home & Living magazine – but I wanted to share a bit more of the story here on the blog, too! (This blog post itself is not sponsored – but I was paid to write the magazine piece that inspired it).
The It’s In Nottingham team challenged me to upcycle a home decor piece, sourced from one of the indie businesses in the city. I chose to explore the Sue Ryder shop in Nottingham’s Hockley area. It’s such a treasure trove of vintage gems, waiting to be re-discovered! I knew I’d find something there.
After an initial walk around the shop, I spotted a 1970s coffee table tucked away at the back, beneath some vintage tennis racquets and fabric offcuts. Its unusual wooden frame caught my eye instantly. As soon as I dug it free and inspected it properly, I knew I had to take it home with me.


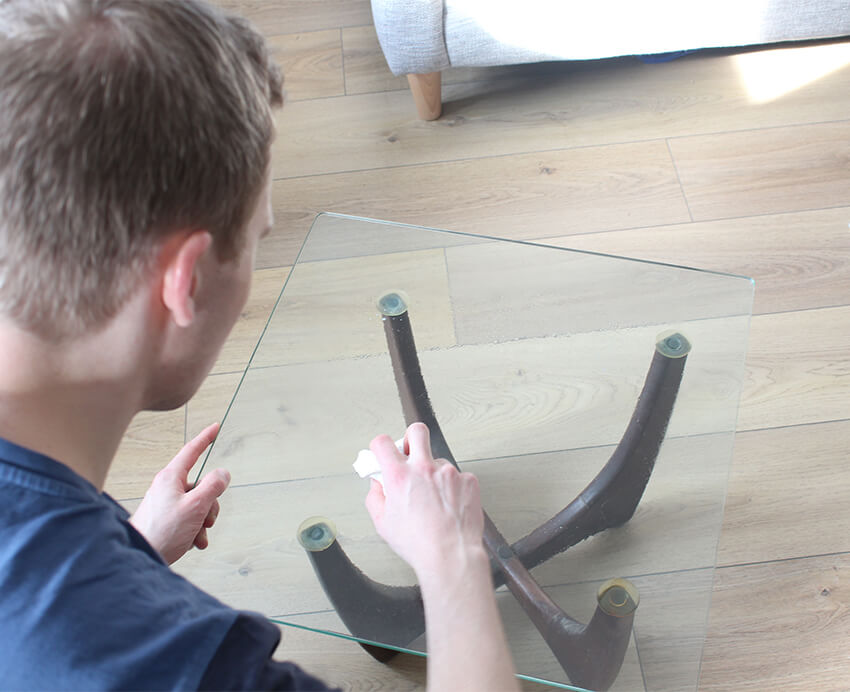
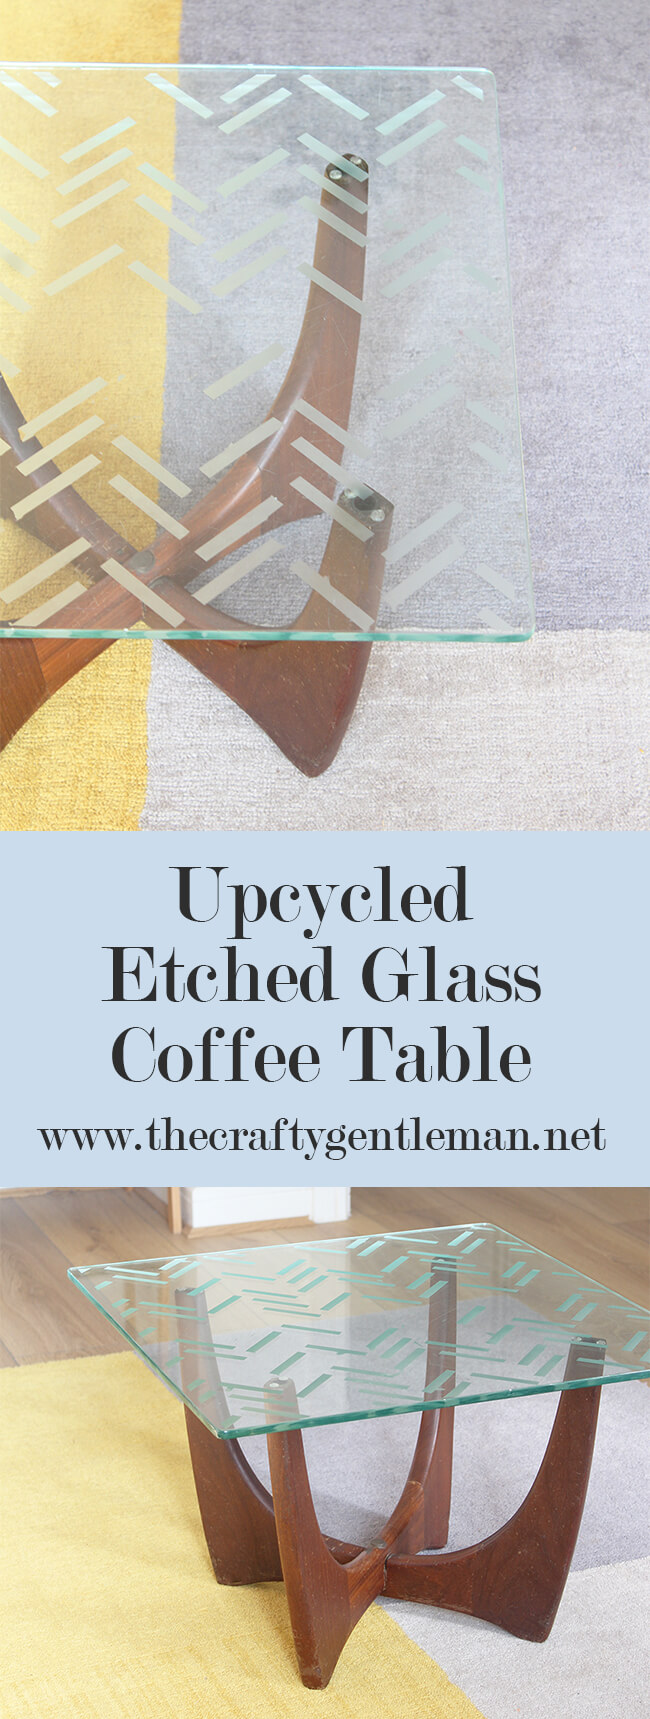
The coffee table was in two sections: a dark wooden stand (mahogany, I think), topped with a clear glass table top. It was pretty grubby and scratched – and the glass frame over the dark wood looked the wrong sort of old-fashioned. But, with a bit of a clean and a few upcycling hacks, I knew I could give it a fresh new life!
I decided to tackle the glass top first. After taking to it with a liberal amount of glass cleaner, I discovered just how scratched it was. It was a slight setback, and I was tempted to replace it completely… but I soon thought of a much more thrifty way to salvage it.
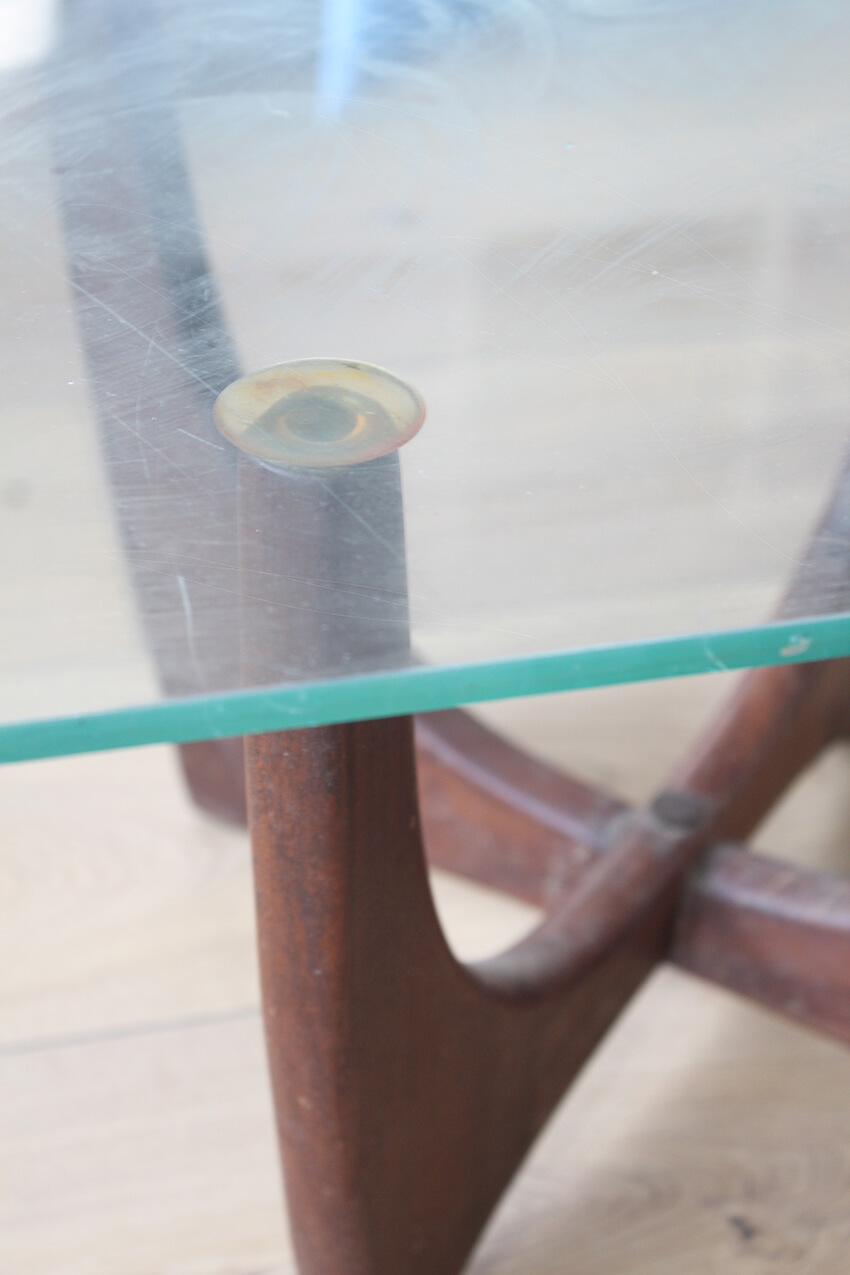
I decided to use glass etching cream to create a relief pattern in the glass itself. I figured that a busy, random pattern would cover most of the scratches – and distract the eye from any scuffs that were left visible.
To create the etched design, I first cut a pattern in sticky-back vinyl. I opted for a herringbone design, to give the outdated table a contemporary spin. After cutting out the design (I used my Cricut Maker, to ensure it was perfectly precise!), I applied it directly to the glass table. Then came the scary part… applying the etching cream.
For context: the etching cream packaging comes with the delightful warning that it “can be fatal”. It’s not often that you face potential death when crafting! So I made sure to take the necessary precautions and go nice and slowly.
Ten minutes later, the the etching cream had done its magic. I gave the glass a good clean and slowly removed the vinyl to uncover the results… It was a tense moment. There was no going back; etching cream is permanent. If I didn’t like it, I’d have had to admit defeat and get some new glass…
Luckily, the etched design came out perfectly!
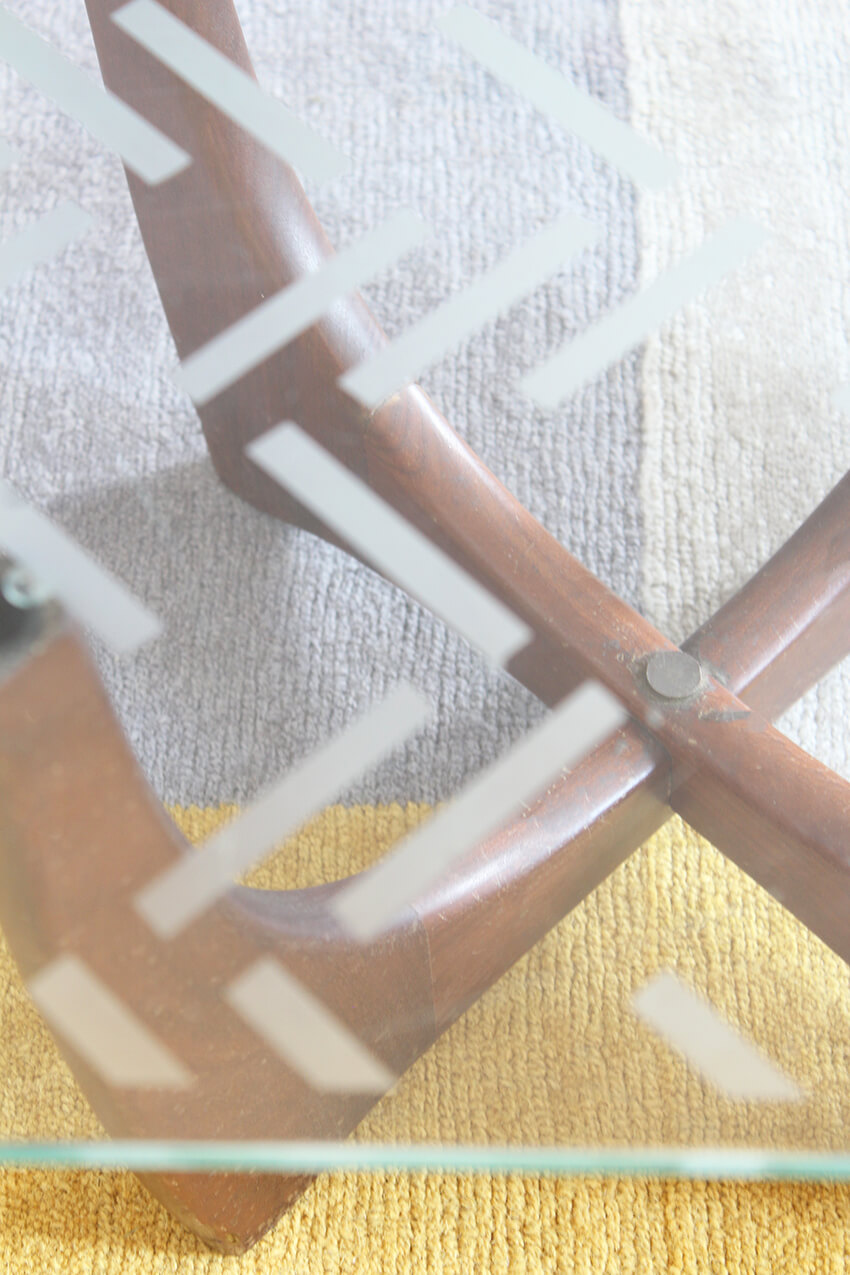
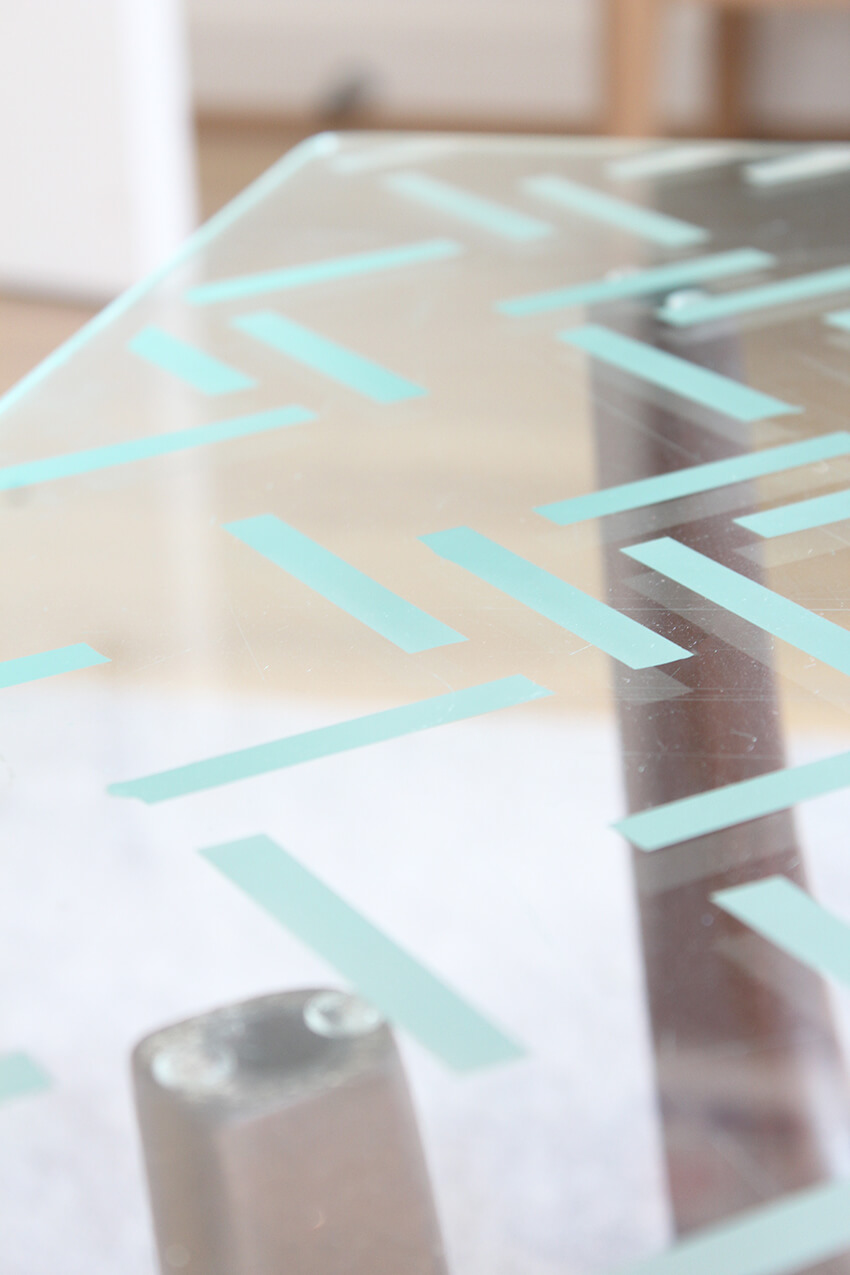
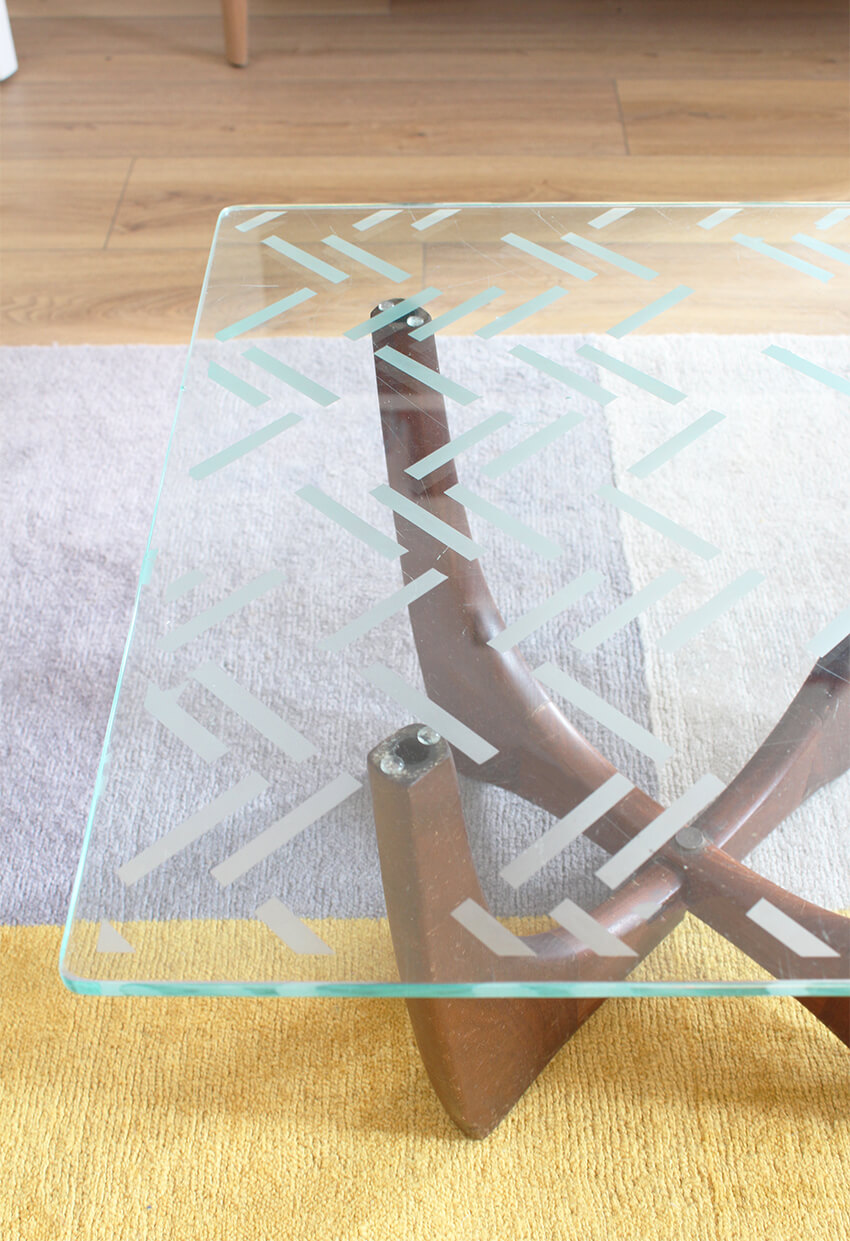
The design was sharp and crisp. It effectively disguised most of the bigger scratches, and really elevated the table to something much more fun and modern. Success!
But the upcycle wasn’t complete just yet. The wooden stand needed a bit of attention too. It was chipped and scuffed, and had some ugly yellowing suckers on the top to hold the glass in place. Thankfully, this was much easier to rectify than the glass top.
I started by giving it a really good scrub with wood cleaner, to remove any grease and grime. I ended up going over it 3 or 4 times, just to make sure it was as clean as possible. Next, I gave it a good coat of wood wax. This had three benefits: it enhanced the colour, it filled in the deeper scratches, and it added a protective coat.
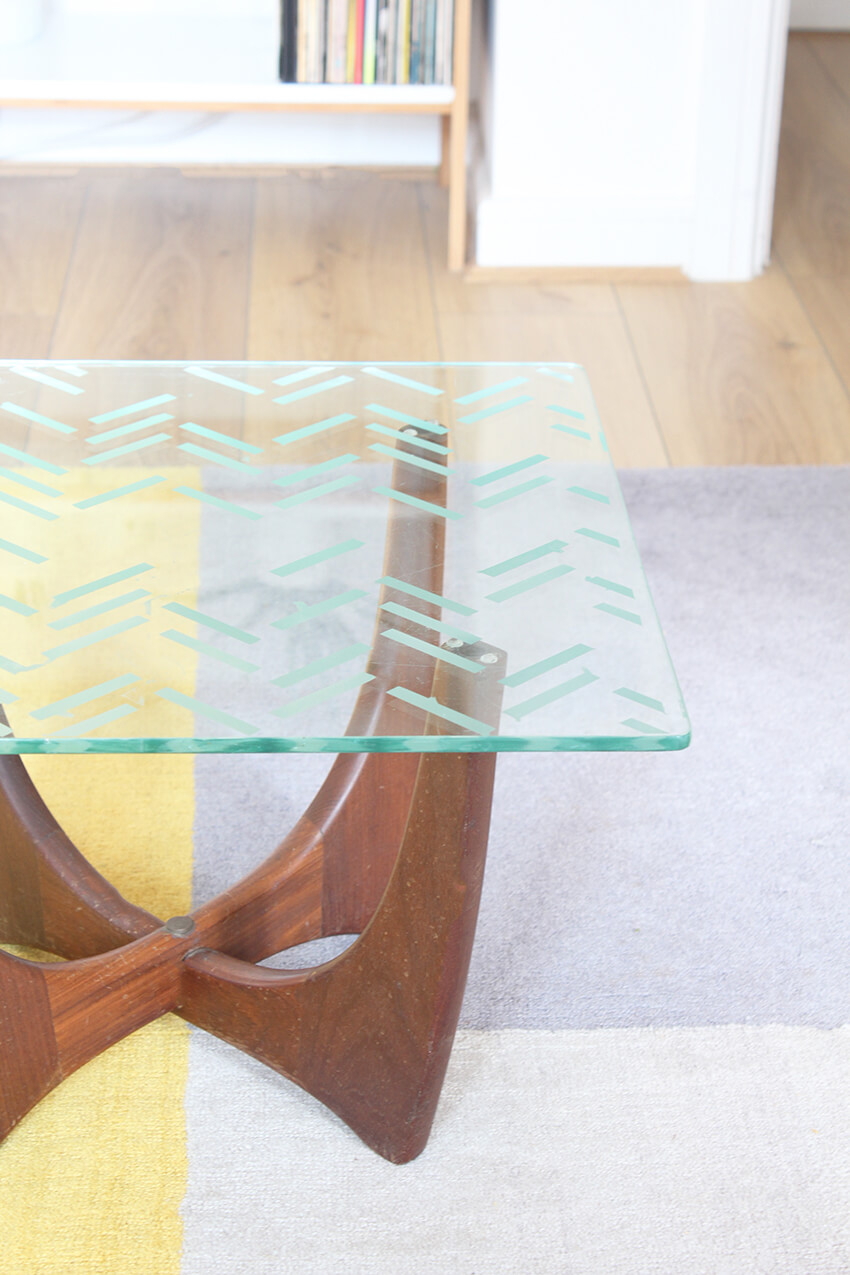
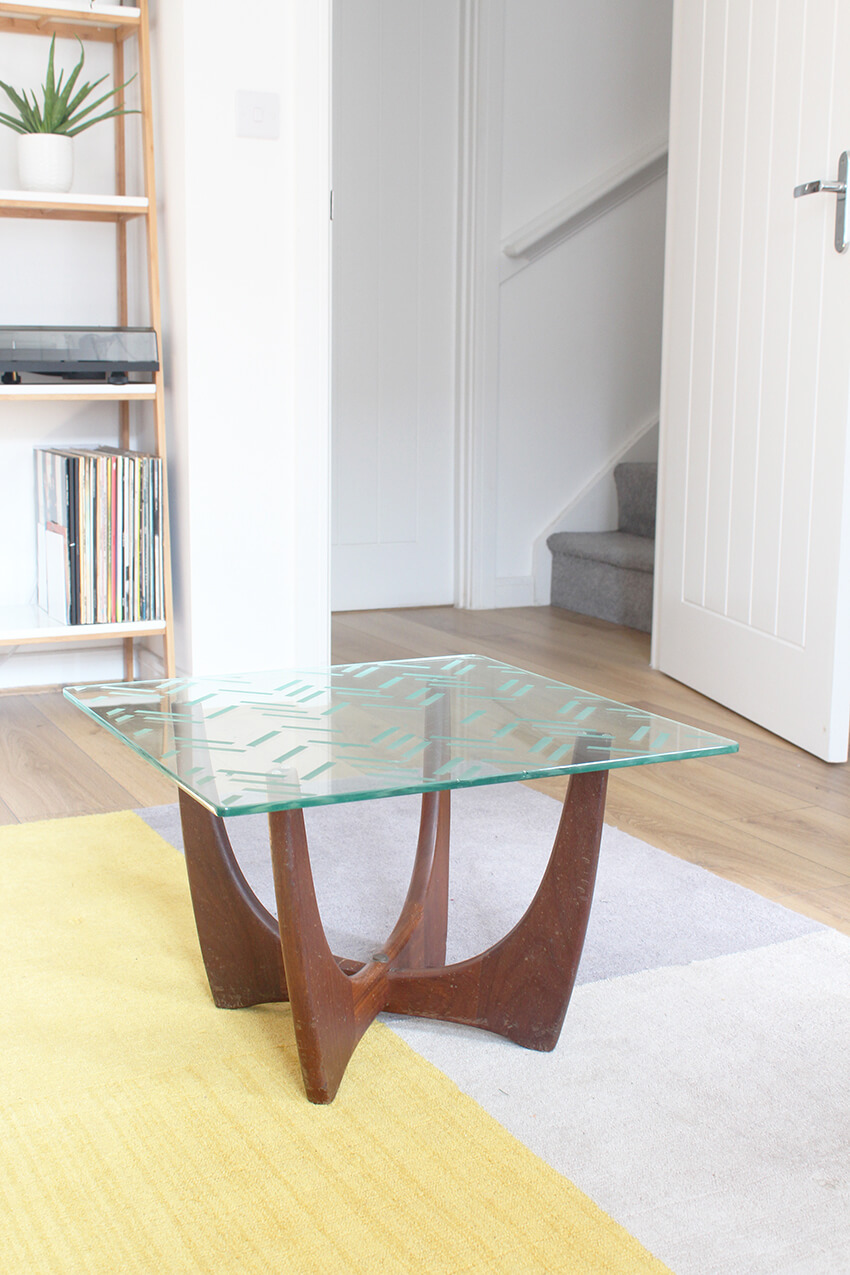
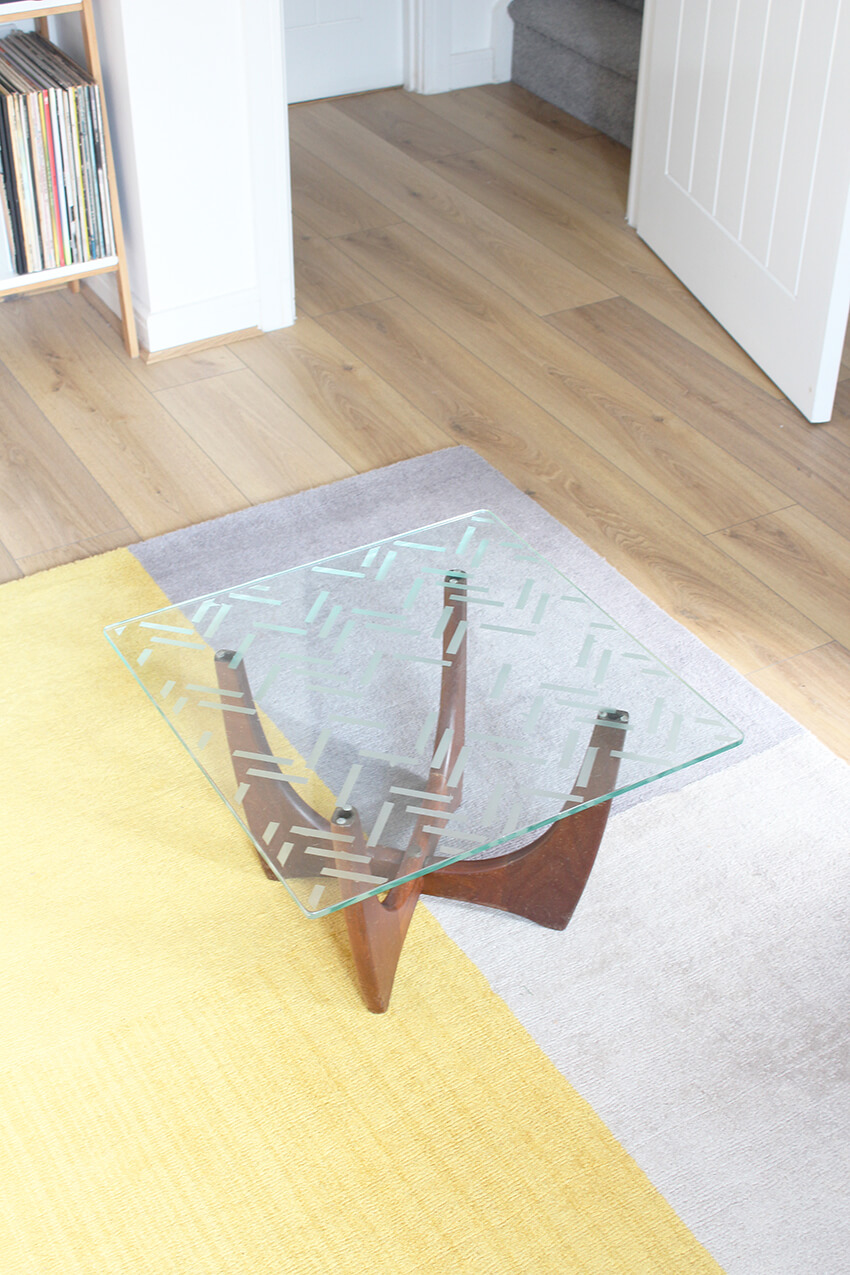
Finally, I chucked away those horrible suckers (there was no saving them!) and replaced them with a few sticky glue dots. I then simply placed the glass top onto the base – the weight of it holds it firmly in place, and the glue dots prevent it from sliding or moving.
I’m so happy with the finished table! It maintains the character of the original, but the etched pattern has given it a whole new life. In total, this project cost less than £60. Considering the uniqueness of the finished piece, I’d say that’s a bargain! 🙂 – Mike.


4 Comments
Brian Brassaw
December 20, 2019 at 11:49 amThis is awesome, I never would have thought of etching the glass but it looks great!
Mike
January 3, 2020 at 1:48 pmThanks so much, Brian. Glad you like it! Etched glass looks so effective. – Mike.
Rachel Waters
September 5, 2019 at 10:42 amNice work on this coffee table.
Mike
September 5, 2019 at 7:06 pmThanks! I’m glad it came out so well 🙂 – Mike