
This post on the Brother P-Touch H200 is sponsored by Brother UK, though all opinions are my own. Thank you for supporting the brands that keep me blogging.


It’s officially that time of year. Time for comfy pyjamas, hot chocolate (with all the trimmings) and festive playlists on repeat! The big day is in sight, so hopefully you’re able to start winding down and relaxing into the season – even if it’s just for a day or two.
And, with just under a week to go until Christmas day, hopefully you’ve sorted all your gifts out now. (If not, check out my DIY archives for some great handmade options). Which means it’s time for the fun bit – gift wrapping. 🙂
This year, I’m excited to be partnering with Brother to share some ideas on how to personalise your gifts. They’ve kindly sent me one of their P-Touch H200 craft label printers to have a play with – and (spoiler), it’s really cool!

What is the Brother P-Touch H200?
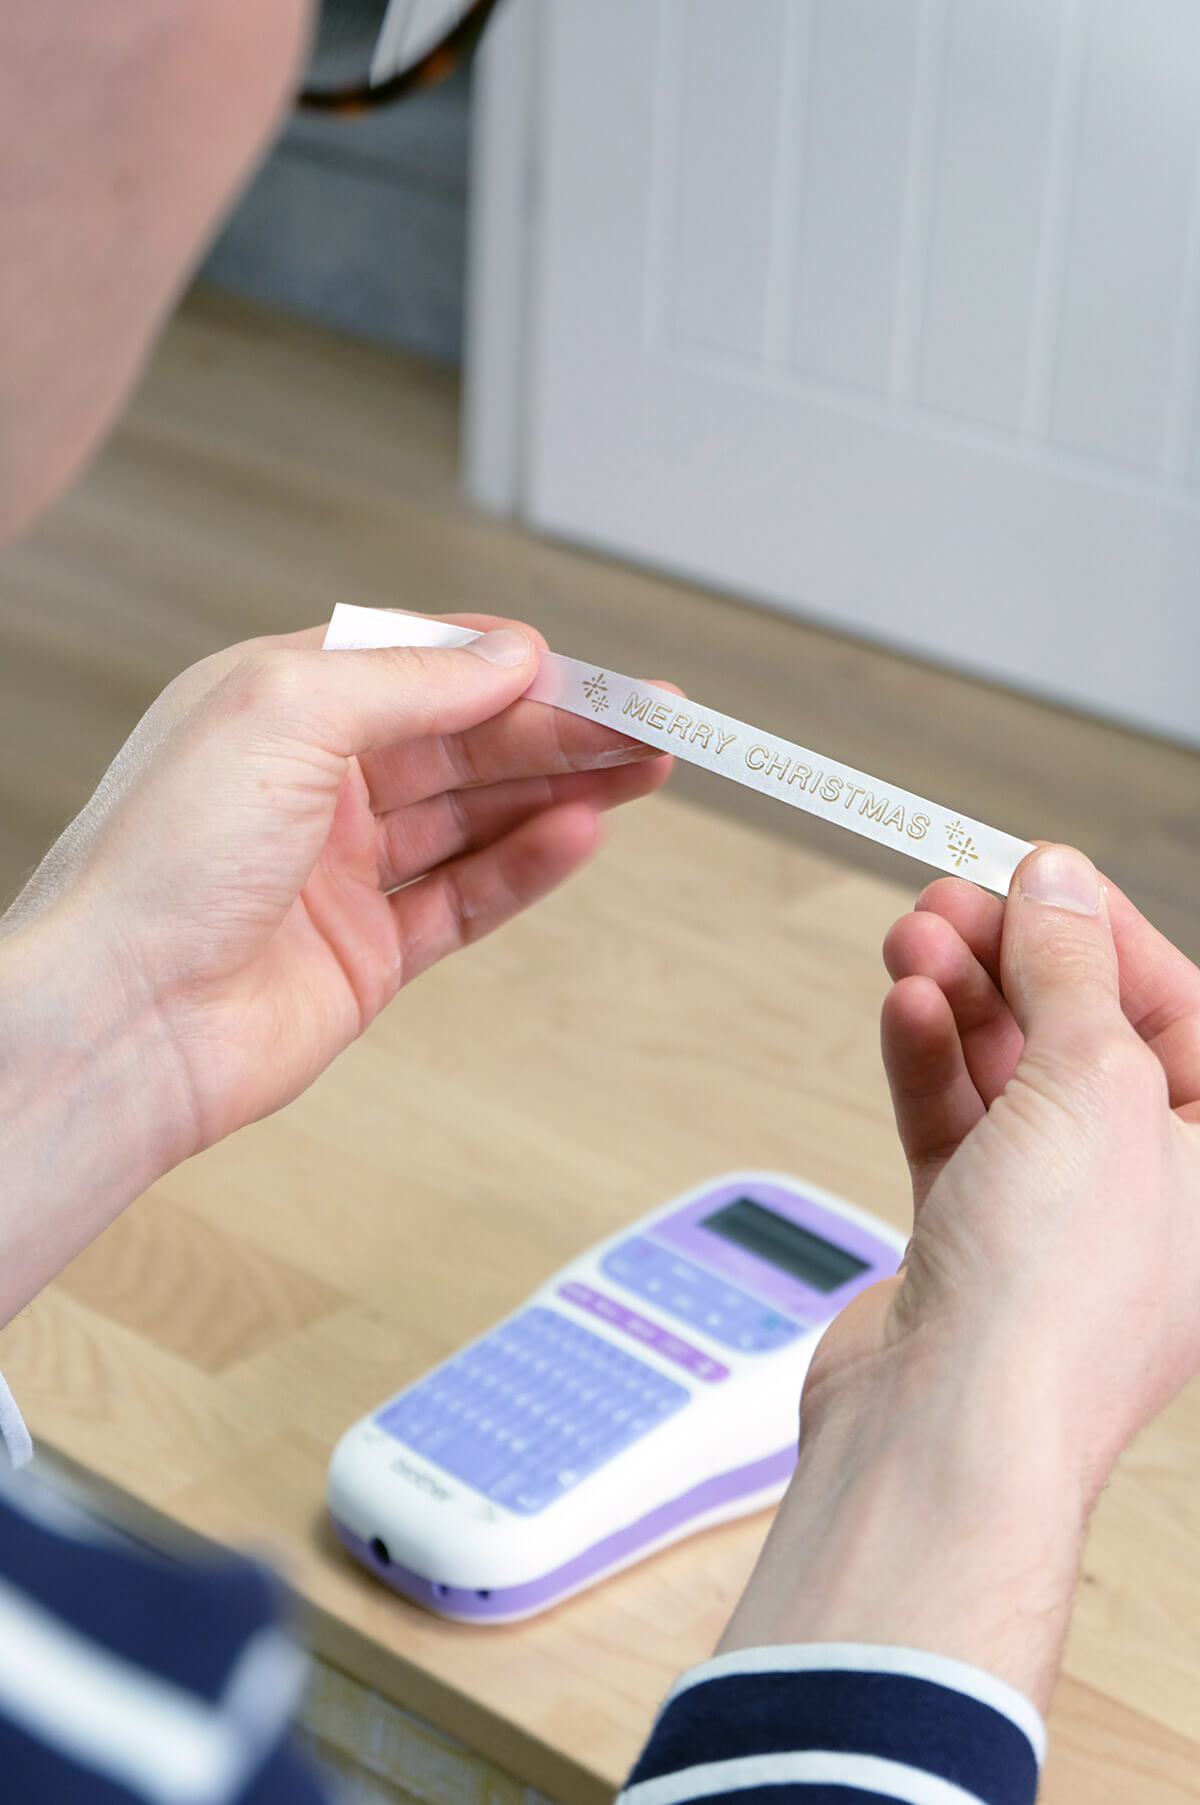
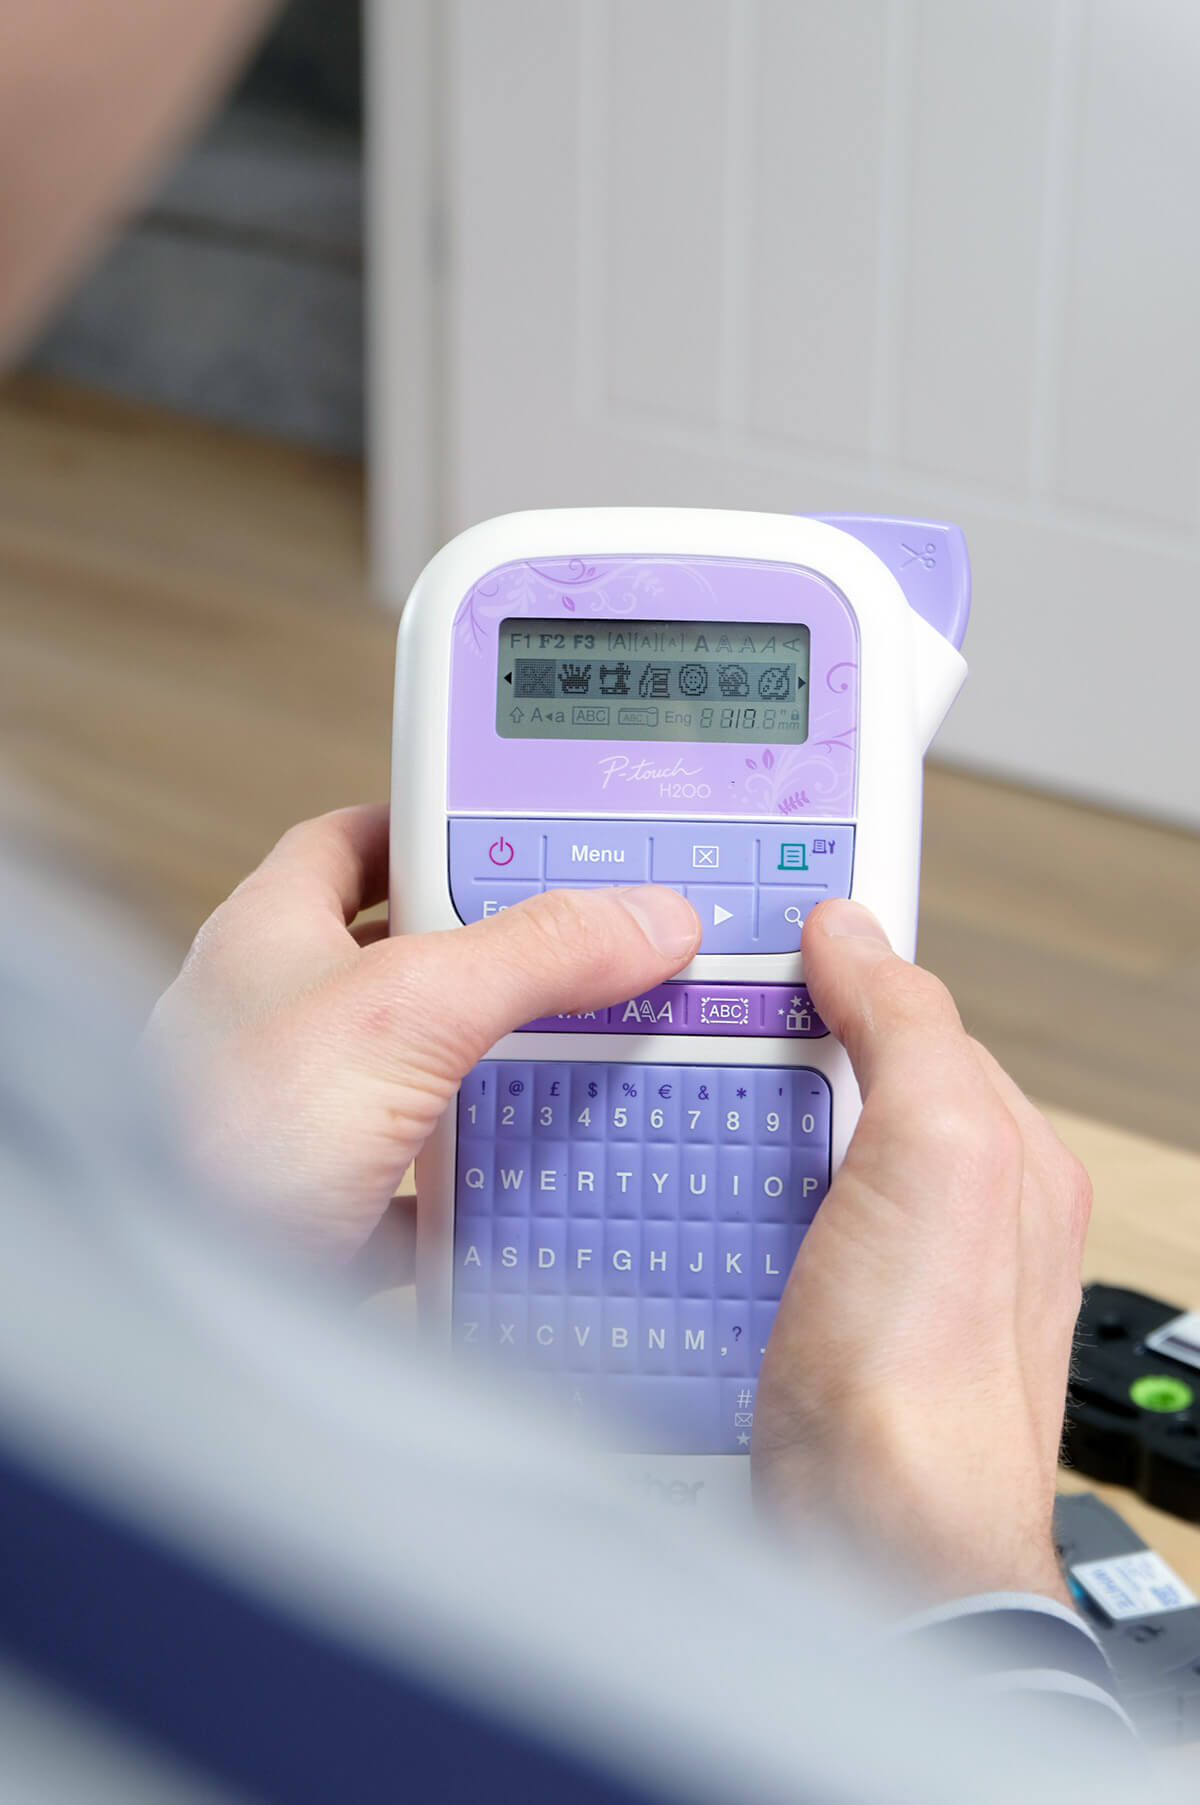
In a nutshell, it’s a mini printer that allows you to create personalised ribbons, stickers and labels. It has loads of fonts, text effects, frames, graphics and designs to choose from (so many I lost count!), so it’s perfect for customising your projects.
How does the Brother P-Touch H200 work?
It’s really easy! You simply slot a Brother cartridge (pre-filled with ribbon or labels) into the back of the P-Touch, making sure the end of the ribbon is sticking out. You can then use the simple keypad and screen to type out your design, adjust the size and text effects, then hit print.
And it’s not limited to just letters and words… there’s LOADS of emojis, icons, pictures, patterns, borders and effects to further customise your ribbons or stickers. I was a little overwhelmed with choice! I made a lot of test stickers to see how all the little icons look when printed out… (my favourite is probably the little snowman!).


One thing to keep in mind, though – the cartridge that you use will have one specific text colour and ribbon/labels loaded into it. But there’s loads of combinations to choose from on the Brother website, so chances are you’ll find the one you need.
Also, the P-Touch H200 requires 6 AAA batteries. I had to do a frantic search through the cupboards to find enough! So make sure you’ve got some to hand, to avoid delay.
Three ways to personalise your gifts with the Brother P-Touch H200
1. Personalised ribbon
The first – and most obvious – way to use the P-Touch is to make personalised ribbons. Normally, I like to package gifts in reusable gift boxes (rather than disposable paper) then decorate them with ribbons – so this is perfect for me!
Here’s a few ideas for how you could personalise your ribbons:
- Add song lyrics, book/film quotes or a sentimental phrase.
- Make a pattern using images that represent their personality.
- Make a simple geometric pattern with the built-in designs.
- Add a custom message that explains the gift.
- Skip the gift tag and add a to/from message to the ribbon itself.


2. Custom tape
Like most crafters, I’ve got a love for decorative washi tape that borders on obsessive. I don’t even use it that often – I just feel compelled to collect it, incase I need it one day! So for me, one of the most exciting ways to use the Brother P-Touch is to make customised decorative tape.
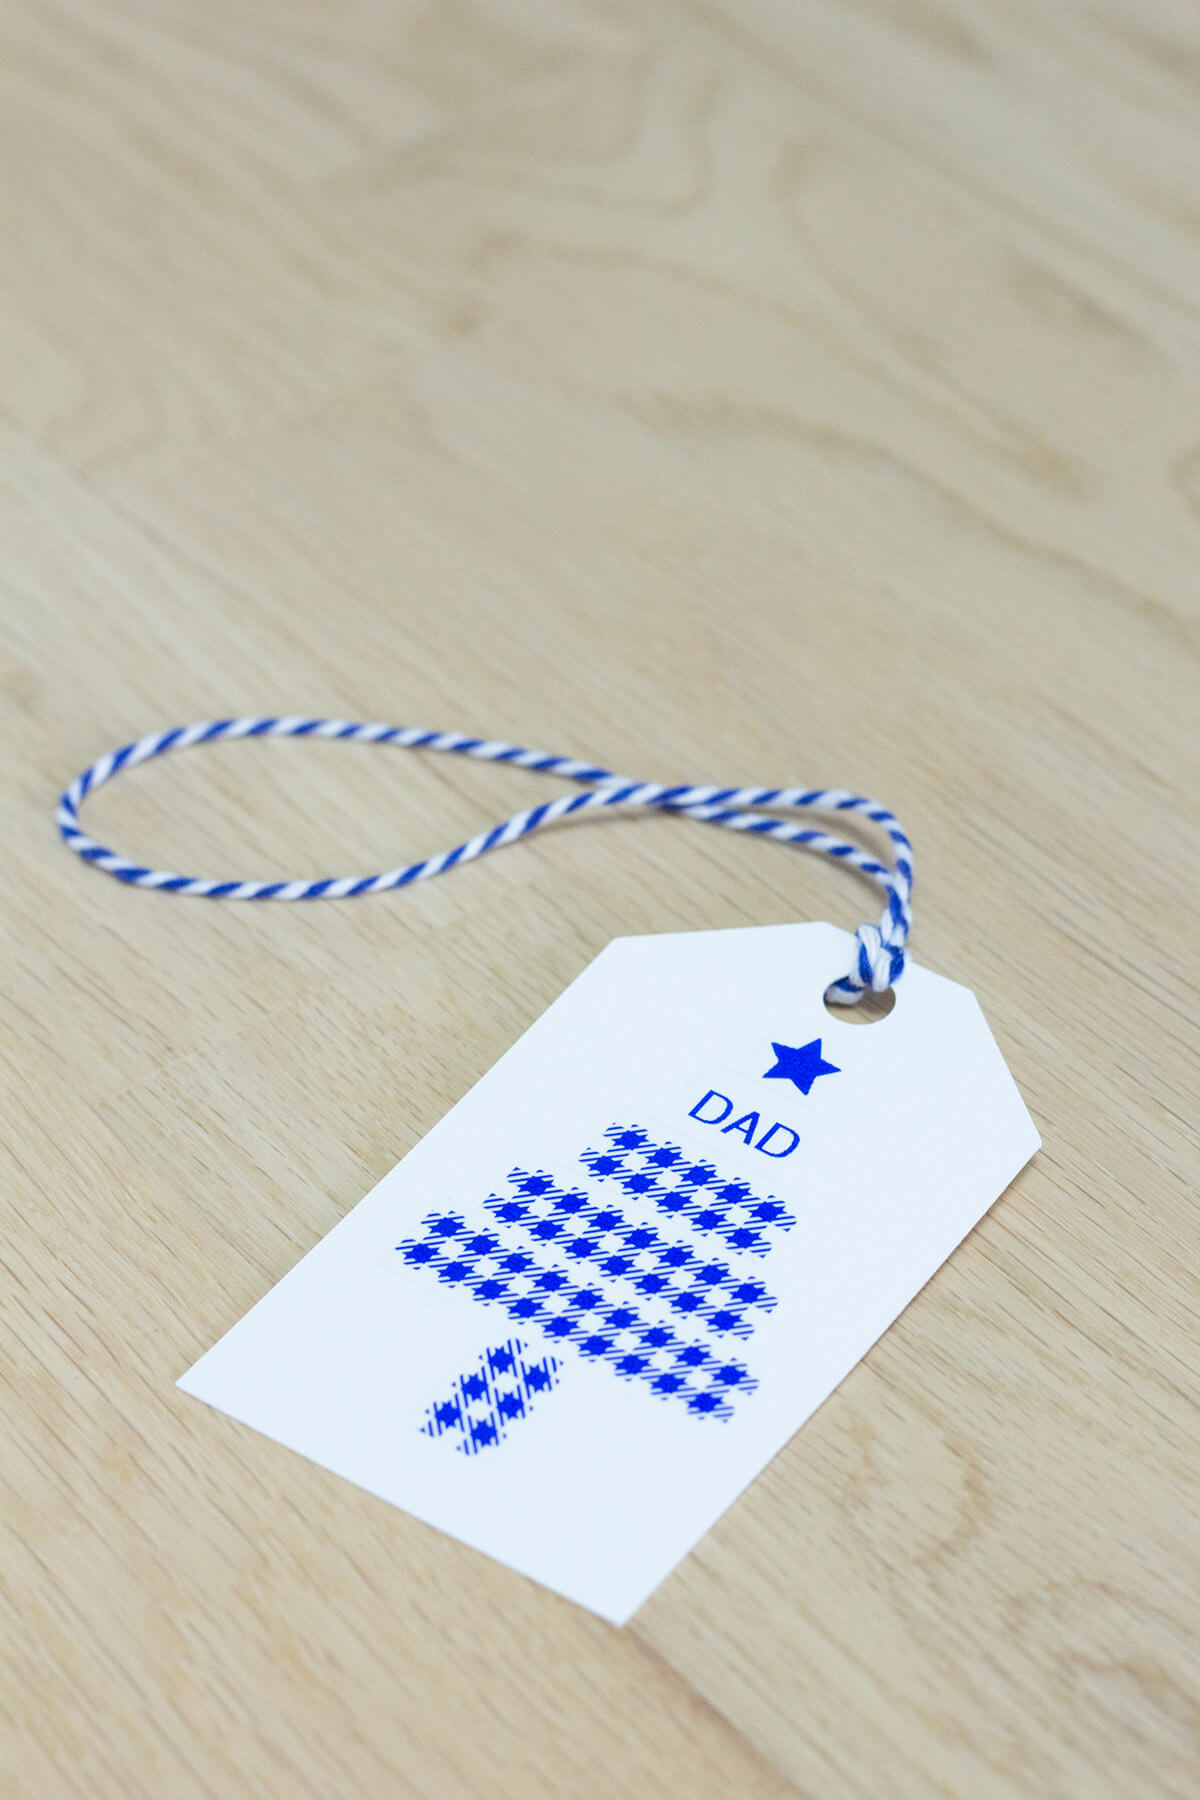
There’s plenty of built-in patterns ready to use. It’s just a case of choosing one, typing in the length you need, then printing it out. It’s like an endless supply of decorative tape, all in one!
I printed a classic buffalo plaid design, then cut it up to make a simple Christmas tree gift tag. I topped it off with “Dad” and a star image. Simple, quick to make and effective!
3. Add an accent to the gift itself
Don’t limit yourself only to the gift wrap – the Brother P-Touch H200 can also be used to add a personalised accent to the gift itself.
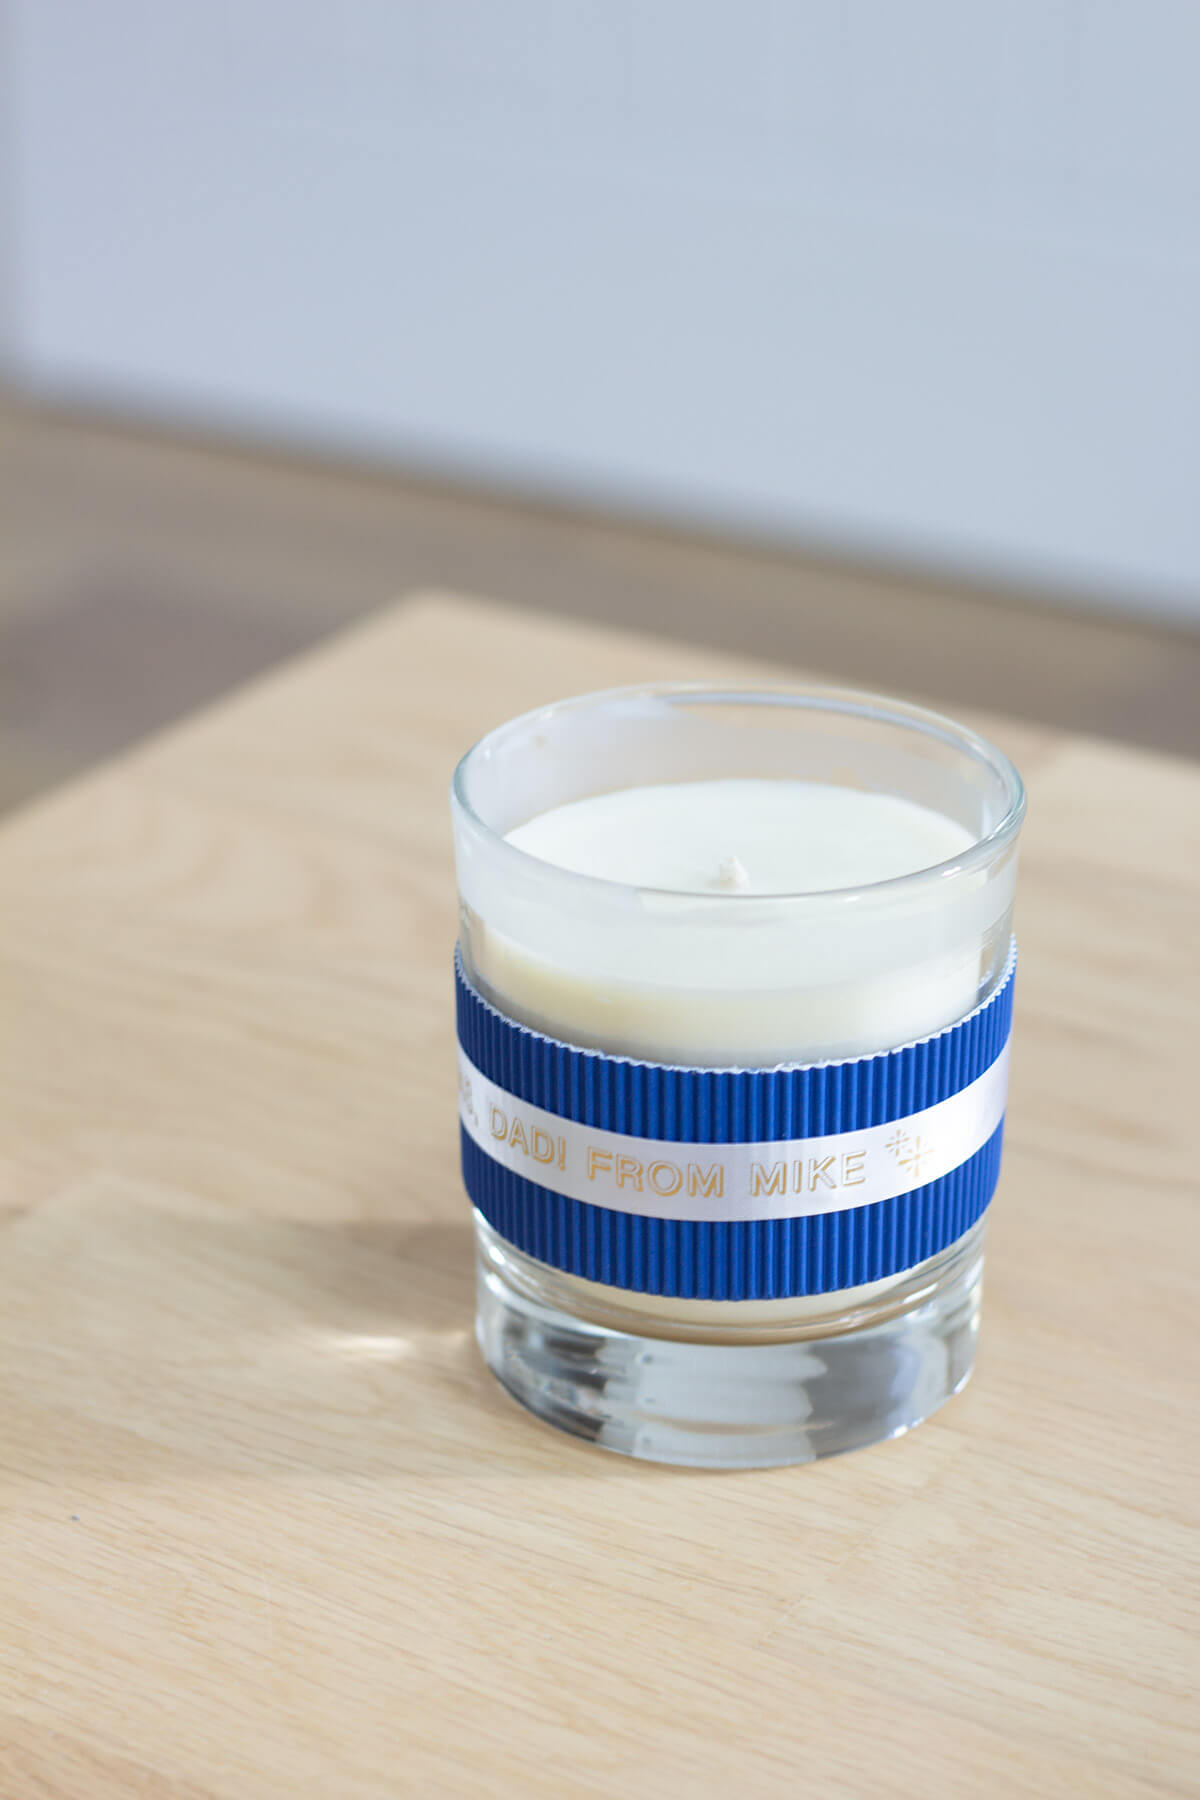
I shared on my Instagram last week that I was making some candles. Once I’d finished them, I had the idea of using the P-Touch to make a personalised sleeve to wrap around each candle. I just typed out my message, printed it on ribbon, then mounted it on a piece of corrugated card. Couldn’t be easier!
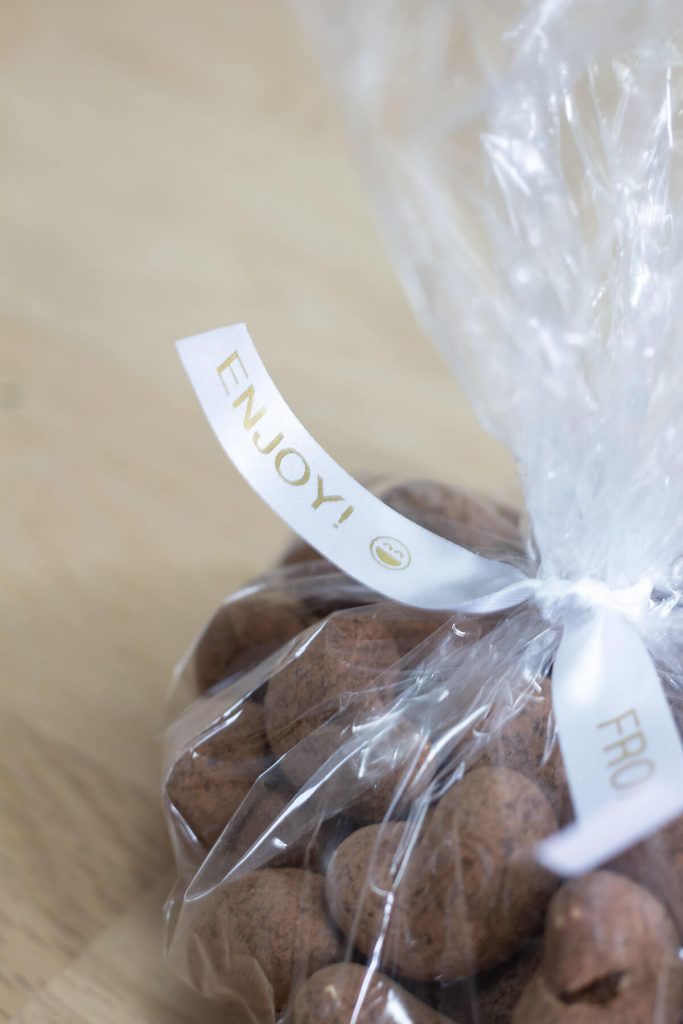
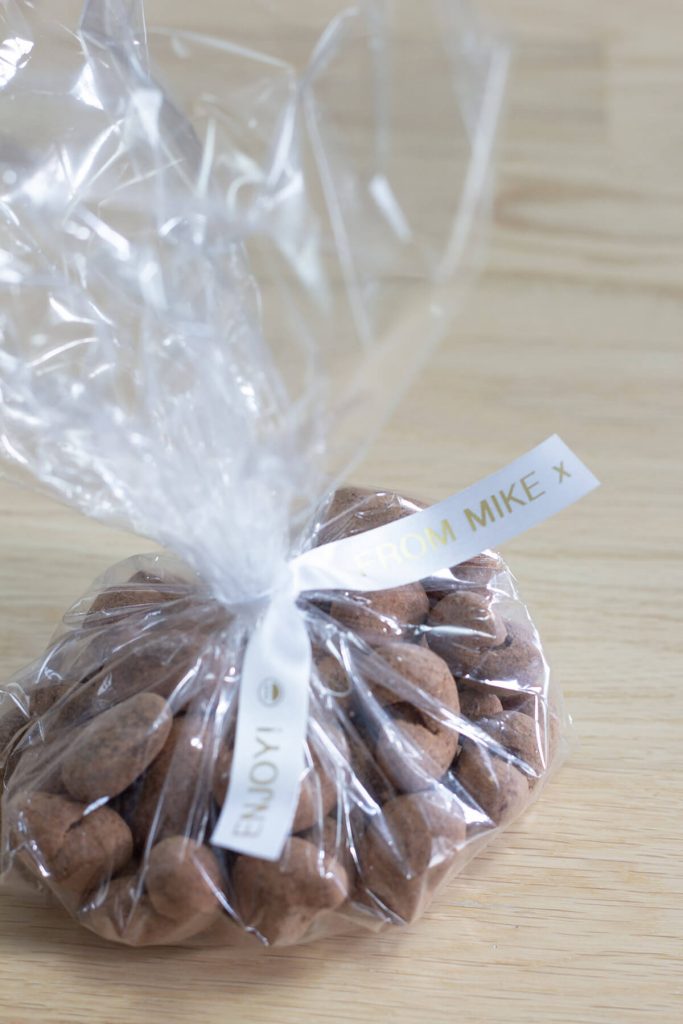
I also added a little message to some chocolates I’m giving as a stocking filler gift. It adds a nice extra touch, compared to just using plain ribbon, don’t you think? 🙂
Thank you so much to Brother for working with me on this post! If you want to see more of the P-Touch label printer range, have a look over on the Brother website.
What would you make with the P-Touch printer? I’d love to hear your suggestions! Or if there’s anything else you want to learn about it, drop me a question below. 🙂
Happy crafting! – Mike.
Please share this on Pinterest to help others find it!



No Comments