
This post on how to make a colour block taper candle was sponsored by LiveMoor, but all opinions are my own. Thanks for supporting the brands that keep me blogging!


Candle making is one of the very first crafts I remember trying as a child. There was a candle studio near my home where you could make your own weird and wonderful creations. I loved it! I vividly remember making one by twisting two pieces of wax (one bold blue, the other neon yellow) round each other to make a spiral effect. I’m pretty sure I kept it for months before allowing my parents to actually light it!
Over the years since then, I’ve made quite a few container candles (i.e. candles that are set in glass jars or similar). But I’d never tried a freestanding taper candle – until now.
I recently worked with LiveMoor to make these DIY colour block taper candles. They have their own brand of soy wax called LiveSoy – which, as the name suggests, are made from 100% soy beans. As well as being a naturally renewable and environmentally friendly alternative to traditional paraffin wax, soy wax also results in a cleaner burn and longer-lasting candle. What’s not to love? 🙂


How to make colour block taper candles
Supplies and tools
- LiveSoy pillar wax shavings (note: you must use pillar wax, not container wax)
- Wax dye in 2-3 colours
- Taper candle mould
- Blu Tack or similar
- Toothpick or skewer
- Candle wick
- Saucepan and hob
- Scissors
Use my exclusive discount code CRAFTY to save 10% on the LiveMoor website.

Tutorial
(Scroll down to the end of the instructions to read some of my top tips to ensure you get the best finish on your candles).


1. Start off by weighing out approximately 100g of soy wax and 2g of dye. Melt them together in a saucepan on a very low heat.
2. While the wax is melting, assemble your DIY taper candle mould. The LiveMoor mould is really easy to assemble using the steps below:


2a. Cut a length of candle wick approximately 5cm longer than the candle mould. Tie one end to a toothpick or skewer.
2b. Lay the main part of the mould flat and place the candlewick in the centre, with the toothpick end at the top.
2c. Place the other half of the mould on top, so the two pieces slot together. Ensure that the wick is threaded through the small hole at the opposite end to the toothpick.
2d. Add the four stoppers (the little pegs) to ensure the mould stays tightly together.
2e. Put the top funnel cap onto the mould (thread the toothpick through it first) and press it firmly into place.
2f. Pull the wick taught through the hole at the opposite end to the toothpick, then seal it in place with a piece of Blu Tack.
2g. Put the base cap onto the mould (so it covers the Blu Tack). Stand the mould upright, ready for the wax.


3. When the wax is fully melted, pour a small amount of it into the top of the taper candle mould. Use your best judgment to pour it approximately a third of the way up. If it ends up being more or less than this, don’t worry! I actually think this gives the candles more character to have uneven layers. 🙂
4. Leave the wax in the mould to cool completely. This should take at least 2-3 hours.

5. While the mould is cooling, pour the remaining liquid wax from the saucepan into a container lined with baking paper. Be careful not to let any wax spill over the edges of the baking paper! This is a good way to store the coloured wax, while you work on the next layers – when the wax solidifies, you can store it away, or remelt it when you need it.
6. When the mould has cooled, repeat the same process with the next colour of wax. Melt this down as in step 1, then pour it into the mould, directly on top of the first layer. Let this cool completely, then repeat once more with your final wax colour.
7. When the final wax colour has cooled down, you may notice that there’s a slight dip/hole in the wax at the top of the mould. This is perfectly normal- it’s a consequence of how the wax cools (from the outside in), which forms a hollow in the centre. Simply heat up a little more wax and pour it in to fill the gap. Let this cool completely before disassembling the mould and removing the candle.
8. Before lighting your colour block taper candle, trim the wick on both ends and stand it firmly upright in a candle holder.


Tips for making taper candles
- Allow the wax to cool at room temperature. Don’t be tempted to put it in the fridge to speed it up – I found that this caused a few air bubbles in the finished candle.
- Keep a note of which colours you have added to your colour block candles. As the mould isn’t see-through, it’s easy to forget which colour you added last!
- Experiment with different quantities of dye to make stronger or weaker shades.
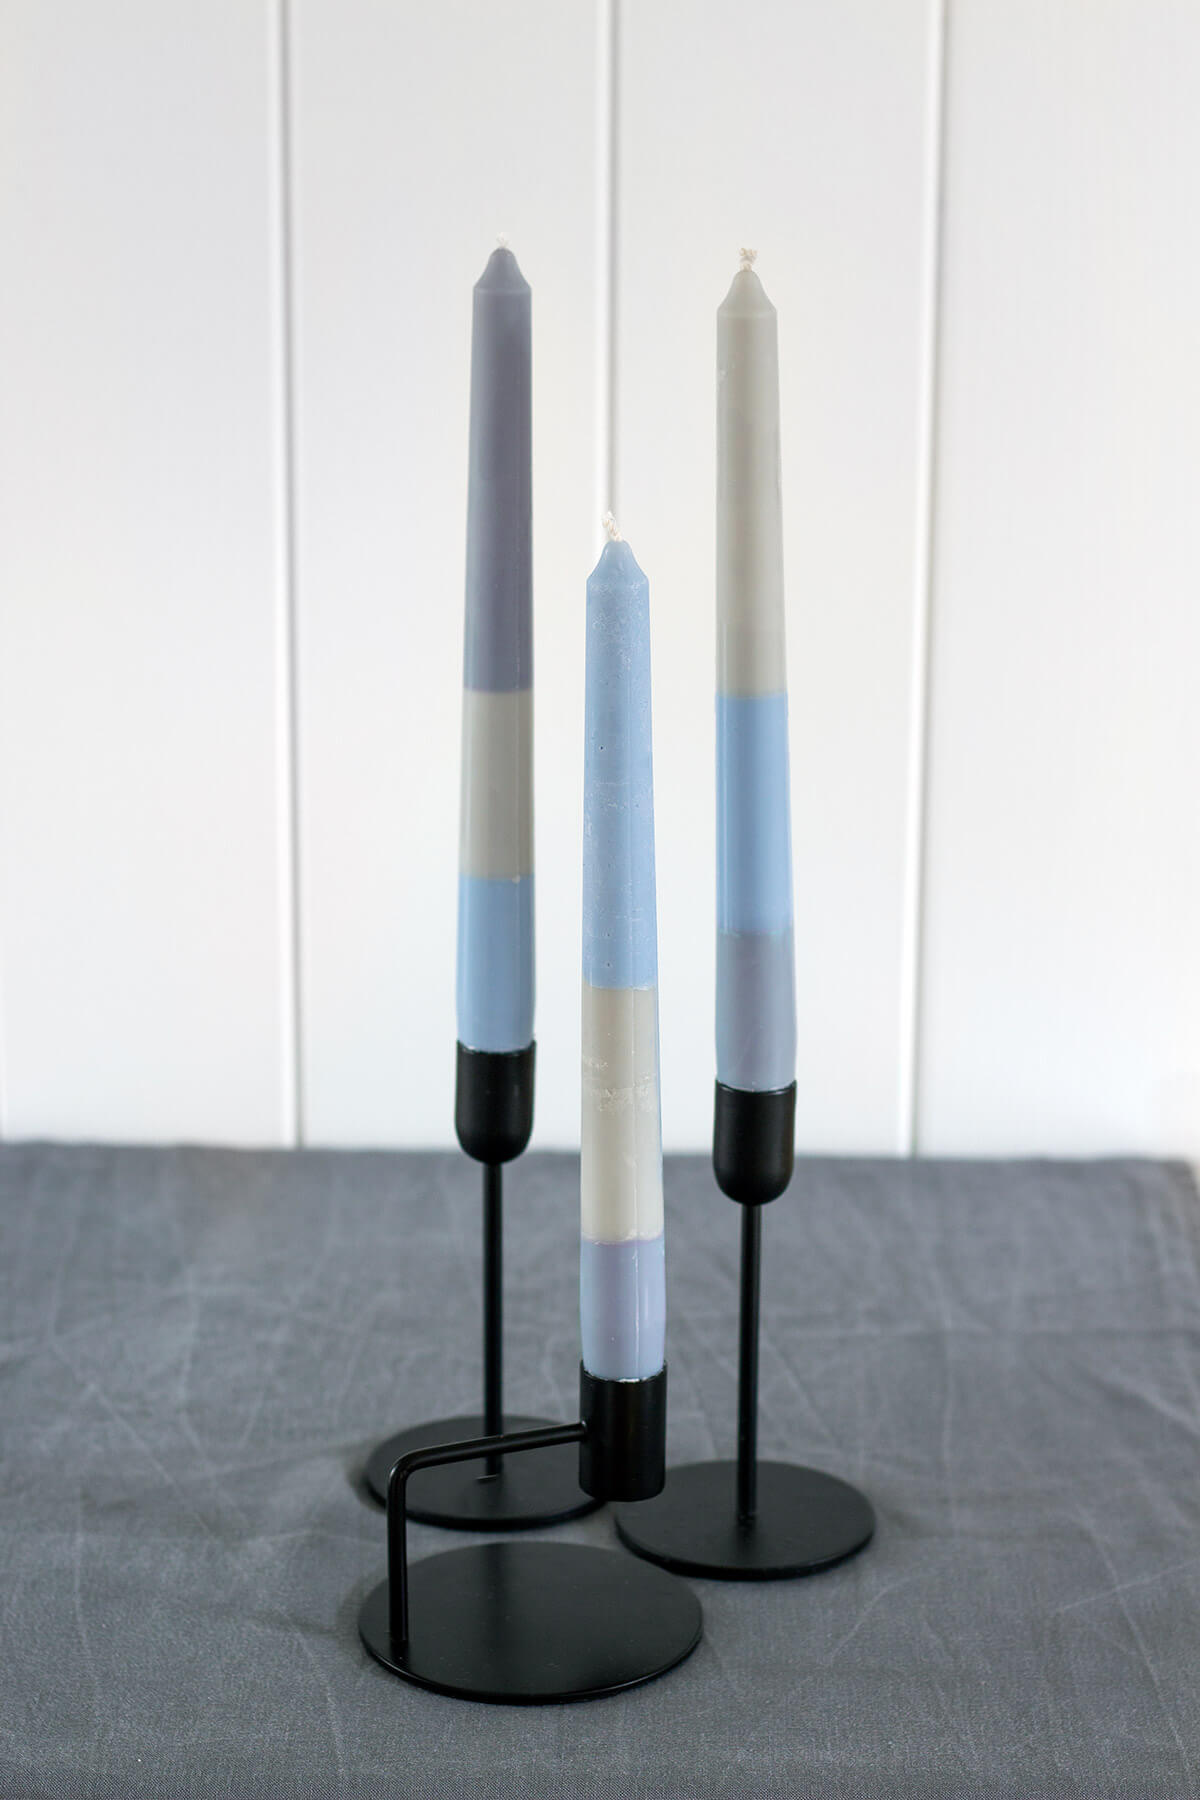
- If you’re making a set of candles (e.g. as a gift), don’t try to make them all identical – it will be too difficult to judge how much wax to pour. Instead, pour random quantities to alter the colour split of each one. Layer the colours in different orders, too.
- Experiment with different colour combinations and orders. You could even stick to one colour in different strengths, to give a gradient effect!
Use my exclusive discount code CRAFTY to save 10% on the LiveMoor website.
I’ve already made a a sizeable collection of these colour block taper candles (I think I’m on ten now…). It’s quite addictive when you get going – everyone on my Christmas list will be getting a few of these this year!
Thanks so much to LiveMoor for sponsoring this post. Be sure to have a look at their website for lots more DIY candle ideas and supplies!
Happy crafting 🙂 – Mike.
Like this? Save it on Pinterest so you can make it later!


6 Comments
Tiffany
August 9, 2021 at 5:29 pmHi! What size wick did you use for these candles and how long do they burn for?
Mike
September 5, 2021 at 9:26 amI used the 50mm wick from Livemoor: https://www.livemoor.co.uk/pages/search-results-page?q=wick&utm_source=refersion&utm_medium=affiliate&utm_campaign=4953513.3bb167 Hope this helps 🙂 – Mike
Lucy
November 25, 2020 at 10:19 pmHi
I love these! I am pretty new to the candle making game – do you need to pre wax your wicks? It looks like you are using unwaxed wick but just wanted to check?
Thanks so much
Lucy
Mike
November 26, 2020 at 11:14 amThanks Lucy! There’s no need to pre-wax these wicks from LiveMoor, they work great as they are. And incase you missed it in the post, you can also save 10% on them with my code CRAFTY 🙂 – Mike.
Helen
April 24, 2020 at 9:44 amI just bought my first candle making kit am now totally hooked on candle making! Keeps the boredom away while I’m stuck in the house.
Mike
April 25, 2020 at 1:07 pmSounds great! Definitely a good way to pass the time at home. 🙂