
AD | This Trick or Treat wooden DIY Halloween decoration is sponsored by Gorilla Glue. Thank you for supporting the brands that keep me blogging!
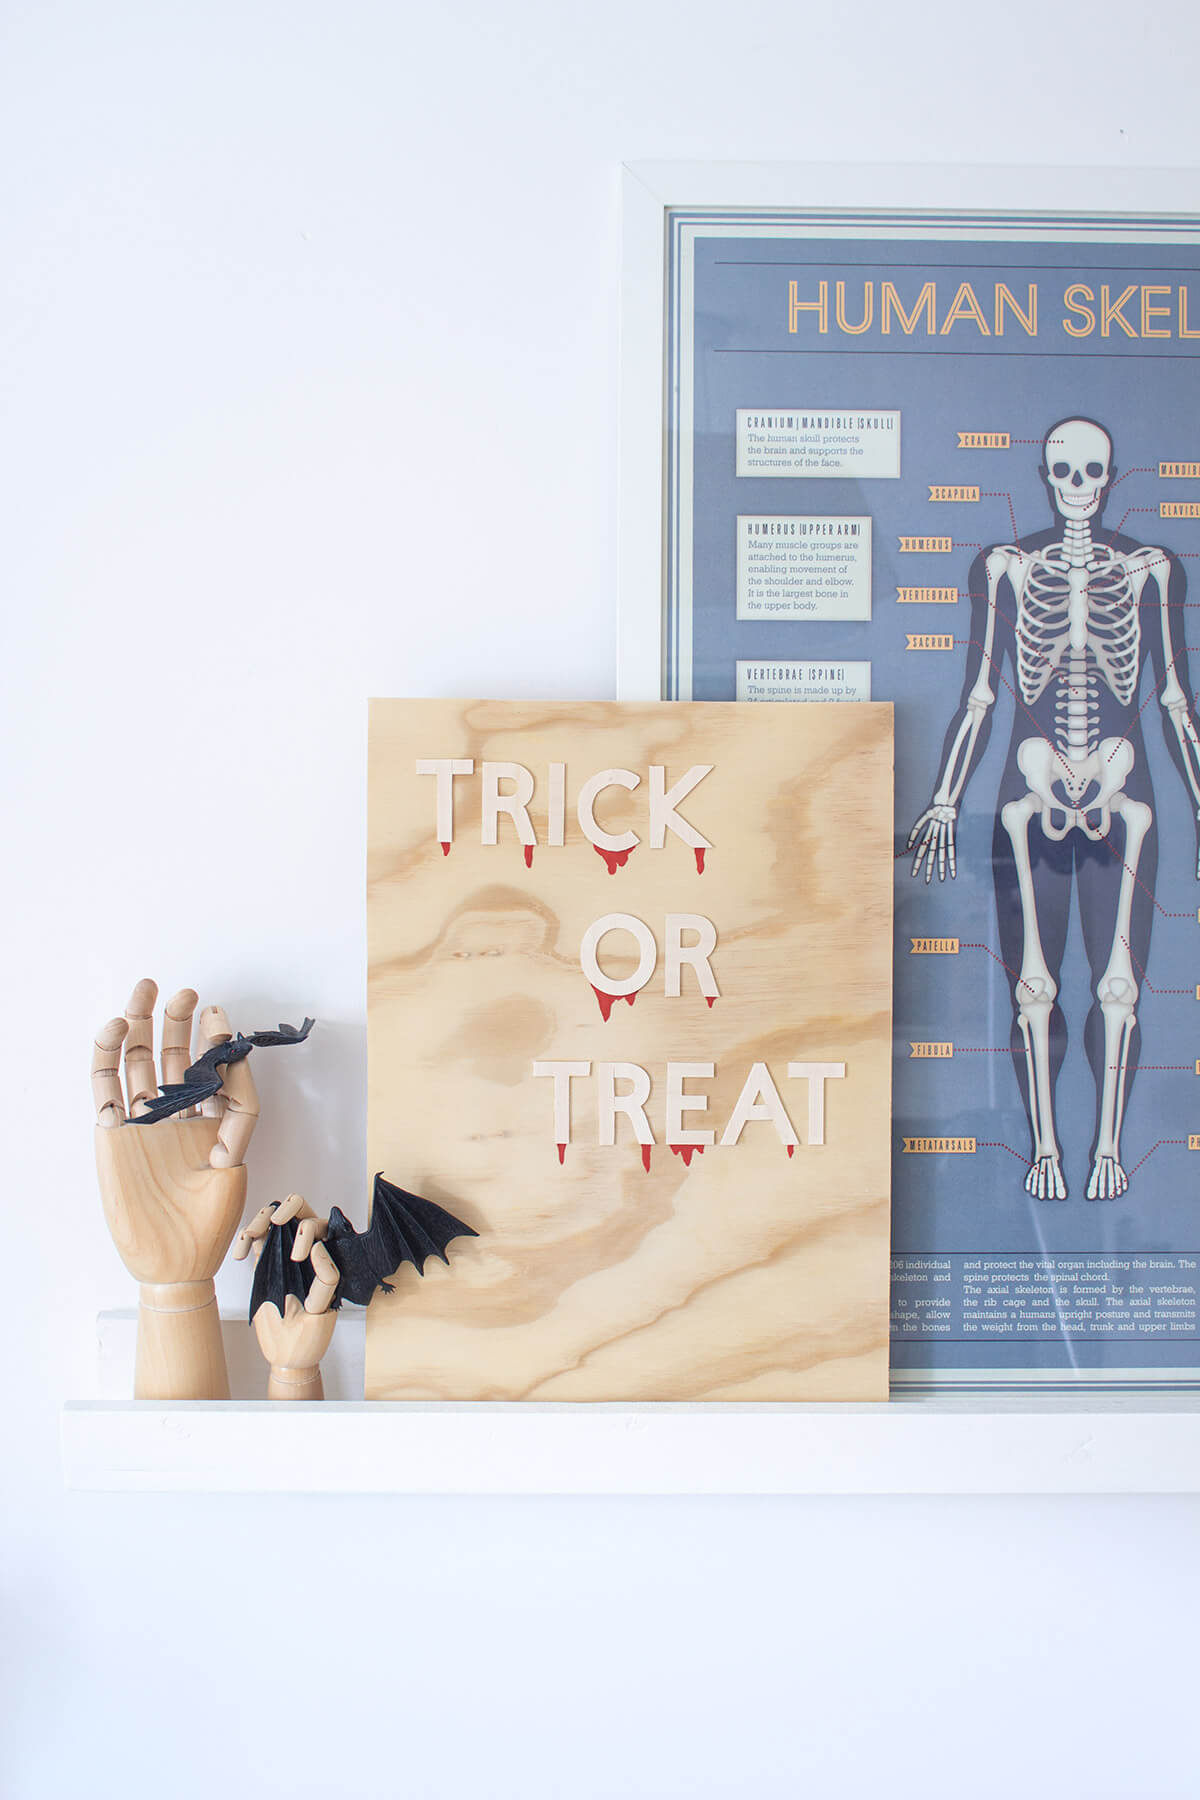
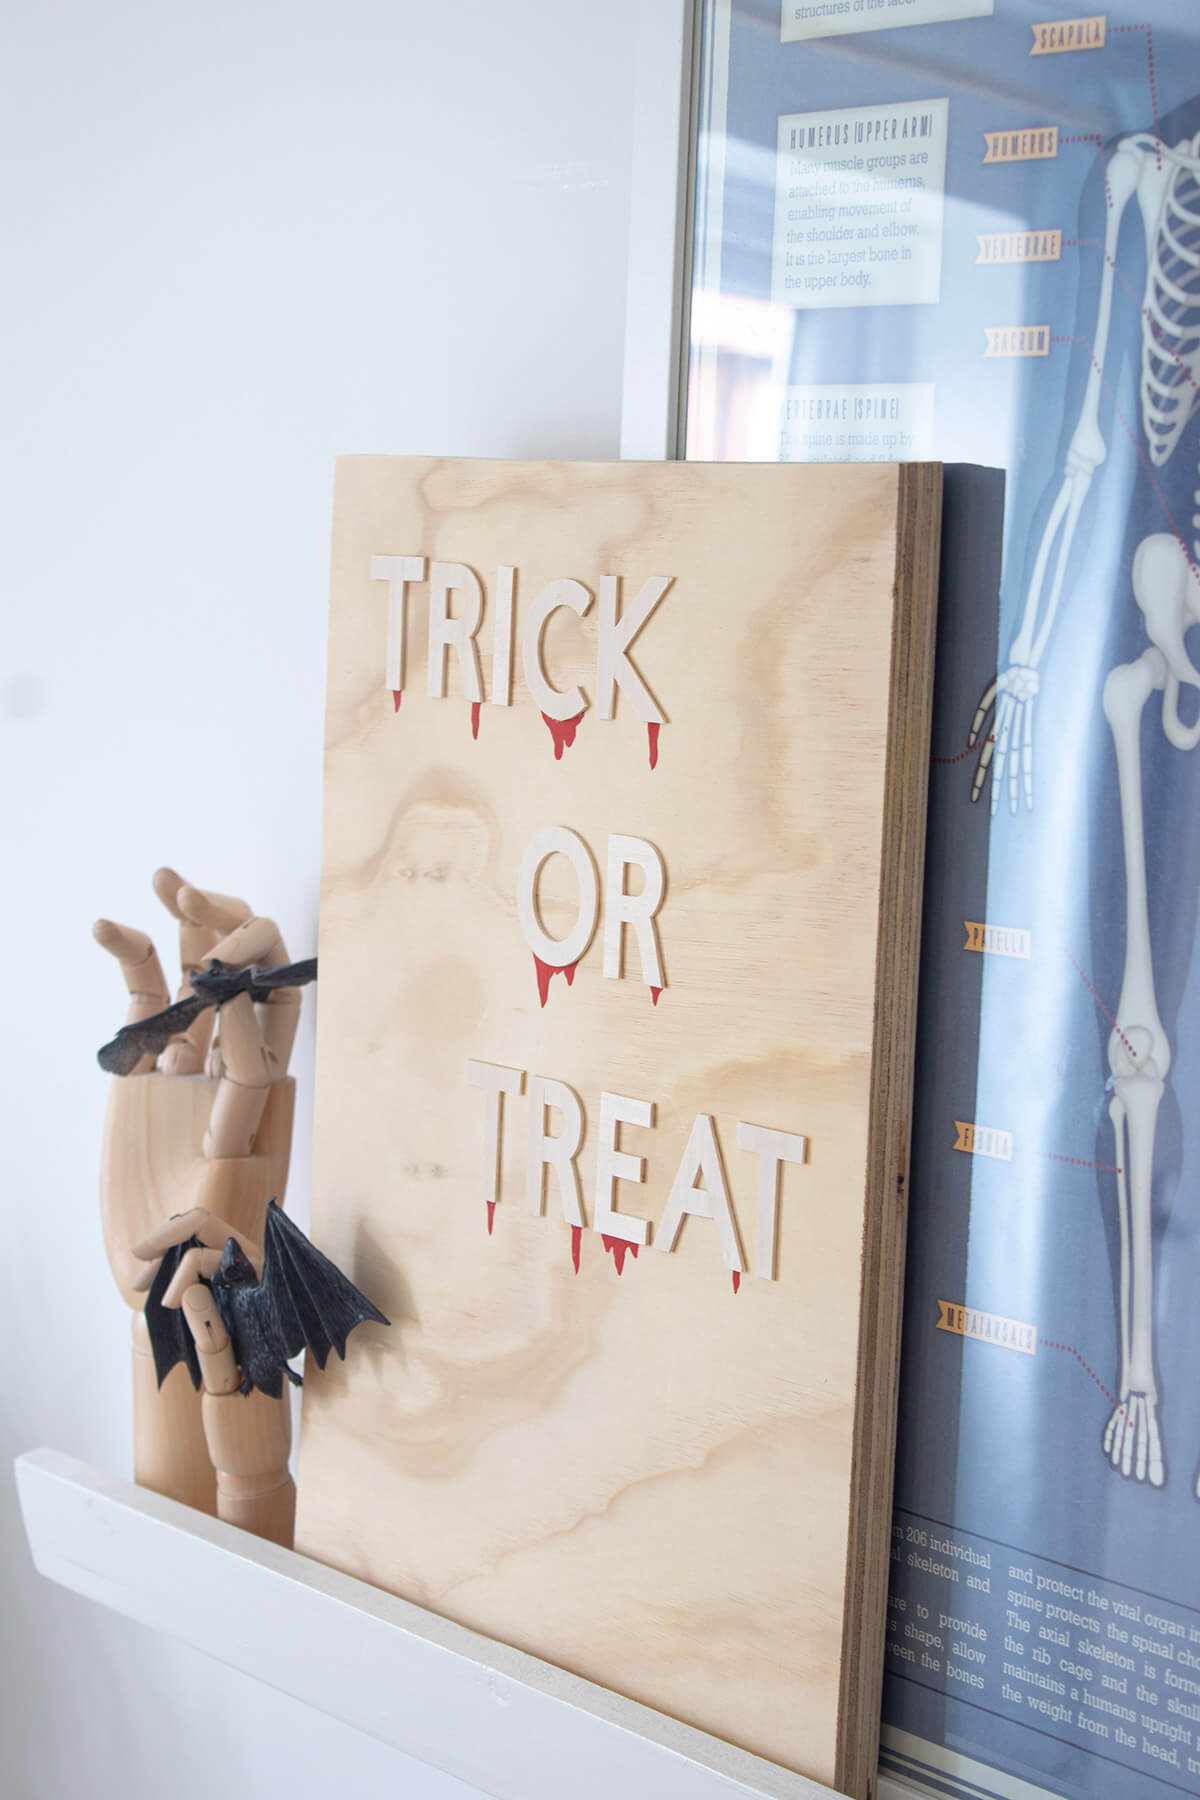
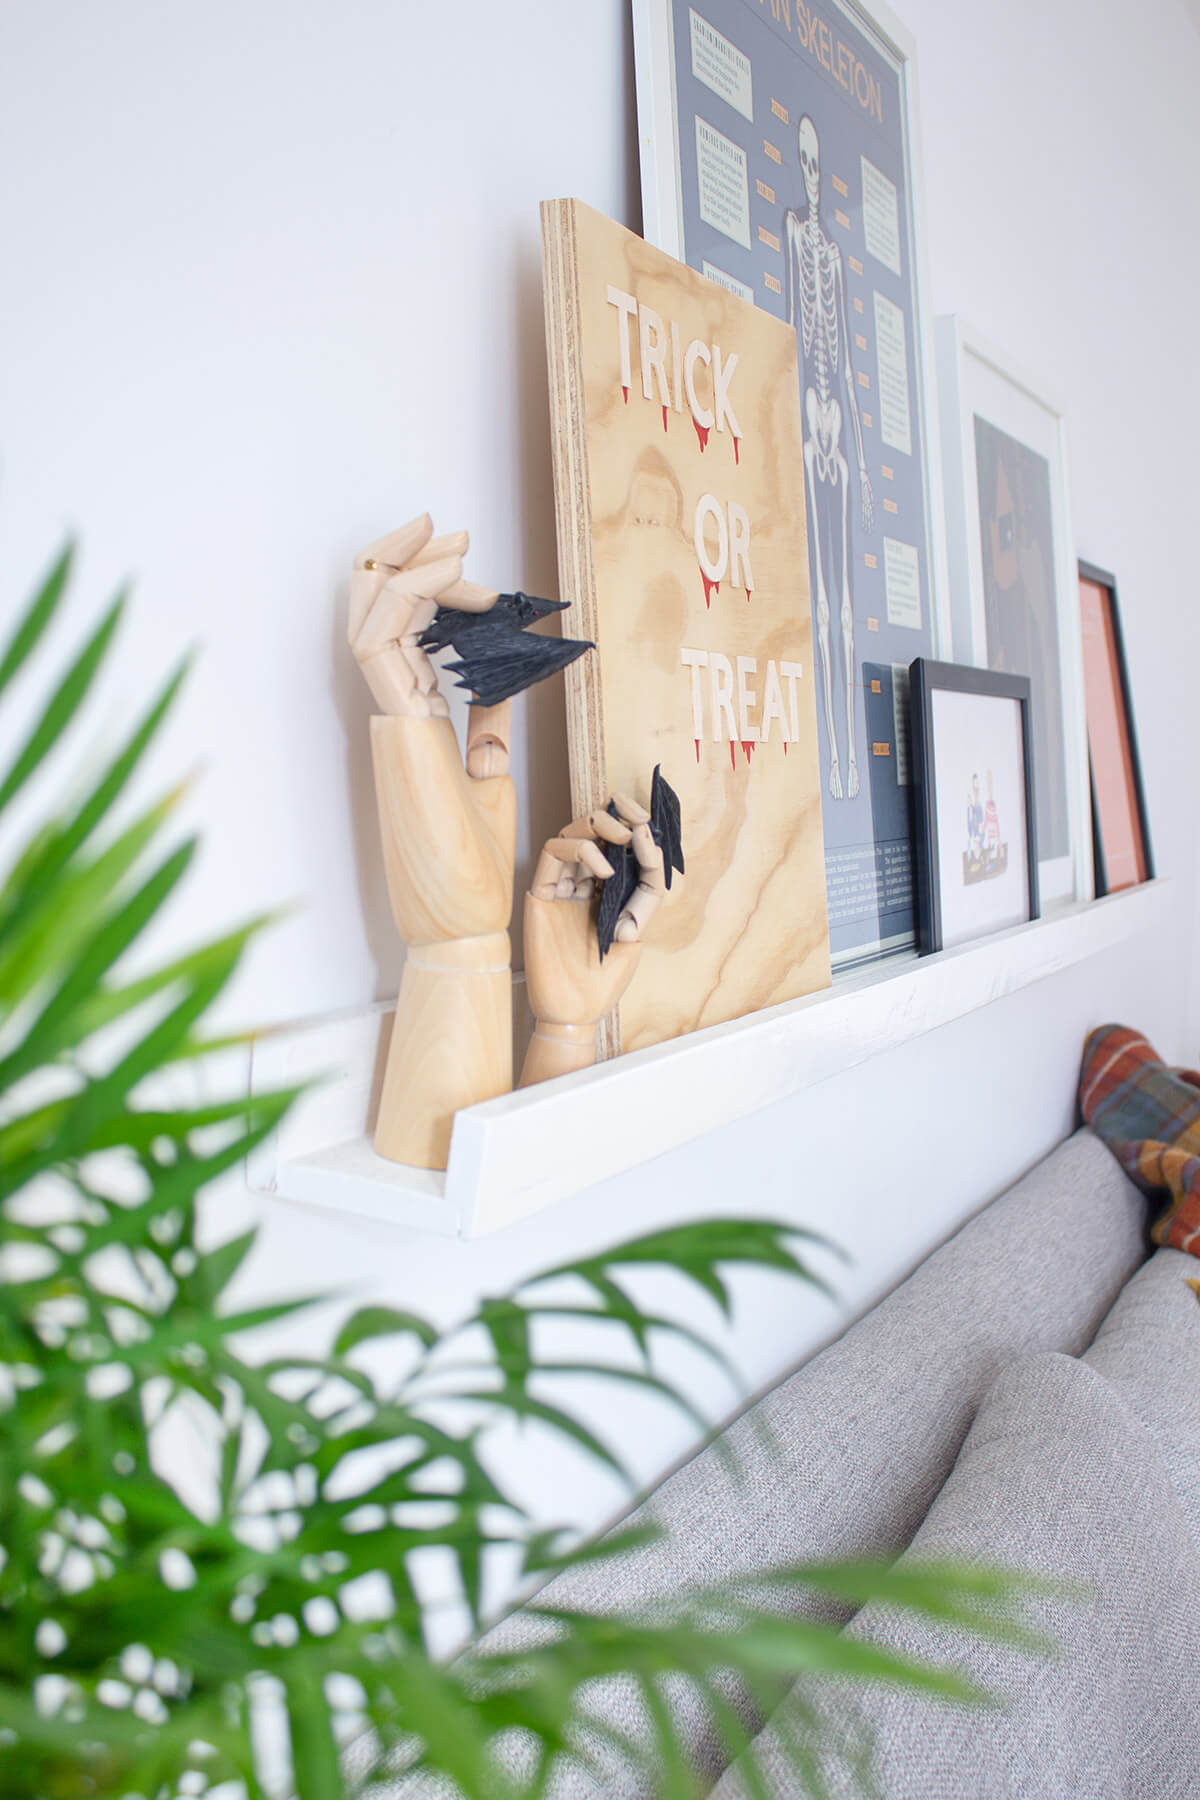
I might be in my late 20s, but I still love decorating my house for Halloween! Ever since I moved out of my parents’ house at 18, I’ve always gone all-out on the Halloween decor. Over the years, my style has matured (gone from tacky to stylish… at least I think so!) – but that childlike love of the spooky season has remained constant. 🙂
Of course, seasonal decorating and DIY go hand in hand! This year, I was inspired to make a statement piece of wall art… with a spooky twist. So I created this minimal “Trick or Treat” wooden DIY Halloween decoration. I love the pared back simplicity of it, combined with the subtly gruesome drips of blood. Stylish, but scary!
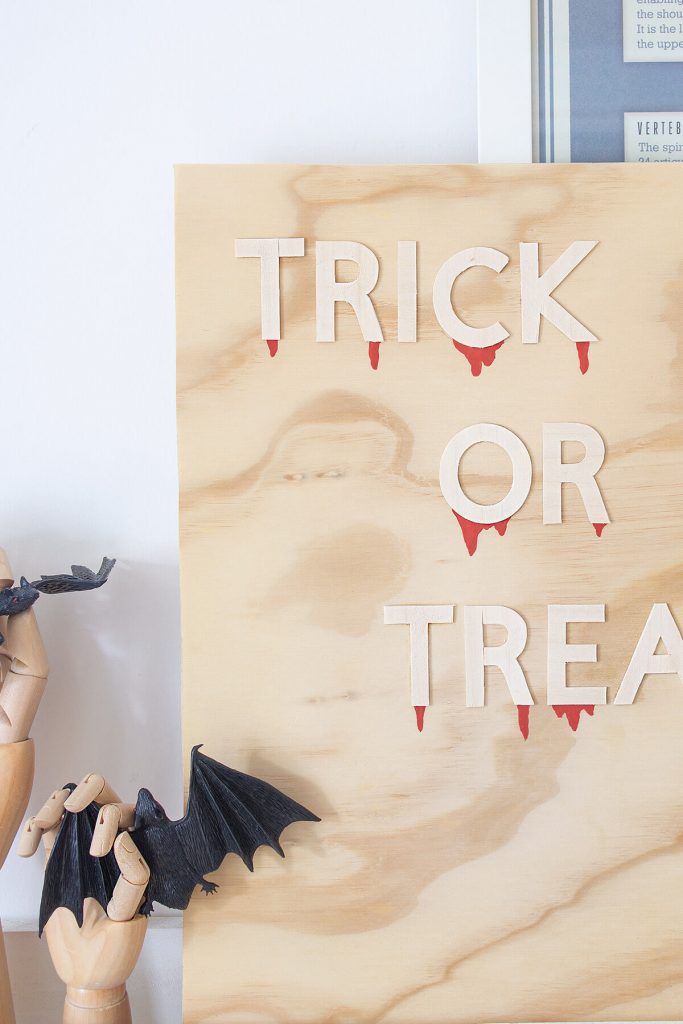
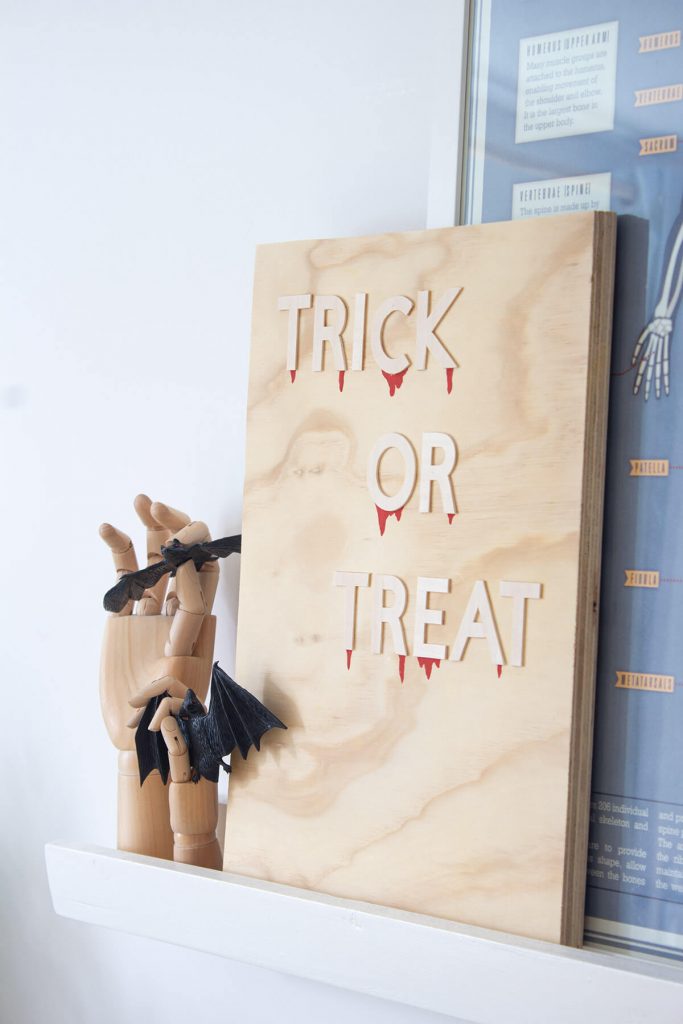
In some angles, the wooden letters almost disappear… then reveal themselves as you shift position. And can you see the slightly ghost-like pattern in the wood grain?
I’m again working with the folks at Gorilla Glue to make this project. I used their Gorilla Wood Glue – have a look at my previous DIYs using this here: wooden tea light holder, mid-century plant pot, wooden bath mat. It’s such a versatile glue!

“Trick or Treat” wooden DIY Halloween decoration
Tools and supplies
- Plywood (at least 1cm thick)
- Wooden letters (there’s lots on Etsy *affiliate link*)
- Gorilla Wood Glue
- Red and black poster paint
- Fine paint brush
- Pencil
- Ruler
- Jig saw and sand paper
Tutorial
1. Decide how large you’d like your Halloween wall art to be, then cut your plywood to size (or ask at the DIY shop if they can do this for you – they’re usually happy to help!). For reference, I cut mine to 30cm x 43 cm. If you’re cutting it yourself, take care to measure and cut the lines as straight as possible. Sand it down when you’re finished, to remove rough edges.
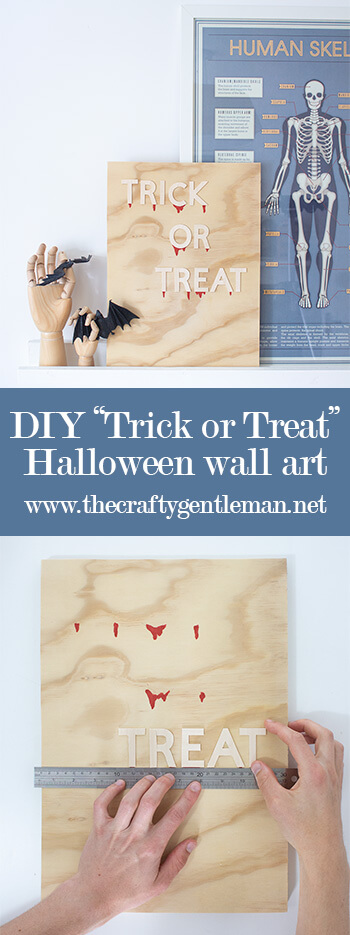
2. Position your letters on the wood, moving them round until you like the layout. I originally planned for mine to be left aligned in the top-left corner, but changed my mind when I had cut the wood out. Don’t be afraid to move things about until you find a layout you love!
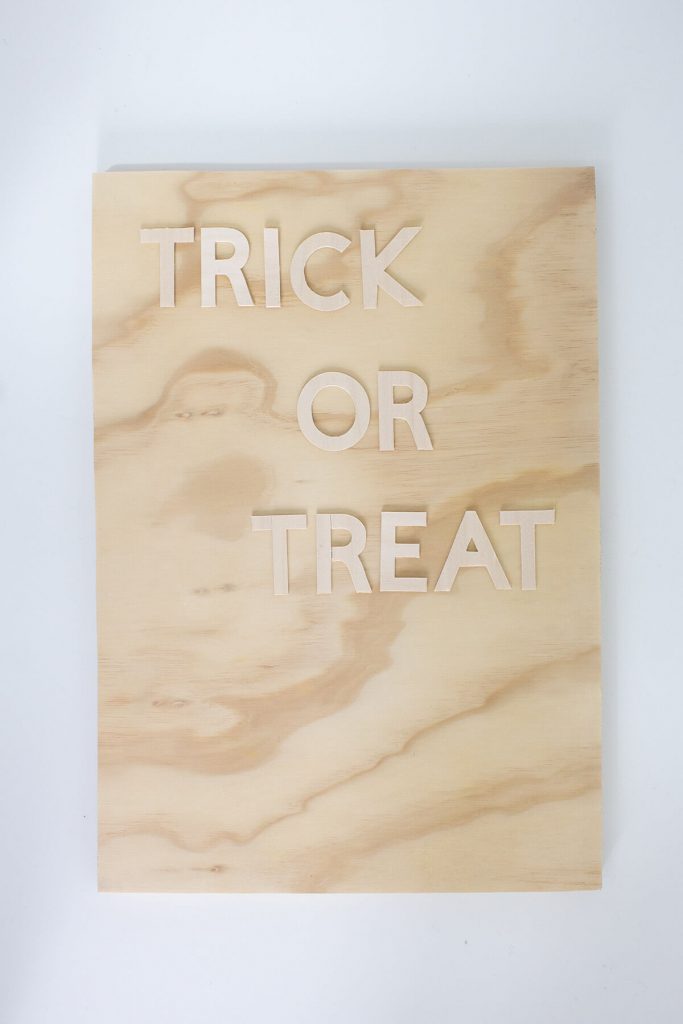
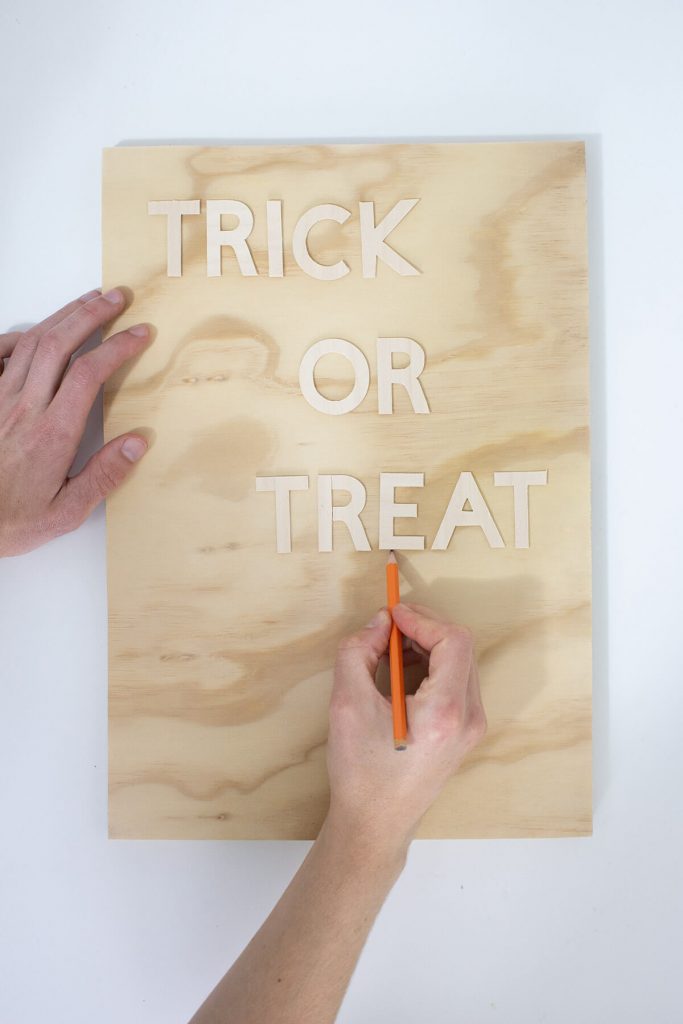
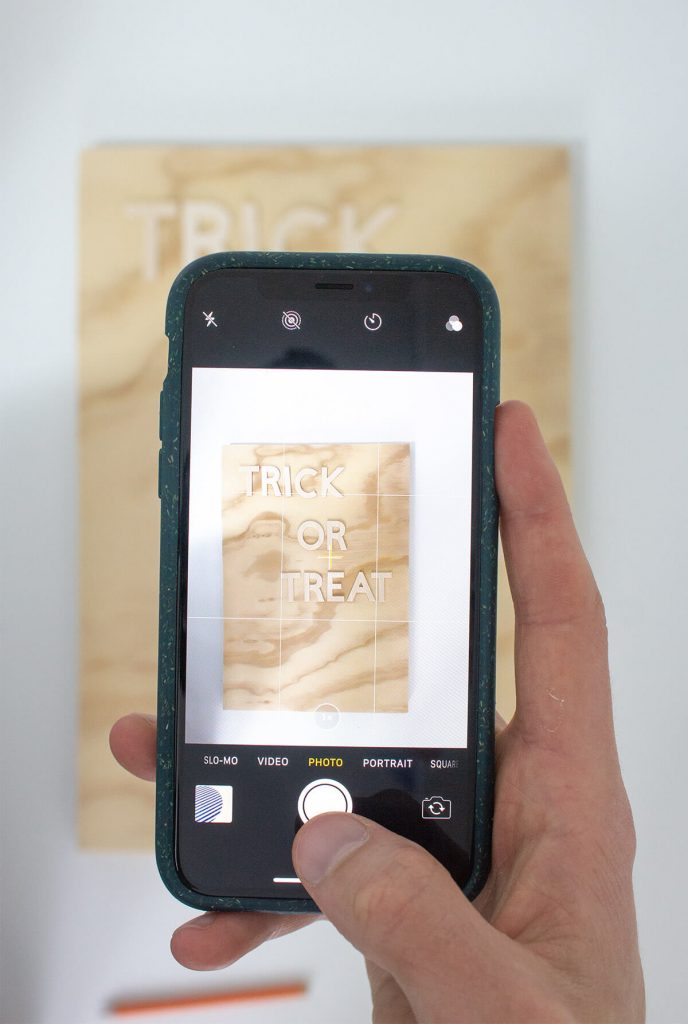
3. With the words positioned, lightly sketch a line underneath each letter with a pencil. This is so you know where to paint your blood in the next step. I’d also recommend taking a photo of the letters in position, so you can refer back to it later.
4. Remove the letters from the wood. Mix up some red poster paint to resemble the colour of blood. I added a tiny drop of black to mine, as it was a bit too bright – but you might not need to.
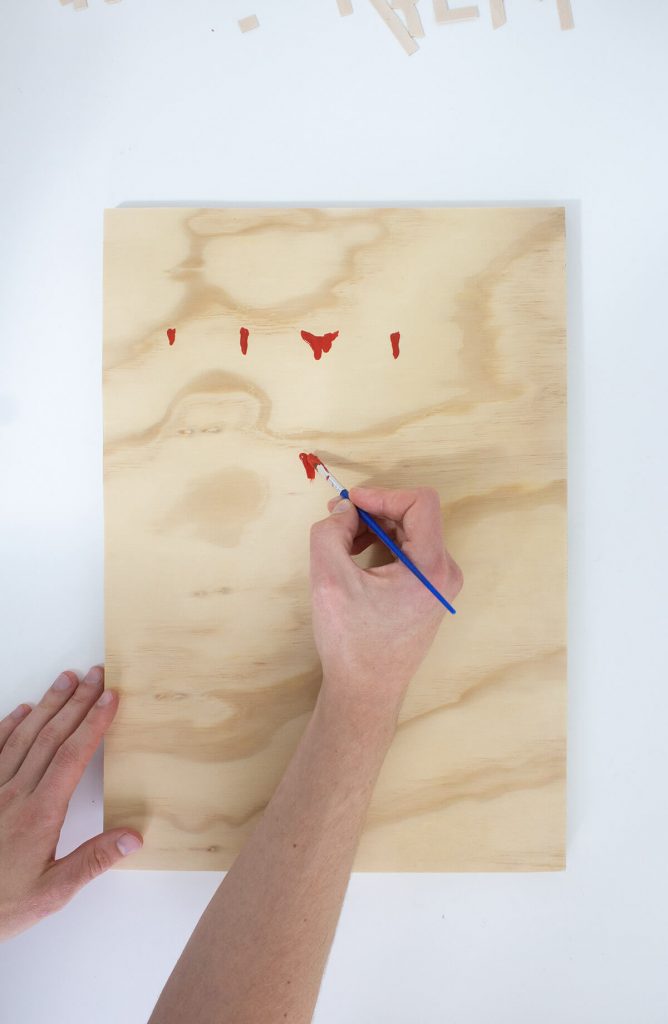
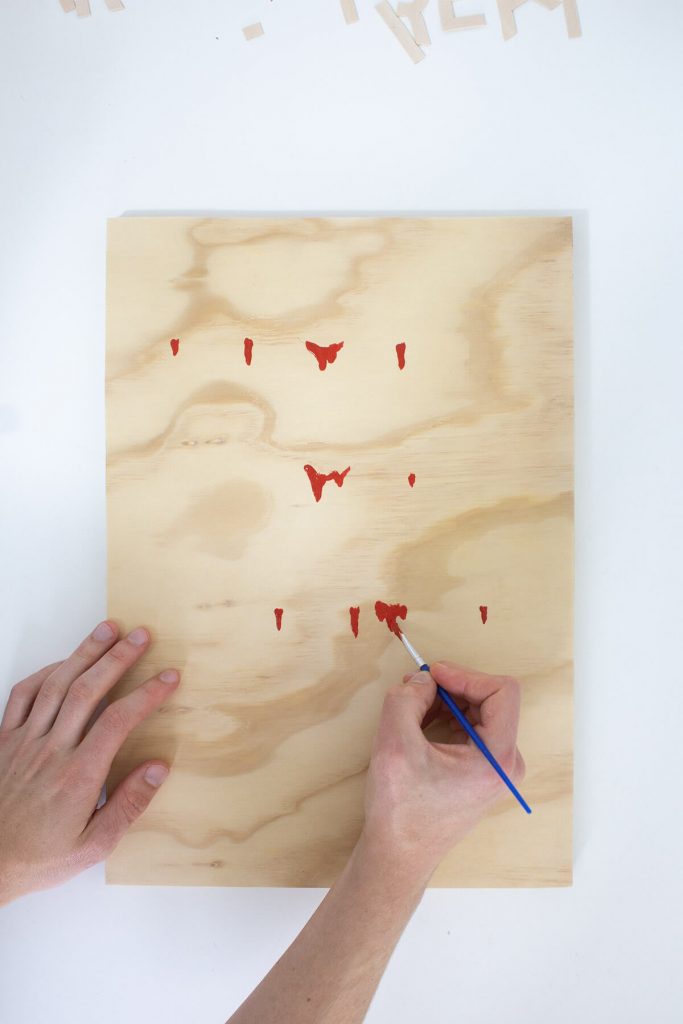
5. Using the pencil lines you drew as a guide, paint blood drops directly onto the wood. You want them to look as though they are dripping from the letters themselves. I’d recommend only painting around half of the pencil lines (if you do them all, it might look a bit over the top!). Let the paint dry completely. You might need to add a second coat to ensure the colour is strong.
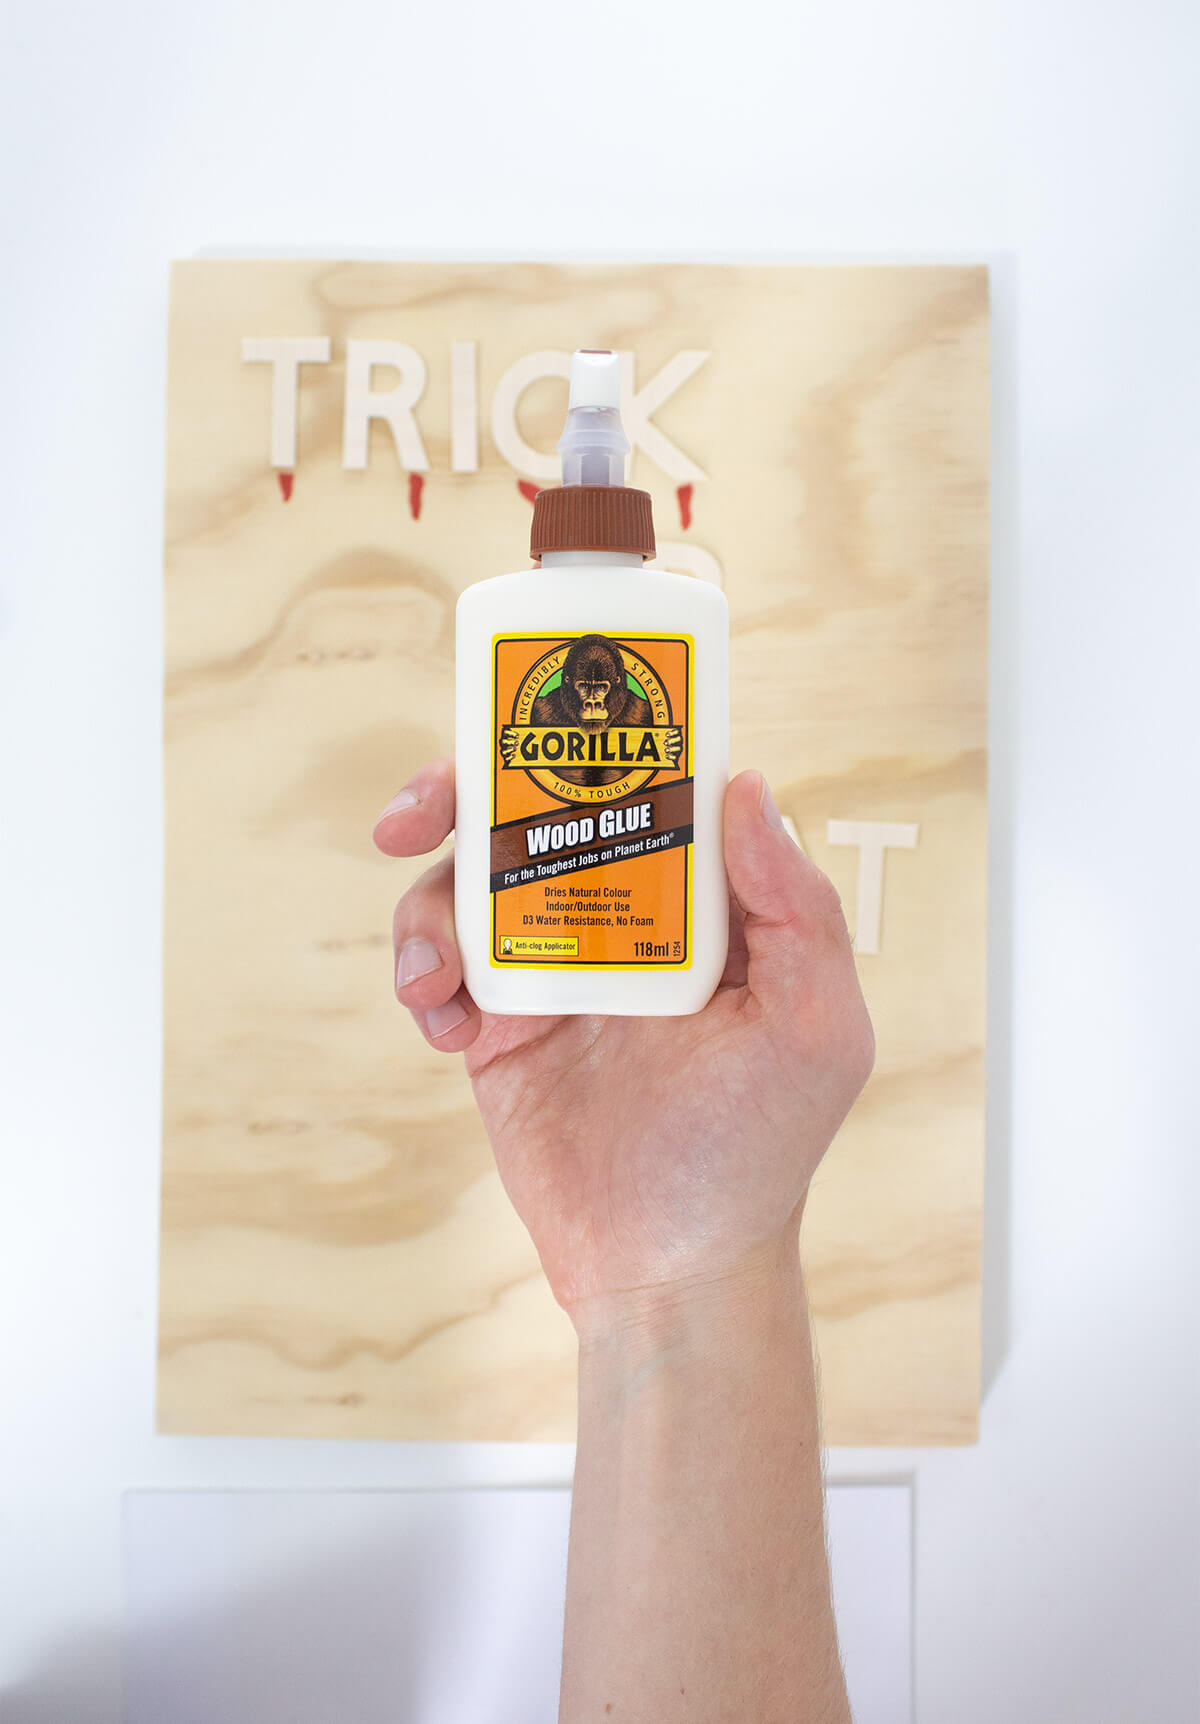
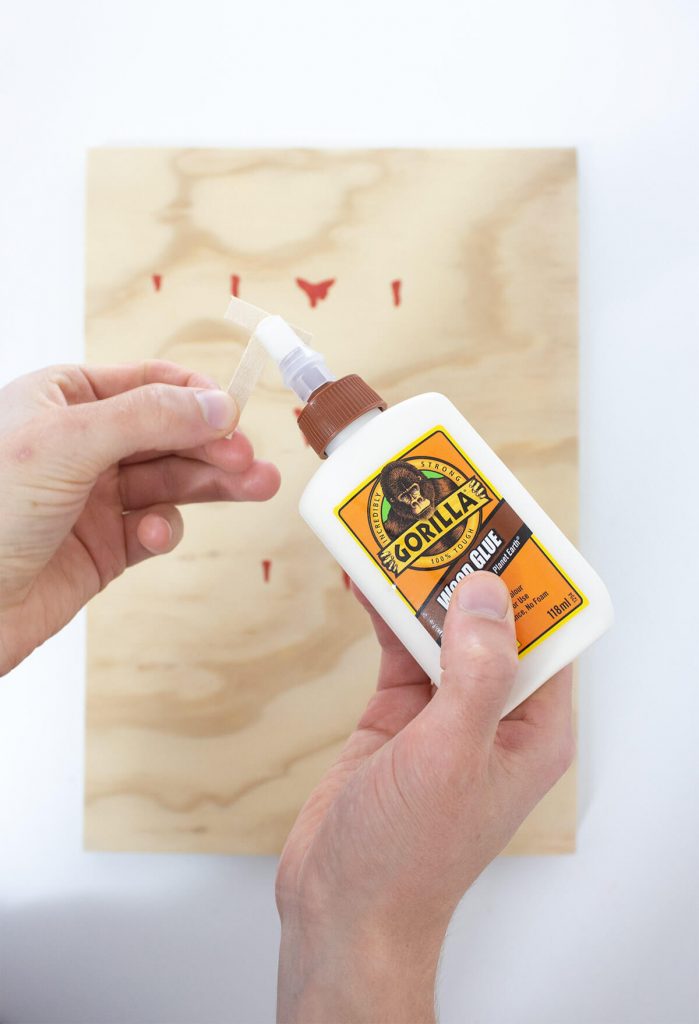
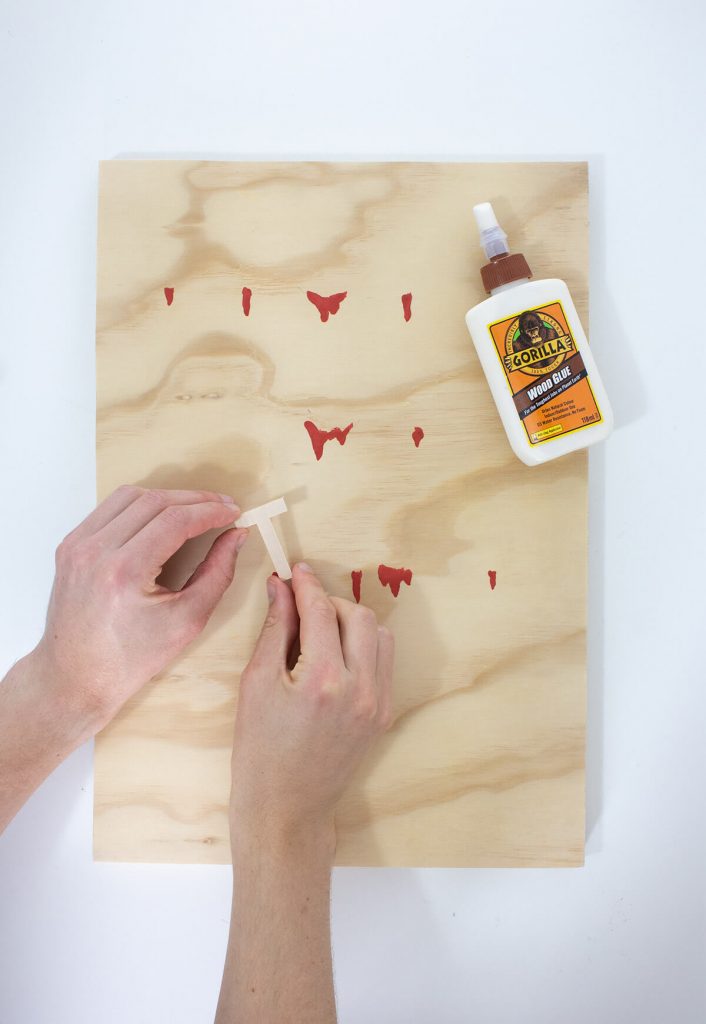
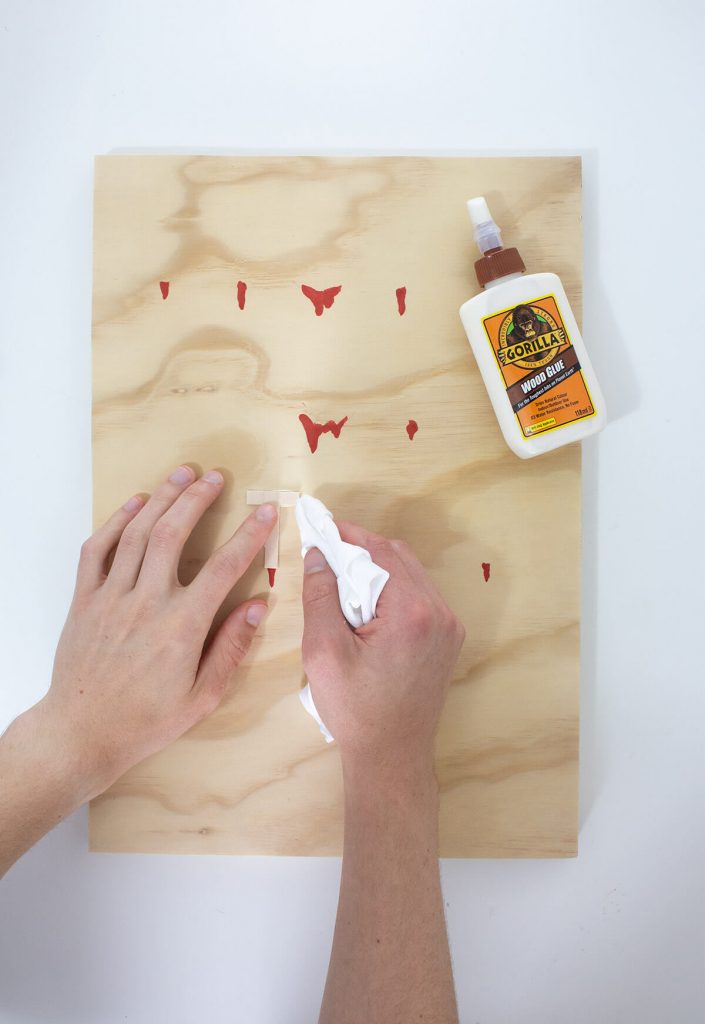
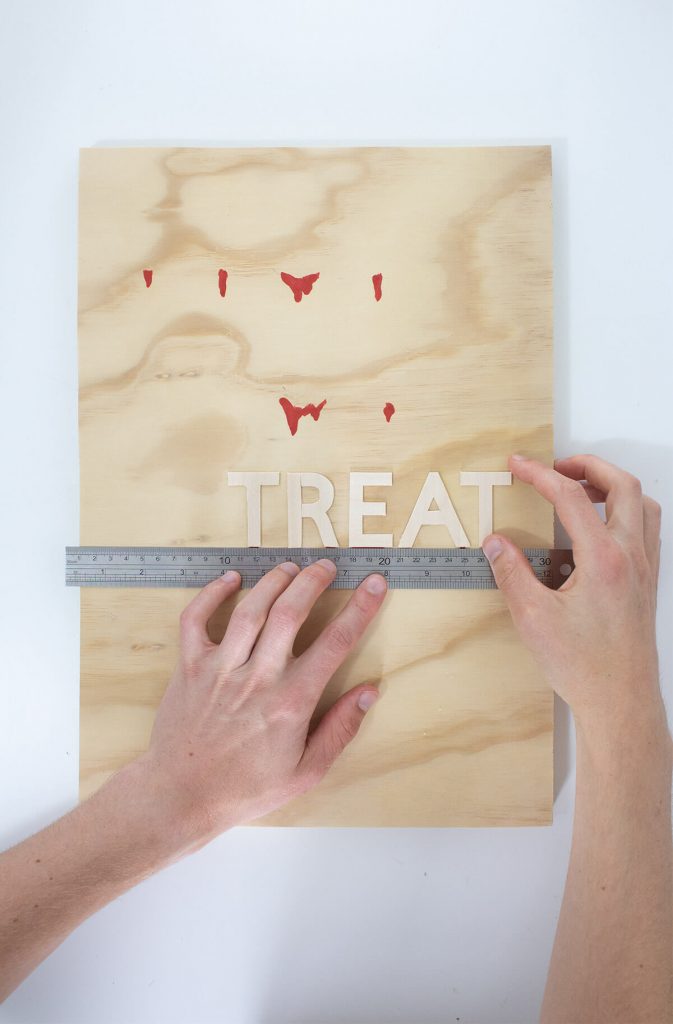
6. Apply a small amount of Gorilla Wood Glue to the back of a wooden letter. Don’t apply too much – this glue is really strong, and the letters are very lightweight, so less is more! Place the wooden letter onto your plywood, lining up with the pencil lines and the blood paint. Firmly press the letter down. If any glue oozes from the side, wipe it away with a clean cloth. Repeat this for every letter, using a ruler to ensure they line up neatly. Put something heavy on top and leave the glue to dry for 24 hours.
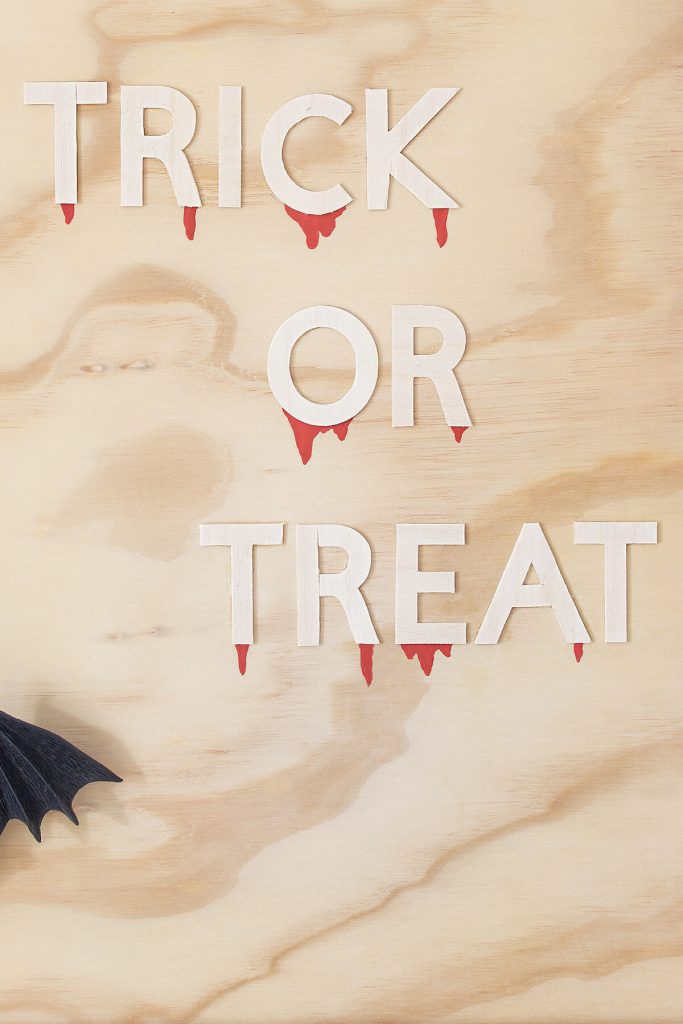
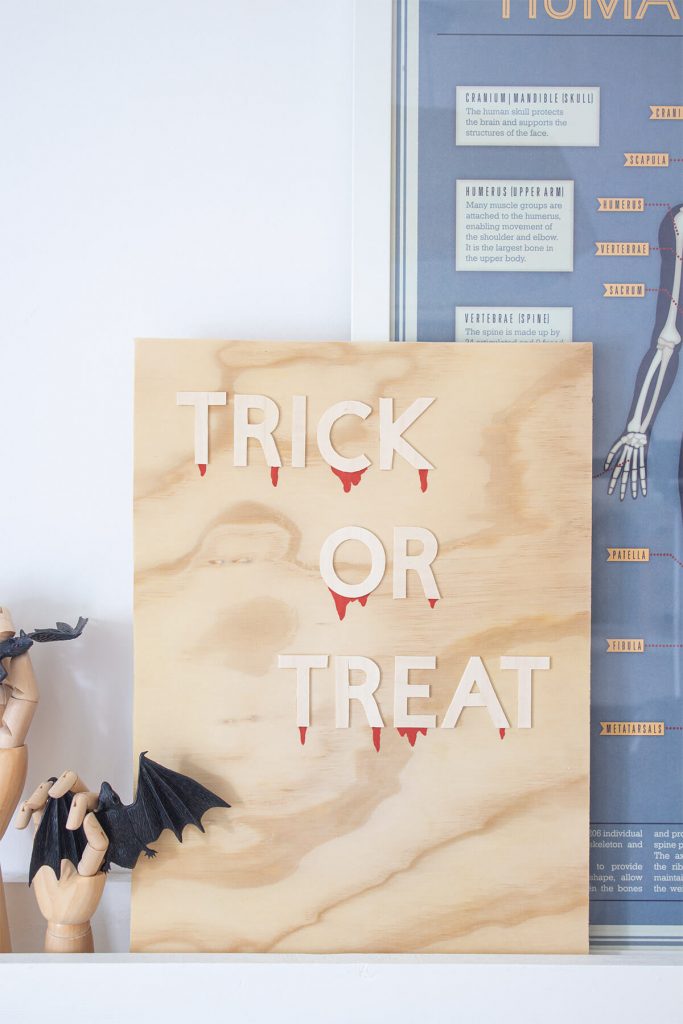
My Trick or Treat wooden DIY Halloween decoration matches perfectly with this neon light-up pumpkin I made a few years ago. I seem to be making myself a growing collection of plywood Halloween decorations!
Of course, you could swap the “Trick or Treat” phrase to say anything you like. How about “Eat, Drink and Be Scary“, or “Hubble Bubble Toil and Trouble” for a Halloween party prop? Or “Creep it real“? Or simply “Happy Halloween“!
Happy crafting! 🙂 – Mike.
Like this? Save it to Pinterest so you can make it later!


No Comments