
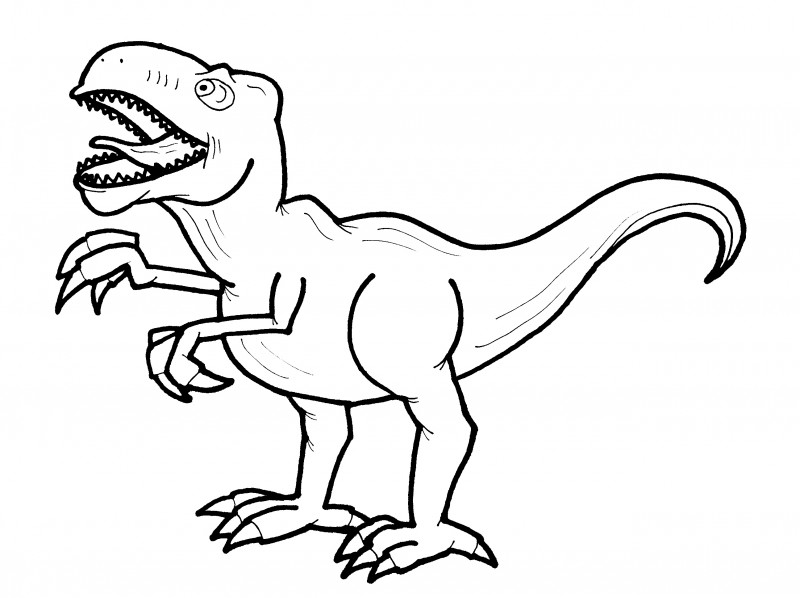
 Not many people know this about me, but I love drawing. I practically spent my whole childhood churning out drawing after drawing; anything from dinosaurs and monsters, to animals and buildings. I even remember a few cringe-worthy attempts at a self portrait (!). I still have most of my drawings stored somewhere in the depths of my Mum’s loft – it’s nice having a look through them from time to time.

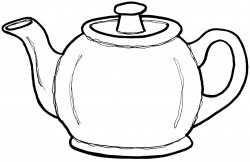
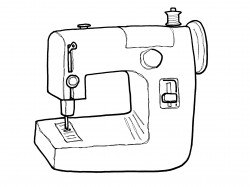
Sadly, as I’ve grown up and the responsibilities of adult life have taken over, I don’t draw anywhere near as much as I used to. It’s a shame really – the odd doodle here and there is about all I manage! However, when I relaunched my blog the other month, I thought I’d brush off the dust and see if my drawing skills were still up to scratch. I sketched a few pictures of simple DIY items and a few other bits and bobs. Nothing too complicated, just some simple black and white line drawings.


I’ve since had quite a few comments about these sketches, so I thought I’d share a little bit more about how I made them. The aim of this post isn’t necessarily to give advice on how to draw, but rather on how to turn a sketch into a bold line drawing and subsequently digitise it (without any fancy graphics equipment).
What you’ll need
- A smooth, clean piece of white paper (no wrinkles or marks!)
- A pencil (any type is fine; I used HB)
- Medium weight black marker pen
- Fine line black marker pen
- Smartphone or tablet, with a camera
What to do
With a pencil, sketch your image onto white paper. I like to draw freehand, but you can trace an image if you want to!

Next, you need to draw over the lines in black marker pen. You can see from my sketches above that some of the lines are thick and some are thin. But how do you decide which lines are which?
I have a really simple tip that my high school Graphic Arts teacher once told me – and I still use this tip today, nearly 10 years later! All you need to do is imagine that there is a little ant crawling over the thing that you’re drawing.
Sounds crazy, right? Stick with me.
Ask yourself: if the ant crawls over one of the lines, will it disappear from sight? If so, that line should be thick. For example, if the ant crawled over the top of my dinosaur’s head, it would disappear (it would be on the back of dino’s head). So the top of the head is a thick line. But if it crawled across its eye, it would still be visible – so these lines are thin. Use this little trick to fill in all of the lines on your drawing.

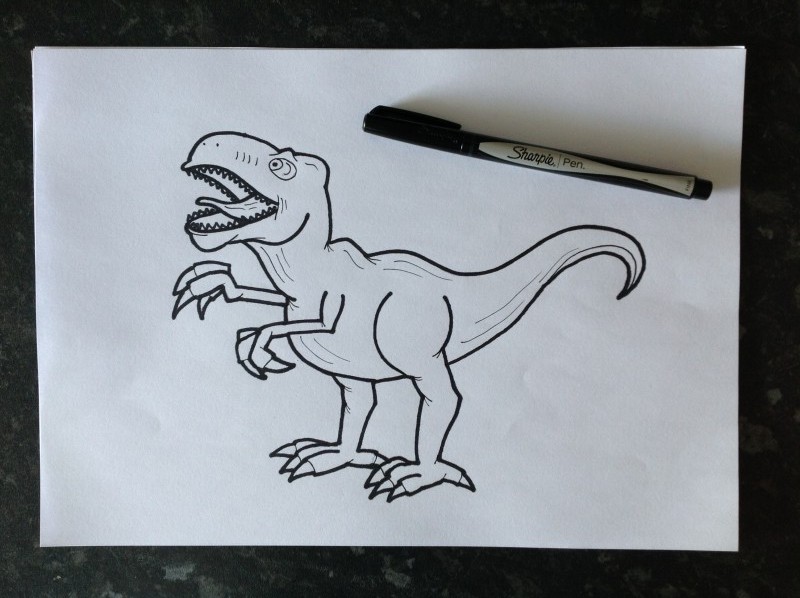
Once you’ve gone over all the lines in marker pen (thick or thin!), it’s time for my second handy trick – this time, how to digitise your sketch. First up, take a photo of your image on your phone or tablet. Make sure there’s good, natural light and the drawing takes up most of the screen.
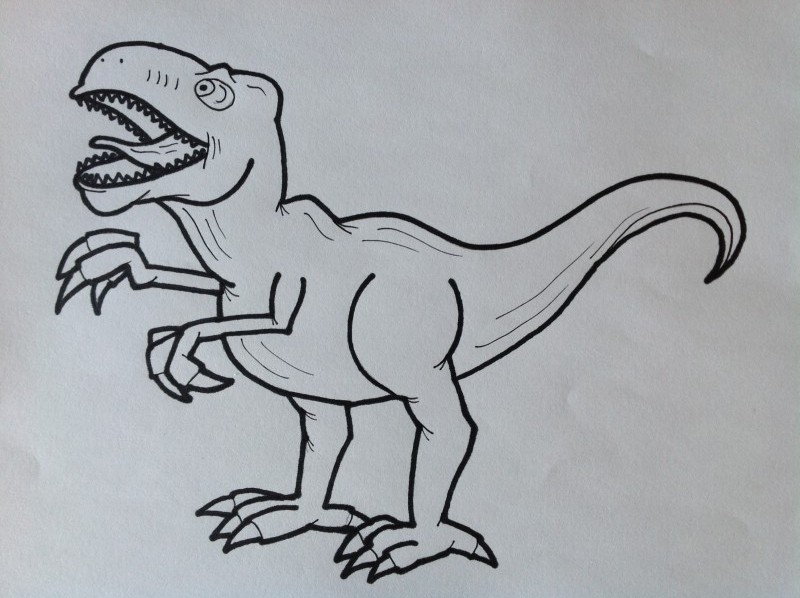
Now, use a photo editing app (there are loads available, but I normally use Snapseed) to tweak the image. Add a black and white filter, then set the contrast and shadow brightness to maximum. You might need to adjust the sharpness too. After making these simple changes, your digitised image should be complete!
Pretty simple, right? I hope these tips are useful! Now, if you’ll excuse me, I’m off to relive more of my childhood by drawing some robots and spaceships…



No Comments