
Note: the Cricut Foil Transfer tools in this post were gifted to me, with no obligation to share. All opinions are my own.
This post is an unboxing of the new Cricut tool. If you want to learn more about it, make sure to read my Ultimate Guide to the Cricut Foil Transfer Tool.
I am beyond excited to share something shiny and new today: the Cricut Foil Transfer Tool! It’s the latest gadget from Cricut, and it’s really cool. It allows you to apply foil details to a whole range of materials – card, balsa wood, vellum, kraft paper, and grey-board to name just a few.
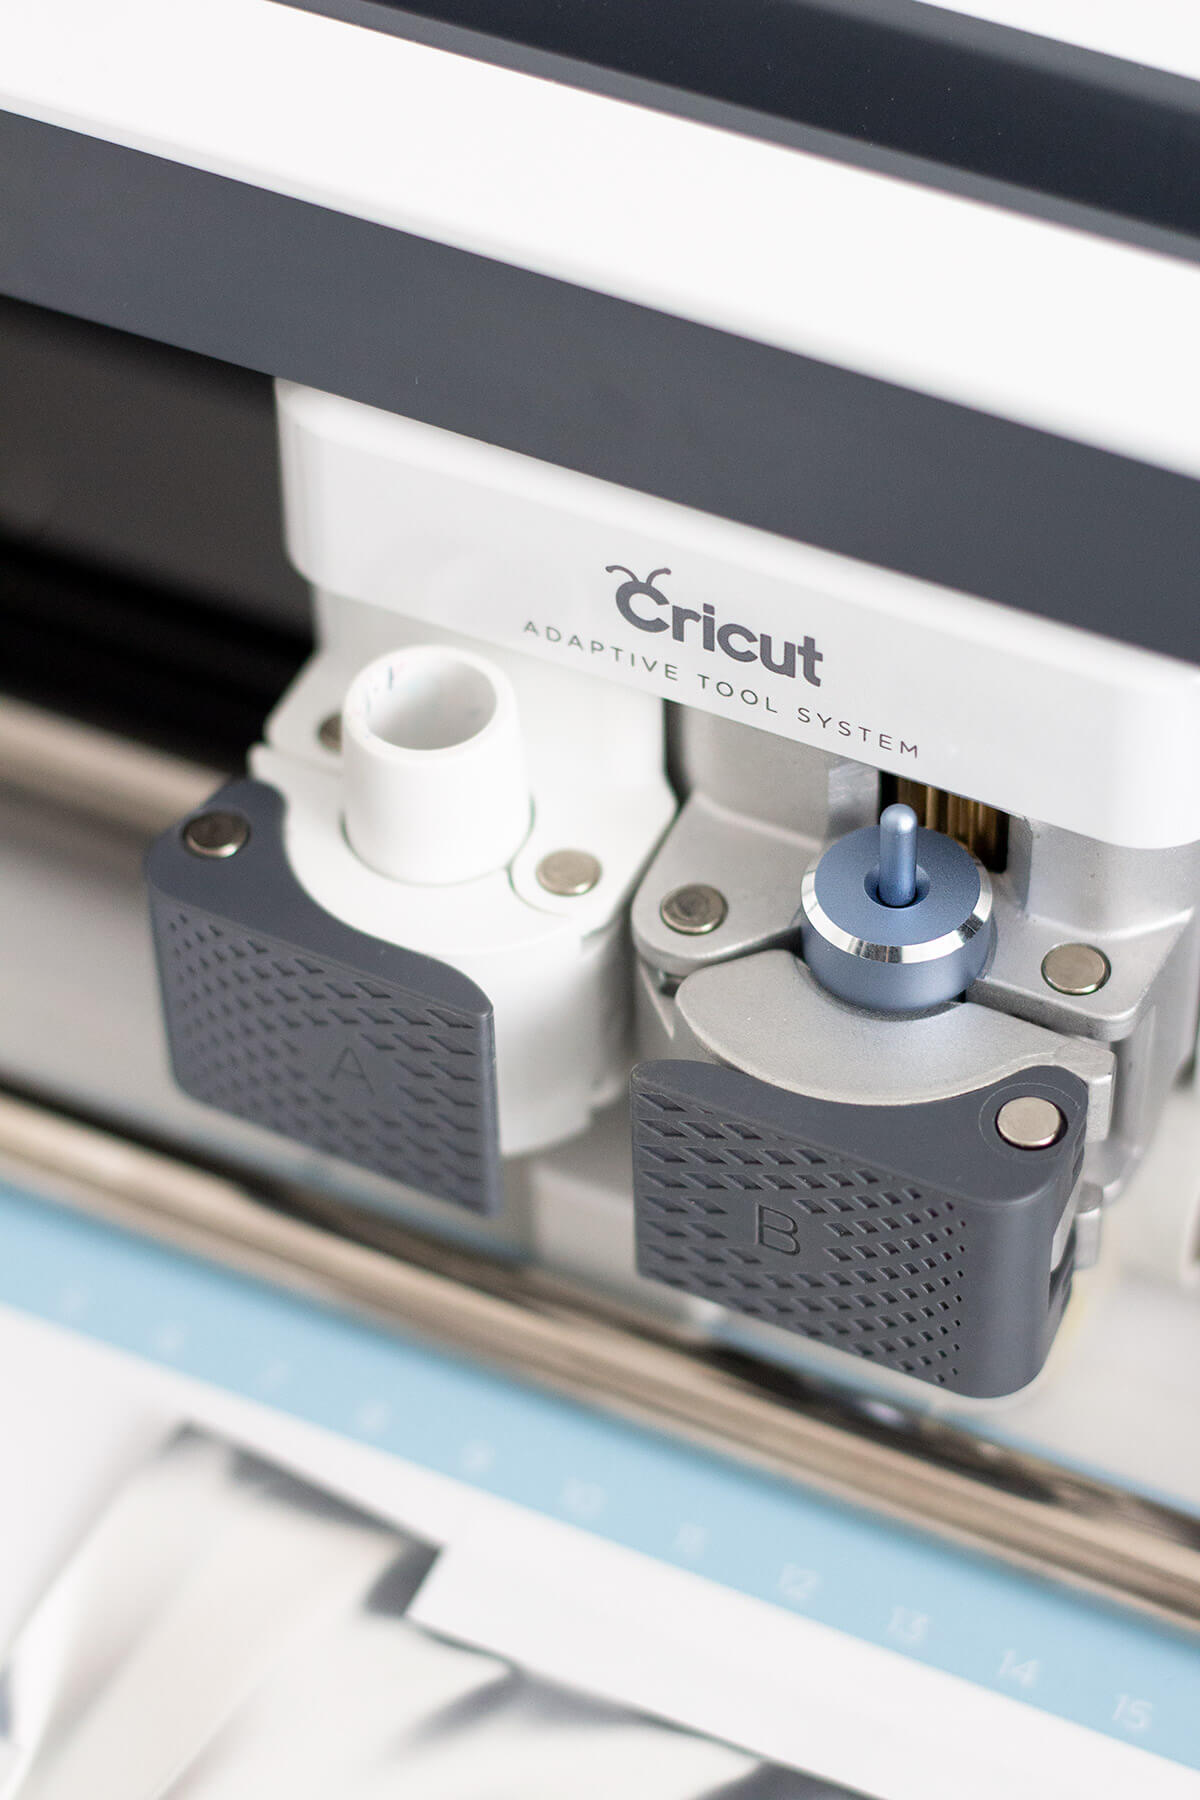
The new tools don’t need to be heated up (like traditional foiling tools); they work through pressure alone – so they’re safe and quick. And they’re compatible with both the Cricut Maker and the Explore Air 2!
Last month, I was invited to a special preview of the new tools and products. The event was hosted digitally, so I dialled in along with 20 or so other bloggers and influencers from across the world. It was the first time Cricut had shared the new tools externally – we all had to sign NDAs and were explicitly told to keep it top secret. I felt like the 007 of the craft world!
But today, the tools have officially launched. So I can share the details at last!
I’m currently working on a more detailed blog post that will explain the Foil Transfer Tool in lots more detail, so make sure you follow me on Instagram to see that. However, in this post I’ll be unboxing the new tools and sharing my very first makes with it.
Side note: You can also see my other unboxing blog posts here: Cricut Maker unboxing / Cricut Explore Air 2 unboxing. (And if you have no idea what Cricut is, check out my ultimate guide to Cricut. It will get you up to speed!).
Unboxing the Cricut Foil Transfer Tool
After the preview event, the Cricut team kindly sent me all of the new tools and foils to try out. I just about managed to restrain myself from opening them all immediately – so I could get some photos of them first!
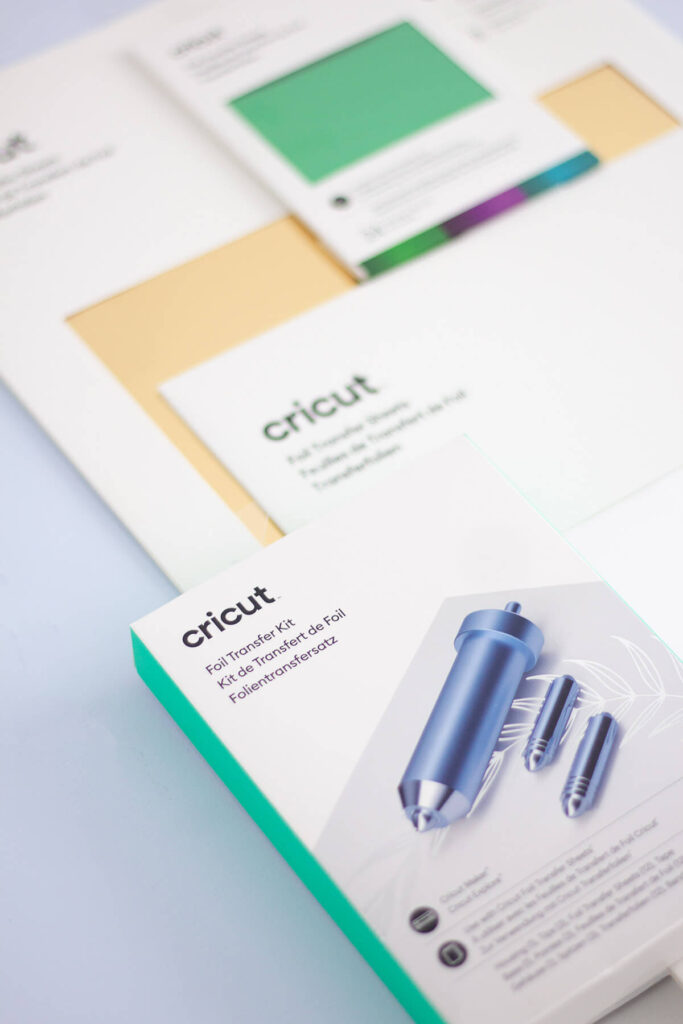

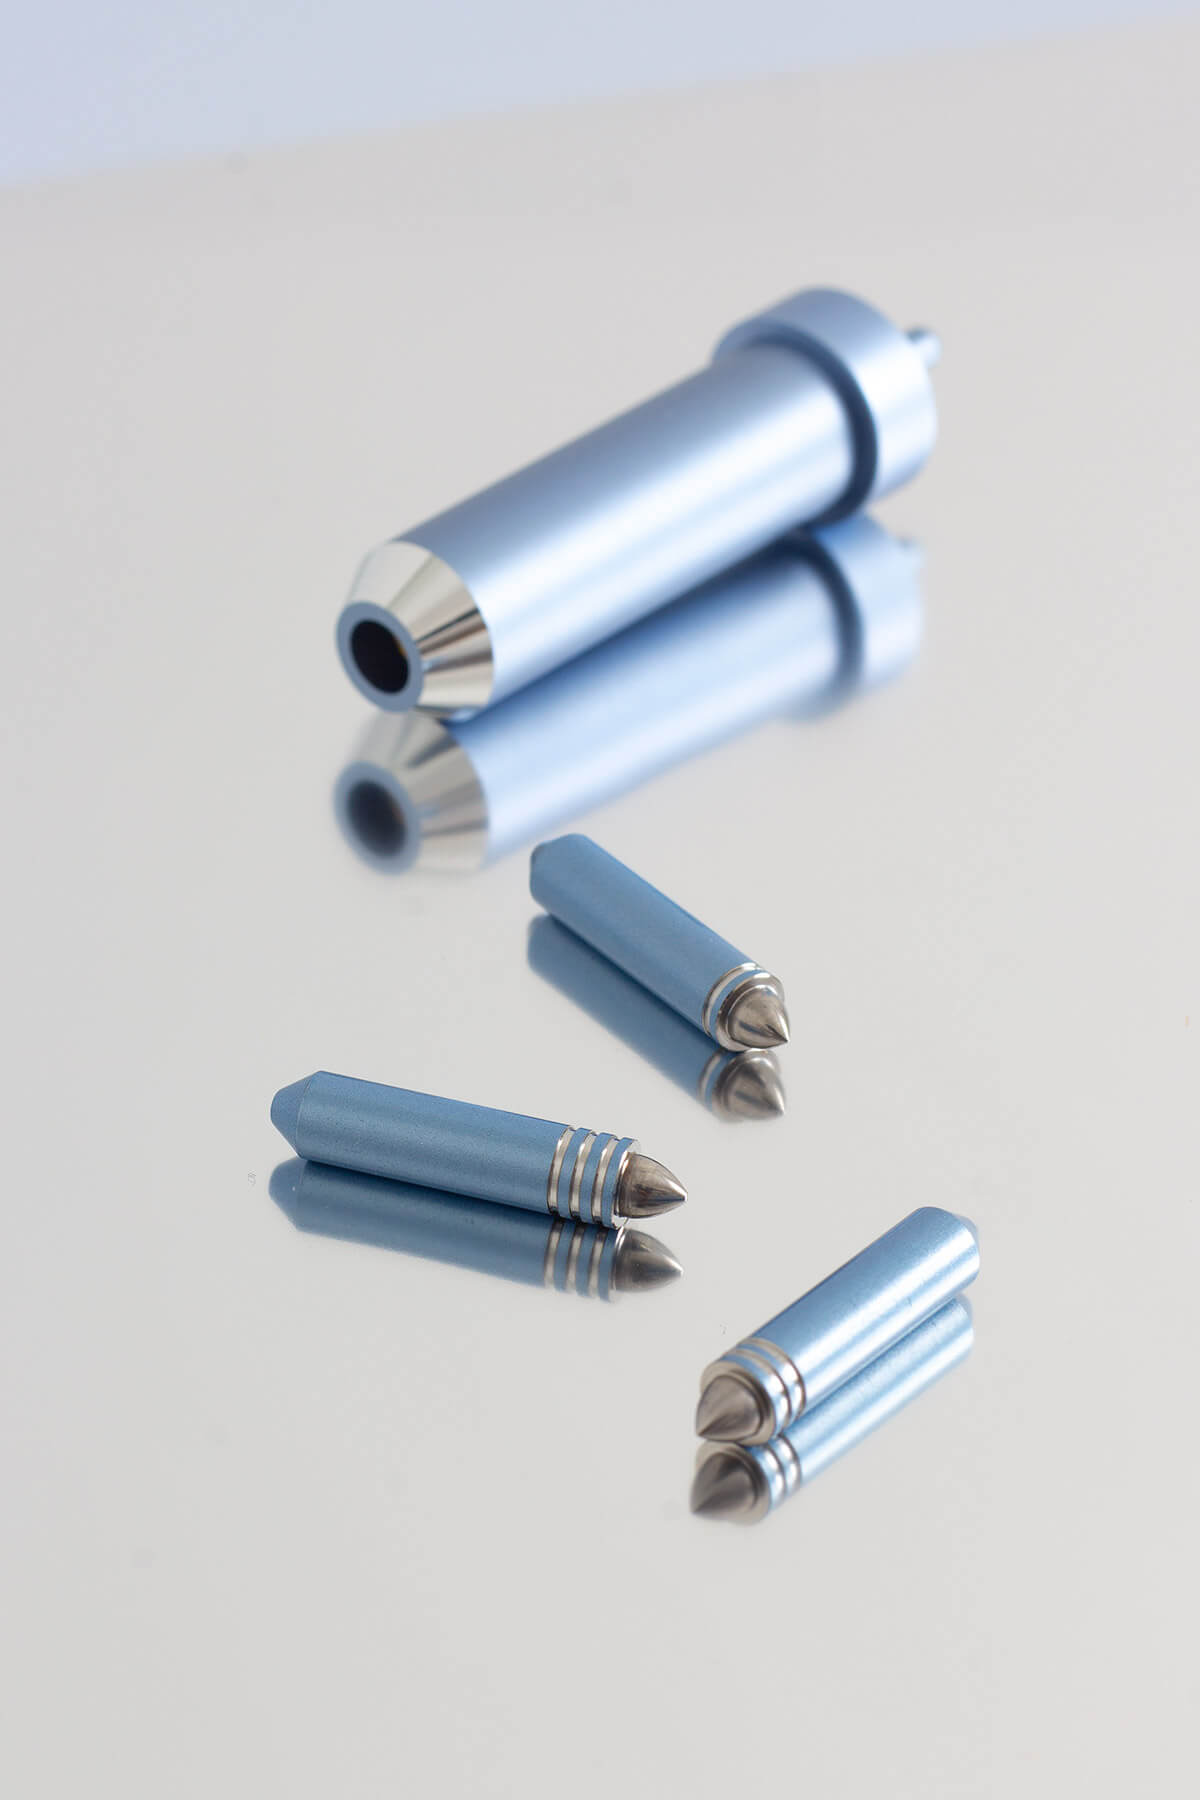
There are two things you need to use the new system: the tools, and a foil sheet. The tool is basically a blunt tip that slots into the Cricut machine, just like a blade or pen would. It comes with three interchangeable tips: fine, medium and bold. So you can experiment with different thicknesses of foil lines, depending on what works best with your designs.
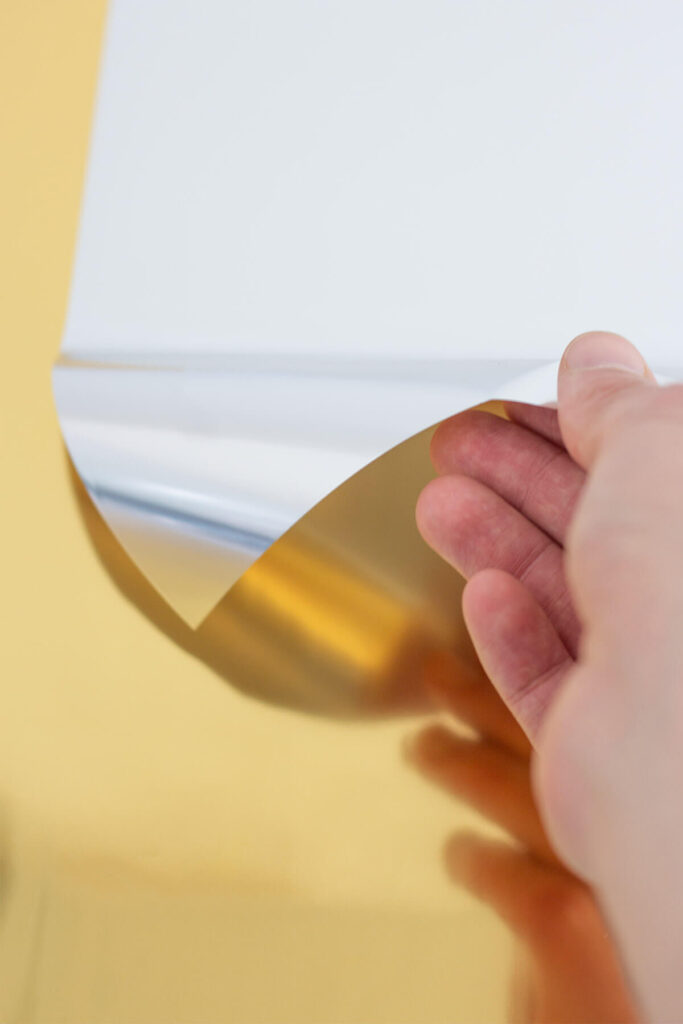
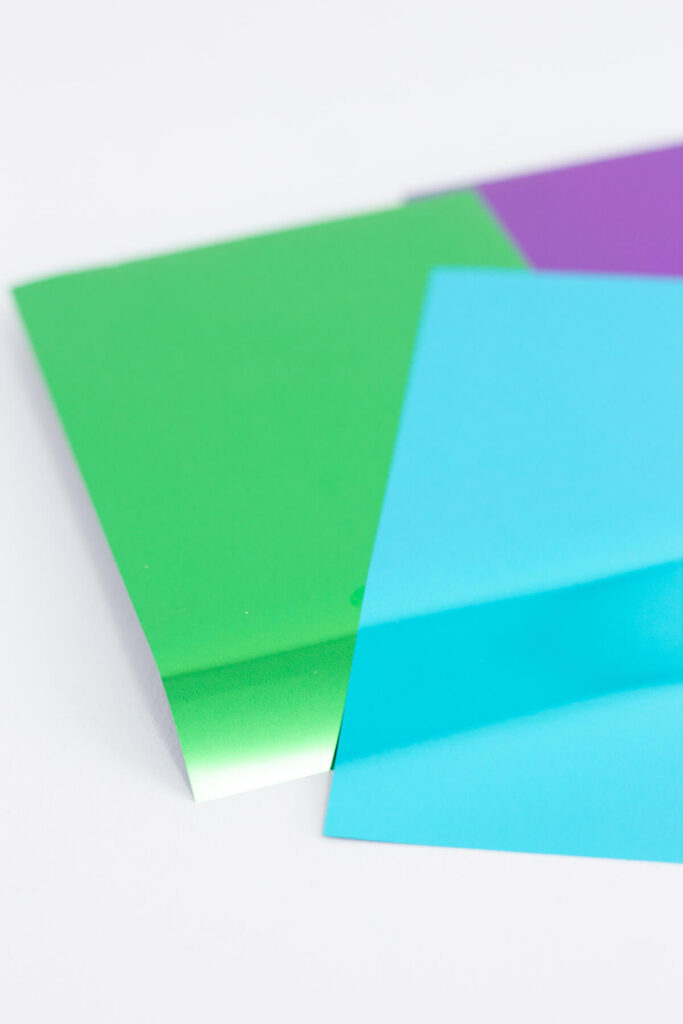
The foils come as very lightweight sheets, available in a range of rich colours. They’re almost jewel-like, they look really good! And they come in two sizes: 6″ x 4″ and 12″ x 12″. The smaller one is great for small makes like greetings cards. On the other hand, the larger one is big enough to fill your entire Cricut mat to get almost edge-to-edge foil coverage. Think of the possibilities!!
How does the Cricut Foil Transfer Tool work?
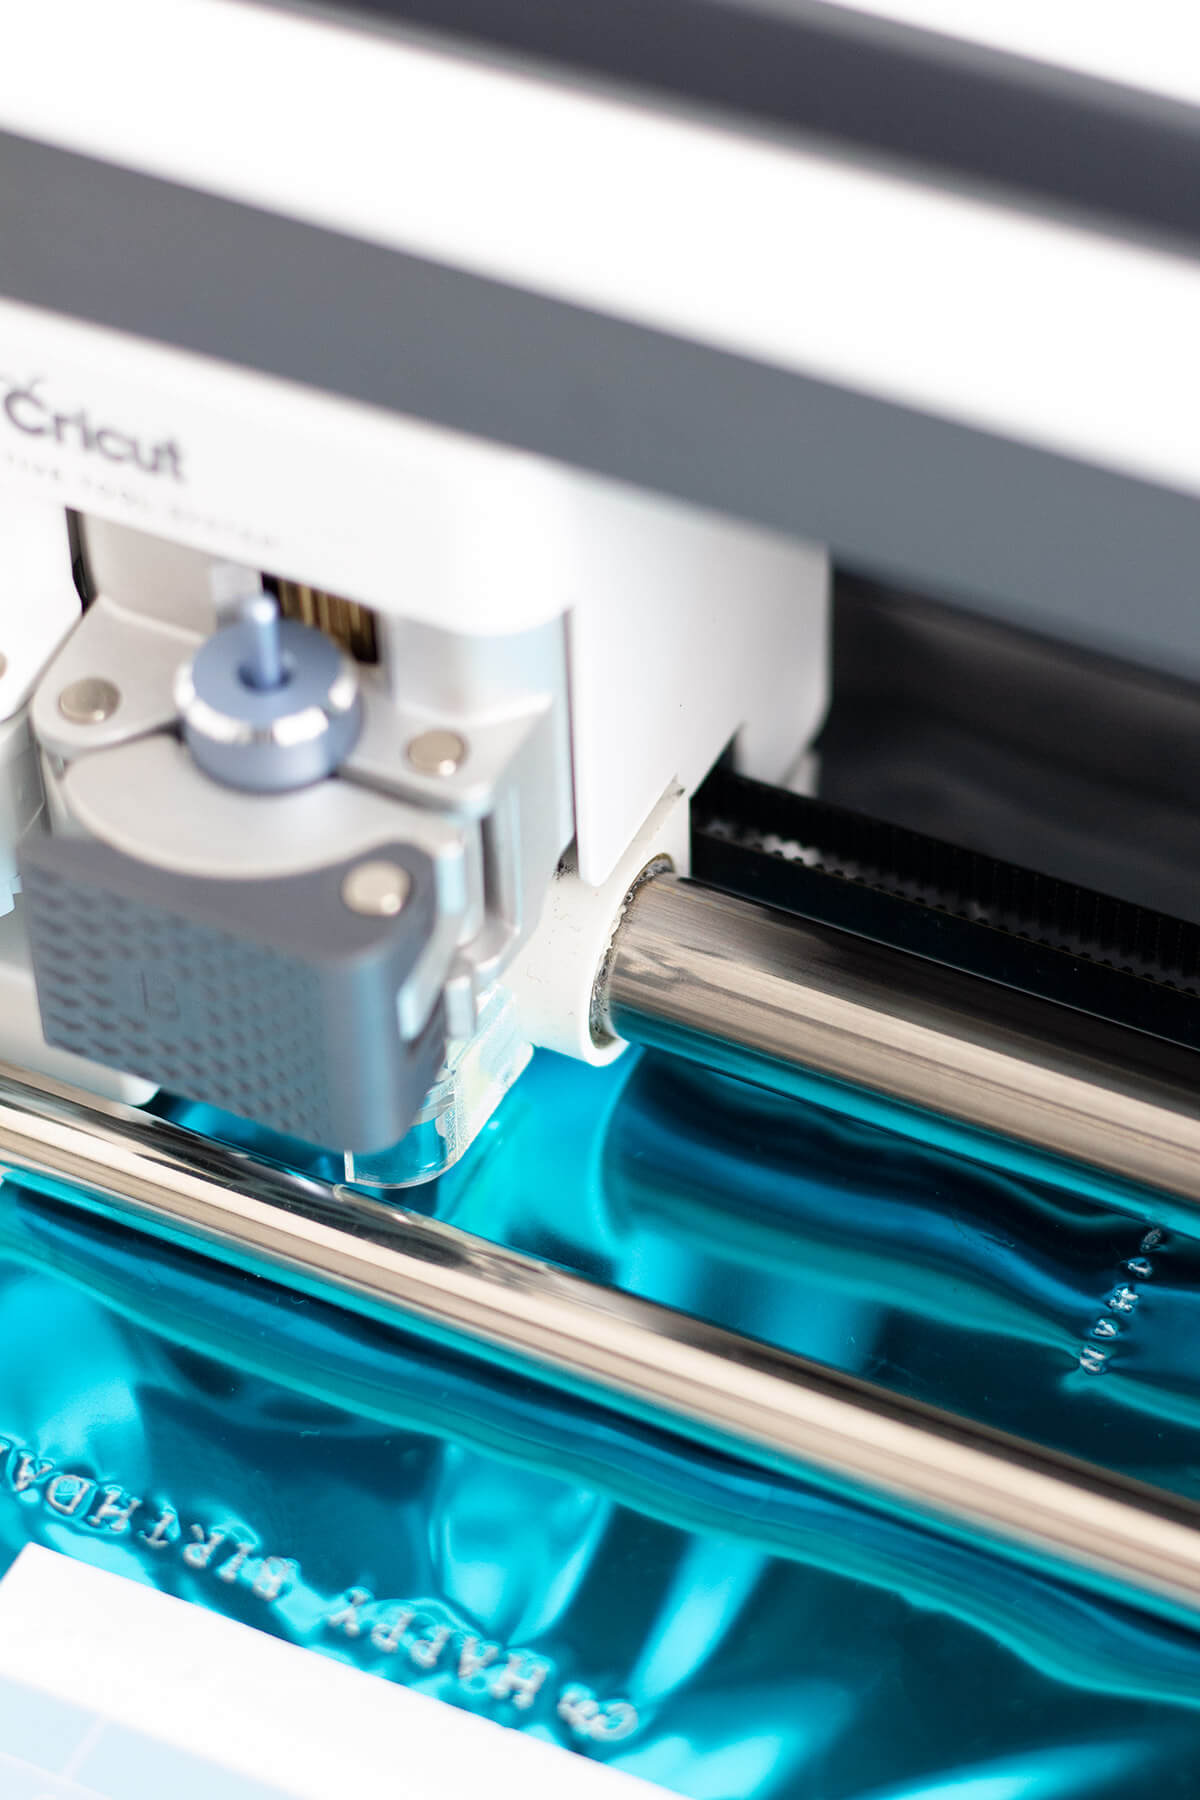
The Foil Transfer Tool is pretty easy to use, once you get the hang of it. You position your blank onto a Cricut mat as usual, just like you would if you were cutting it. Then you place the foil sheet on top, and stick it in place with the pre-cut sticky tape that comes with it (no need to buy this separately).
The machine then presses the foiling tool over the foil sheet to transfer your design onto the project. When it’s finished, peel away the foil to reveal the finished design!
My first makes with the Cricut Foil Transfer Tool
Before the preview event had even finished, my mind was whizzing with ideas of what I could make! Cards, boxes, wall art, gifts…
To stop me going into meltdown with all the possibilities, I decided to start pretty simple for my first makes. I used the smaller 6″ x 4″ sheets to add some foil messages to greetings cards. I also used my Cricut to cut them out and score the fold line.


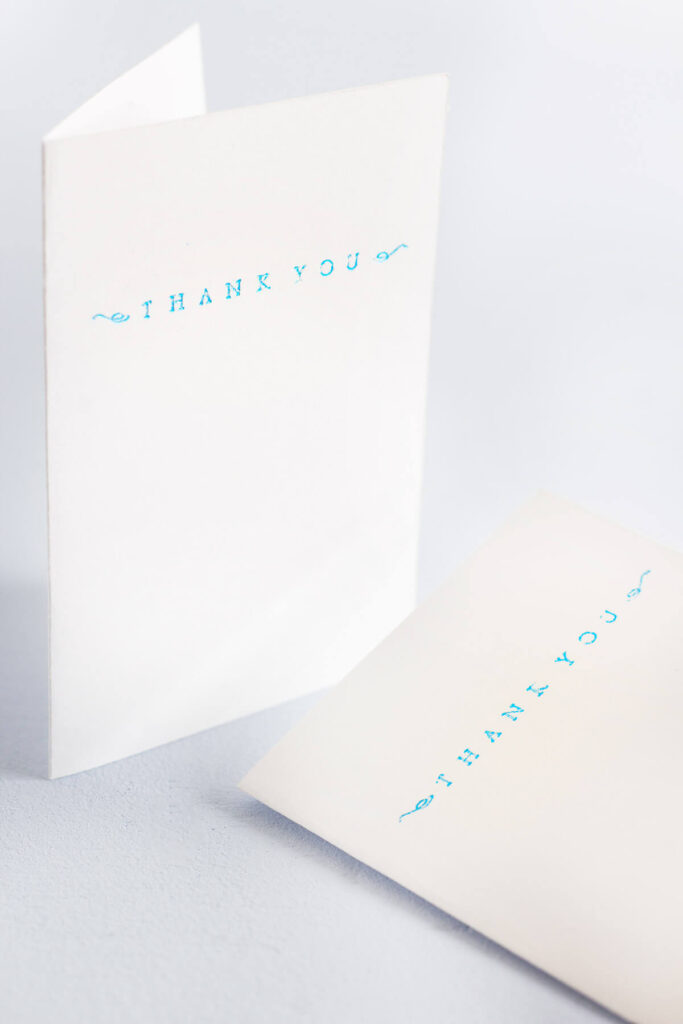

The sentiments and illustrations that I’ve added to the cards are all available in Design Space. I just love how simple and elegant the foil looks! The colours are so rich, so they really pop against the blank card.
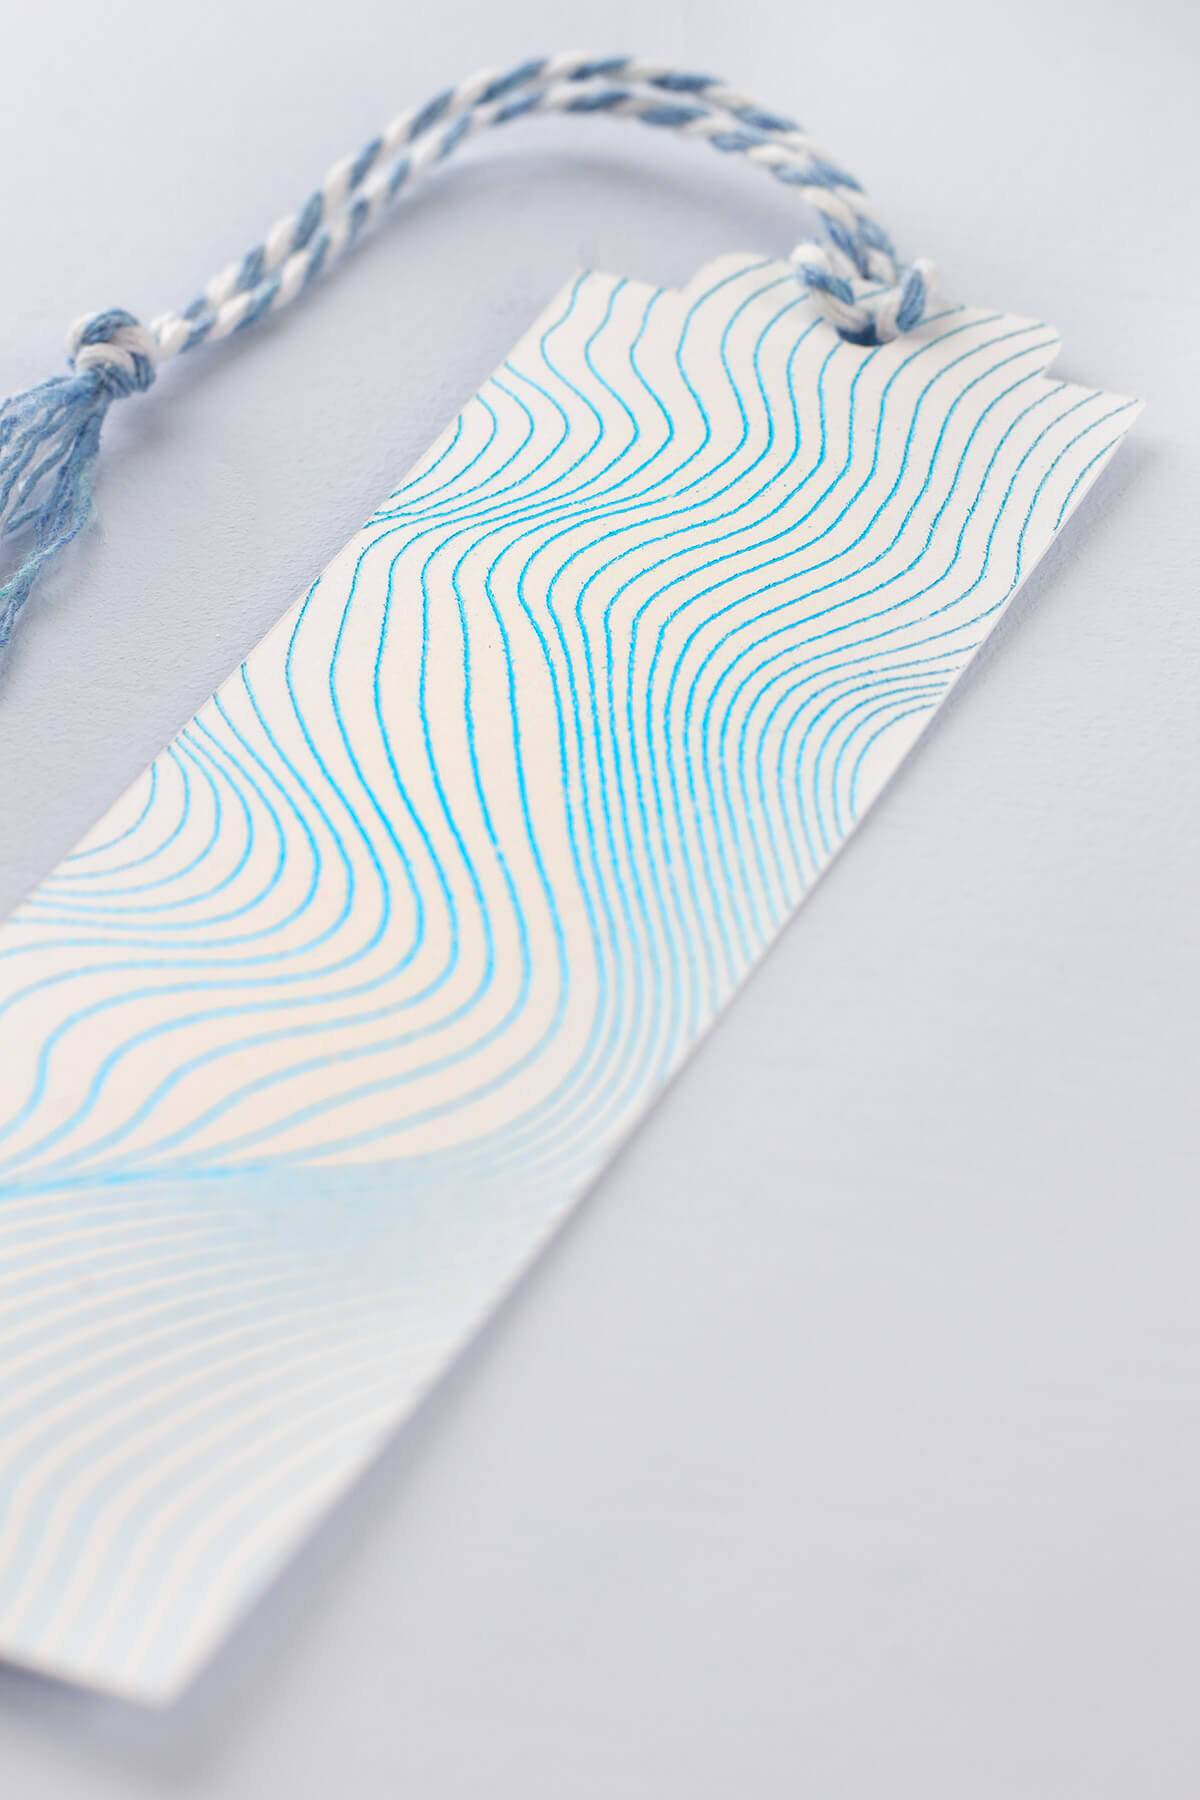
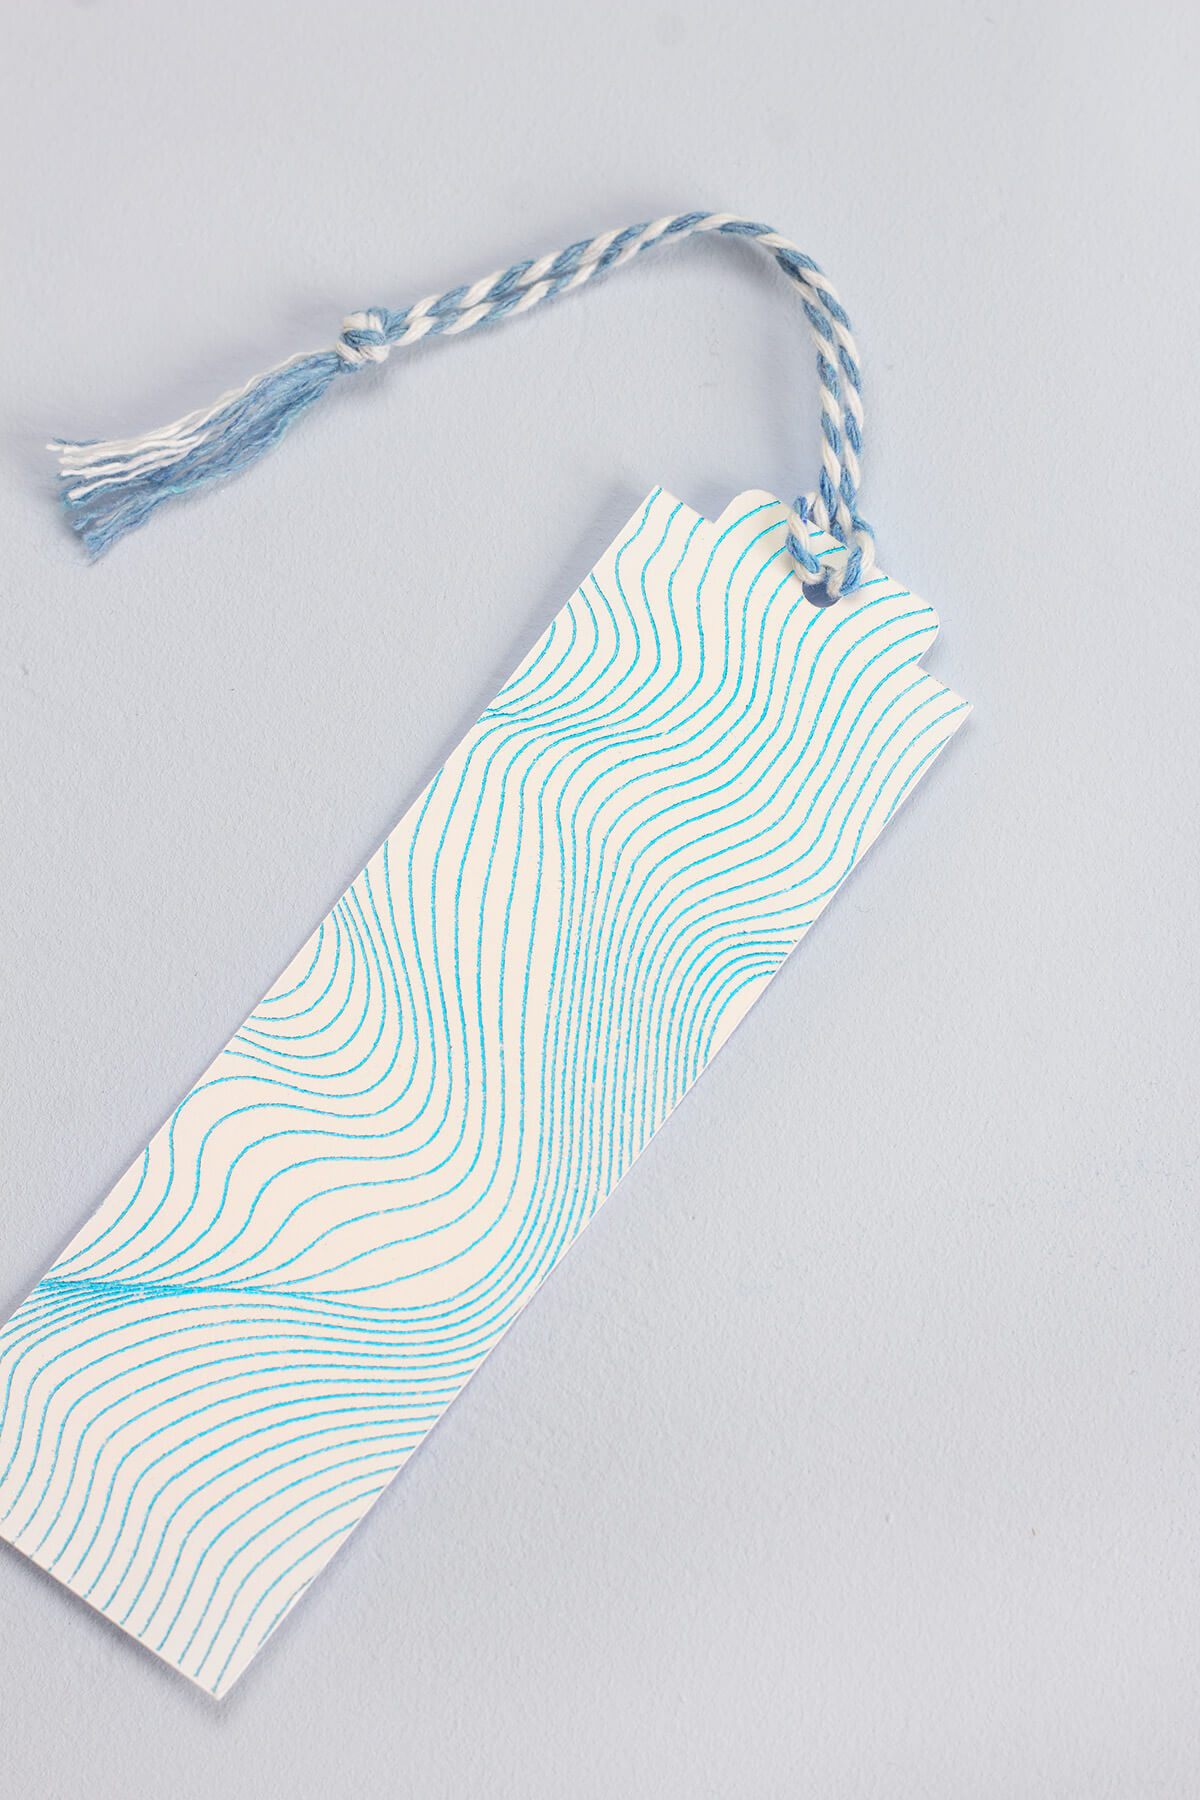
Encouraged by how well the cards turned out, I decided to try something a little more intricate. I found a really cool abstract line drawing on Design Space, which I though would work really well as a bookmark. I used my favourite foil (the rich blue) and applied it to some 280gsm card, then cut it to size with the Cricut fine point blade. It was then a simple job to thread some twine through the hole at the top – an easy, professional looking bookmark in literally minutes. So cool!!
The Cricut Foil Transfer Tool is available to buy now, from all Cricut stockists. I’ve popped a few affiliate links below – if you use these links, I’ll get a small commission (at no extra cost to you!). Thank you. 🙂
As I mentioned at the start of this post, I’ll be sharing a much more detailed guide to the new foil tools soon. So keep your eyes peeled for that. And if you want more Cricut ideas, check out my Cricut archives.
Happy foiling! 🙂 – Mike.



2 Comments
Kayleigh Smith
September 28, 2020 at 10:42 pmHi thanks for the post really helpful iv tried foiling then cutting a shape around it but its not lining up….any tips? How did you do the tags foil then cut to shape? I tried attaching but still not in line.
Thanks so much
Mike
September 29, 2020 at 10:11 amHi Kayleigh! Thank you, I’m so glad the post was helpful! Regarding lining up the cutting and foiling, this is all done within Design Space. Line up the cut/foil layers perfectly on the canvas, select all layers, then click the ‘attach’ button – this will keep them together when you click ‘Make’ and go through to the mat preview screen. Then follow the instructions to add the foil detail. Once the foiling is done, DO NOT eject the mat – that’s really important. The mat needs to stay locked in the machine, or it might move slightly and mess up the alignment (maybe that’s where you went wrong?). Just peel the foil off while the mat is still locked under the bar and held in place. Then swap to your blade, and it should cut out perfectly. 🙂 I hope this helps! – Mike.