
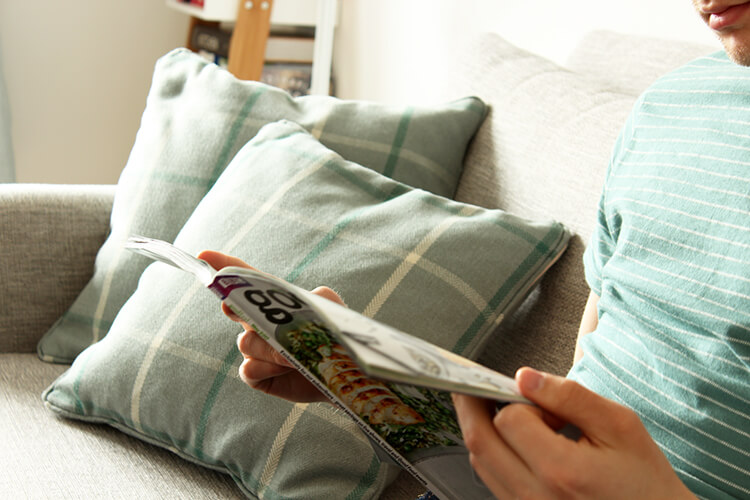


I remember waaay back in early High School, when I first used a sewing machine. Looking back, it was probably a pretty basic machine, and I’m sure that I was useless at using it to start with – but that didn’t matter, because I loved it. As a young, naïve, budding crafter, my mind was blown at the sheer possibilities of the machine sitting in front of me! I could sew fabrics together! The only limit was my imagination! (and my very limited skills, of course…).
The first thing I remember making was a cushion cover. It was inspired by ancient martial arts (I was really into Power Rangers…), and it featured a yin and yang design in high contrast black and white silk. Yep, sounds pretty gross. BUT, it was my first sewing machine creation, and I was so proud! Since then, I’ve made plenty more cushions (see here for the latest one) – and, thankfully, my sewing skills have grown along the way.
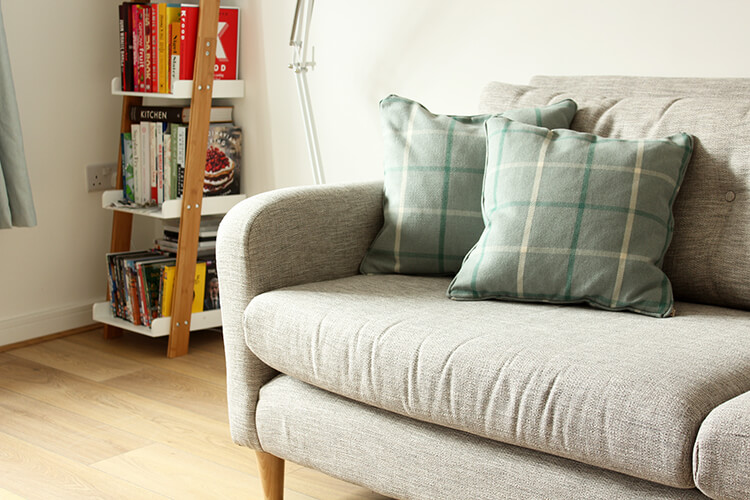
My latest DIY cushion design features a concealed zip and piping around the edges, made from a textured tweed-like material. It’s actually the first time I’ve tried making my own piping, so I thought I’d share how I did it – and the lessons I learnt along the way.
How to make a DIY cushion with piping detail
Supplies you’ll need

- Cushion fabric (a medium or heavy cotton is perfect)
- Cushion insert
- Piping
- Concealed zip
- Sewing machine
- Thread
- Loads of pins
Tutorial
- Measure the height and width of your cushion insert, and make a note of these dimensions. Add a 2cm seam allowance, then cut out two pieces of fabric to this size. So for example, if your cushion insert measures 45cm by 45cm, you’ll want to cut out two squares of fabric, each measuring 47cm x 47cm.
- Cut out a long strip of fabric, approximately 5-6cm wide. Ideally, the strip should be long enough to go all around the edge of your cushion, with 20cm excess (so, using my example from step one, it would ideally measure 45cm + 45cm + 45cm + 45cm + 20cm = 200cm). However, this would require a very long piece of fabric! So, if you can’t cut out one continuous piece, it’s totally okay to sew together several smaller pieces until it’s long enough. To do so, use this method.

- With all the fabric pieces cut out, it’s time to pin. Star off by laying one of the large pieces of fabric right side up. Take your long strip of fabric and place it right side down, on top of the larger piece, with the top edges lined up (it’s easiest if you align the corner of the large piece to the corner of the long strip).
- Next, place your piping onto the long strip of fabric and fold over the strip (lengthways), so you basically sandwich the piping in the middle (at this stage, the piping should be pointing inwards to the centre of the cushion). Pin the fabric layers together, so that the piping is securely held in place.

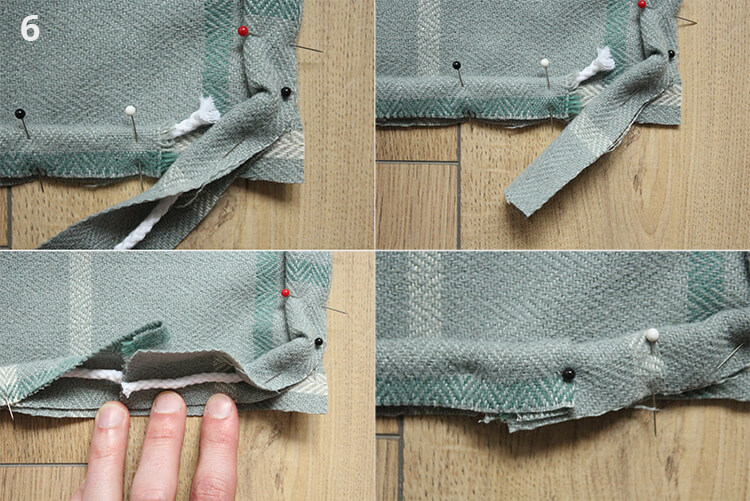
- Move along the long strip and keep pinning it in place, with the piping in the middle, all around the edge of the cushion. When you get to a corner, simply curve the fabric/piping round as tightly as you can and keep pinning along the next edge.
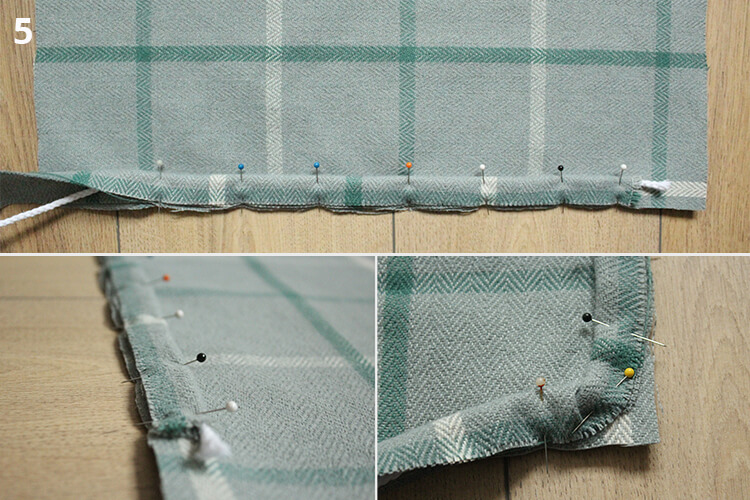
- Eventually, you will get back to where you started. Trim the fabric strip and piping, so that it only leaves a 5cm overlap. Then, simply tuck the end of the fabric strip/piping into part you started at, so it creates a continuous loop. If there are raw edges, fold them inside to prevent fraying. Pin this securely in place.
- With the piping now assembled and pinned in position, you’ll need to sew it all in place. Using a sewing machine, run a stitch all around the edge (keeping it as close to the piping in the middle of the fabric as possible), removing the pins as you go. However – leave one side alone, as you need to add the zip before you sew it closed.

- To add the zip, lay it face down onto the piping that you’ve already pinned in place. Then, pin one side of the zip onto the edge of the cushion (along the same line that you have already pinned the piping down). Feel free to remove some of the original pins as you go, or you will quickly end up with more pins than fabric!

- Once the zip is pinned down, open it fully and sew it securely in place, removing the pins as you go. This line of sewing will secure one half of the zip in place, whilst also sewing the piping together.
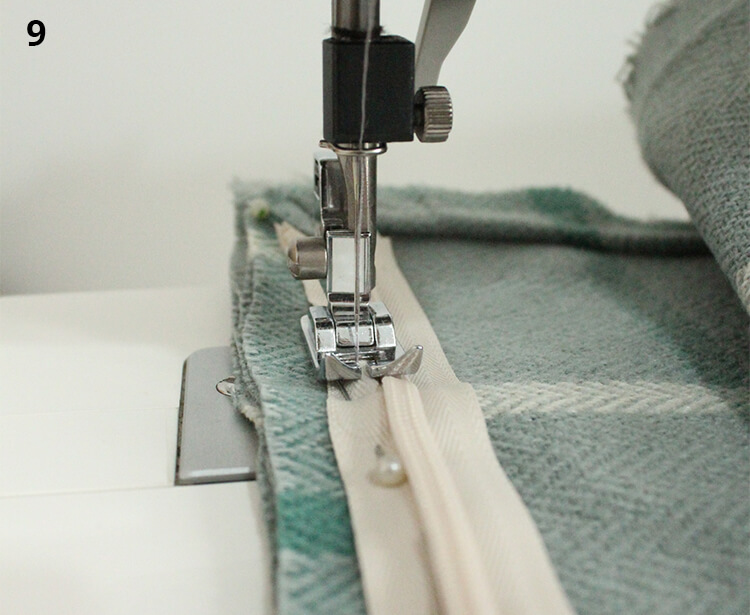
- Open the zip and sew the other side of it to the edge of the second large square of cushion fabric. Close the zip.

- Place the two squares of fabric against each other (right sides facing in, so that the piping is sandwiched in the middle) and pin in place. Sew all around the edges (except for the side with the zip). Finally, open the zip and turn the whole cushion cover inside out, through the zip hole.


I’m really glad I decided to make my own piping for this cushion. It was a bit fiddly, but overall it really wasn’t as hard as it first seemed – yet it adds a nice, professional finish. I’ll definitely be trying a DIY cushion with piping detail again soon! – Mike.
Don’t forget to Pin this image, so you can try it later!


5 Comments
Gisella
August 23, 2022 at 4:11 pmGreat tutorial thank you – so much simpler than the others I looked at first 🙂
Chris
October 15, 2018 at 9:16 amGreat tutorial. Thanks.
Mike
October 15, 2018 at 9:49 amGlad you found it useful, Chris!
Craig
March 20, 2018 at 9:05 pmOhhhh! Can’t wait to try this Mike! I have 4 very sentimental cushions that my late mother made for me that don’t go with anything, so it’s time to dust off the sewing machine and give them a new life.
Mike
March 21, 2018 at 1:45 pmThat’s such a great idea! I love the idea of transforming something sentimental into something new and fresh. 🙂 – Mike.