

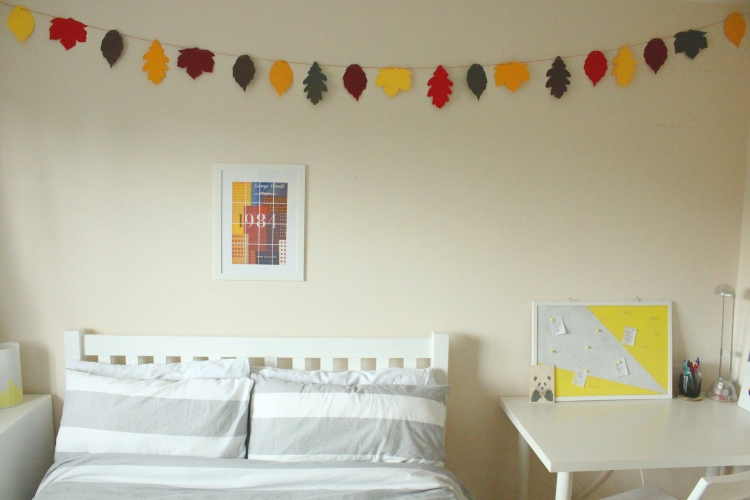
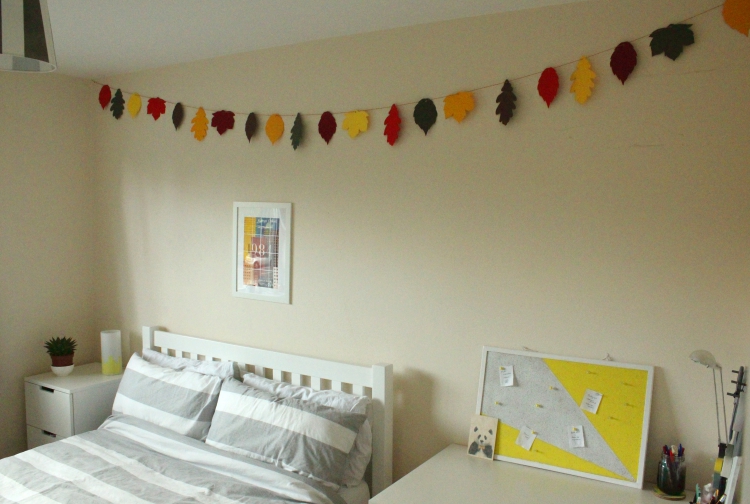
 In case you missed it, I love autumn! One of my favourite things about this time of year is seeing the green leaves slowly turn to an intense blend of fiery oranges, reds, yellows and browns. In the space of just a few weeks, entire forests and parks look completely different, so much more vibrant and bold!
I was inspired by these autumnal colours and wanted to bring a touch of the new season into my home, so I created this autumn leaf garland. It was pretty fun to make too, I just grabbed my scissors, stuck on a few episodes of Mad Men (yes, I’m really behind – no spoilers please!) and got crafting. A short while later, I had a brand new splash of autumn leaves across my wall… 🙂
DIY autumn leaf garland
What you’ll need
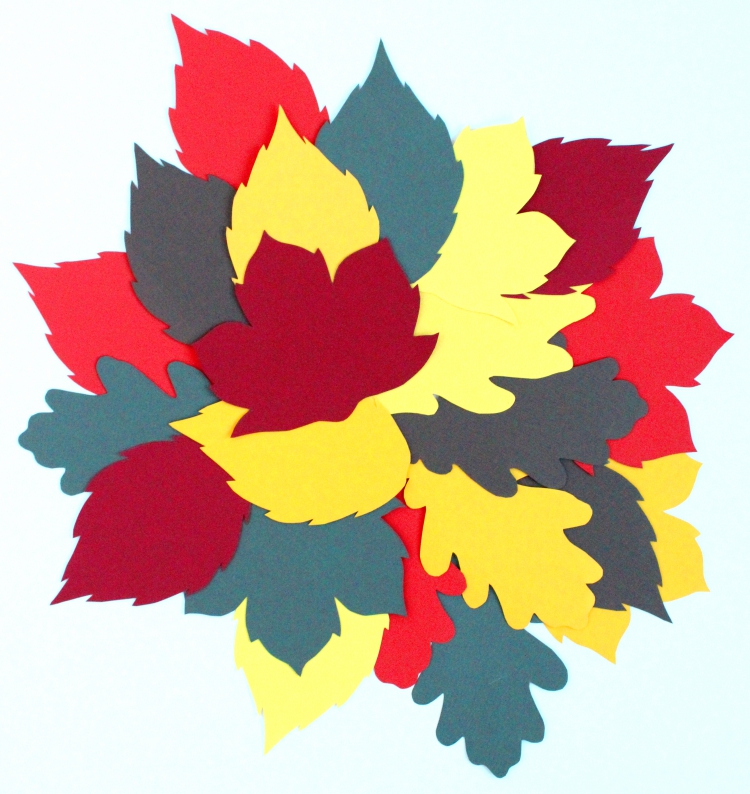
- Several sheets of card in a range of autumnal colours (choose three or four shades of: orange; yellow; red; brown; grey; dark green).
- Some scrap paper
- A pencil
- Good paper scissors
- A holepunch
- String or twine
What to do
- Sketch or trace a couple of leaf shapes onto scrap paper (in my autumn garland, I used a maple leaf, a beech leaf and an oak leaf), then cut them out.
- Use your templates to draw the leaf shapes onto the coloured cards. Draw as many or as little as you like, then cut them out carefully.
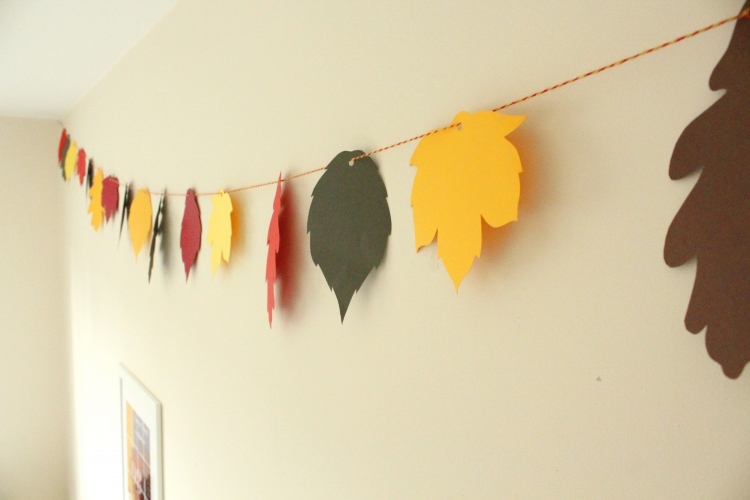
- Use a hole punch to make holes in the tips of each leaf you’ve cut out.
- Thread some string or twine through the holes on each leaf, then hang it up from a few nails hammered into the wall.

I think my new autumn leaf garland might be the start of a new craft tradition. I’m already thinking of making a pumpkin and skull garland for Halloween, snowflakes for winter, baubles and candy canes for Christmas… when it’s this easy to make one, why not?!
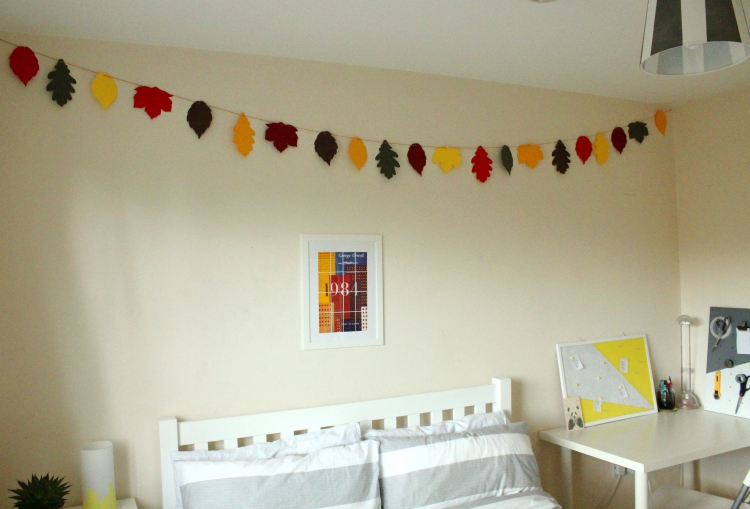
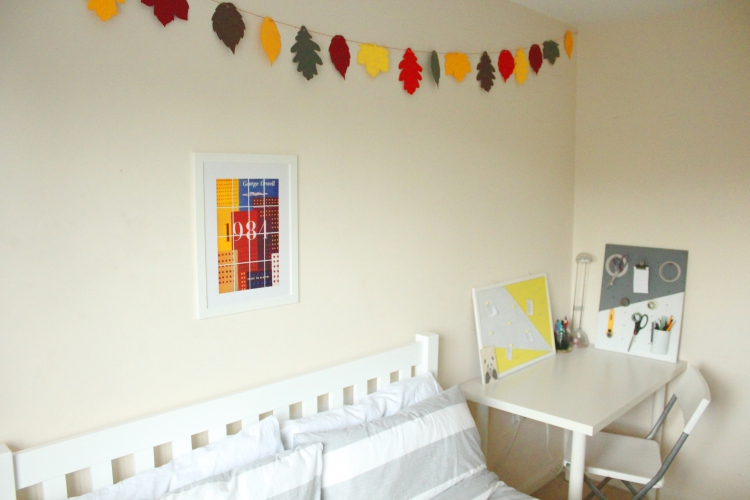 P.S. If you’re curious, in the photos you can also see my DIY mosaic wall art and my DIY wooden pegboard.


No Comments