


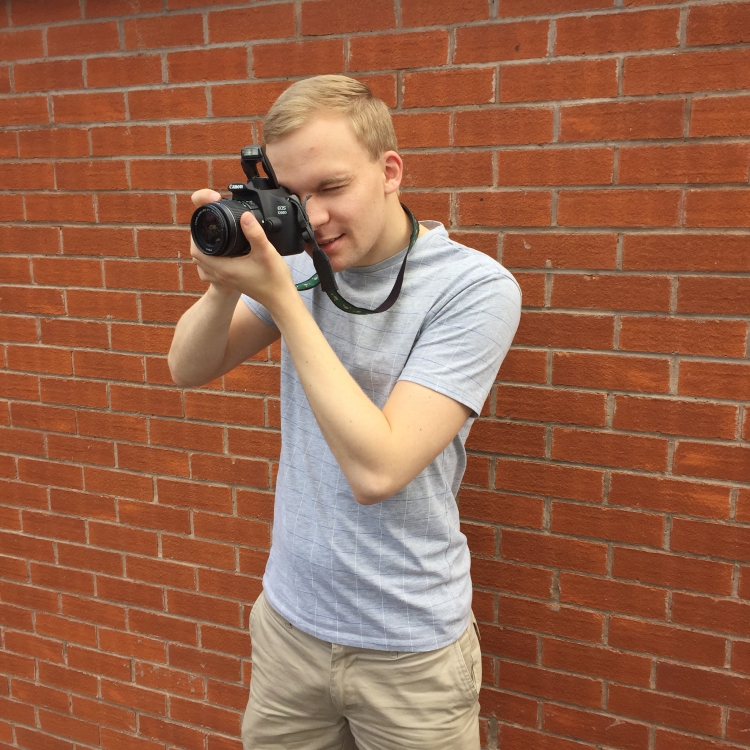
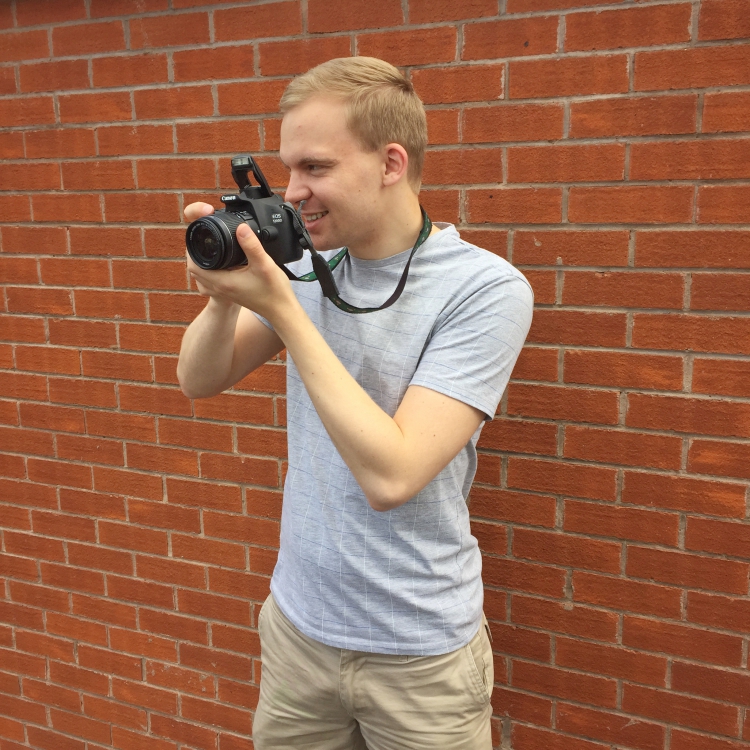
If you follow my Instagram, you’ll have seen that I recently got a brand-spanking new camera, woohoo! I’m literally obsessed with it. I’ve been taking photos of everything! Photos when I’m out and about, photos of random stuff around my flat, photos for the blog, photos of friends… yep, I’m obsessed.
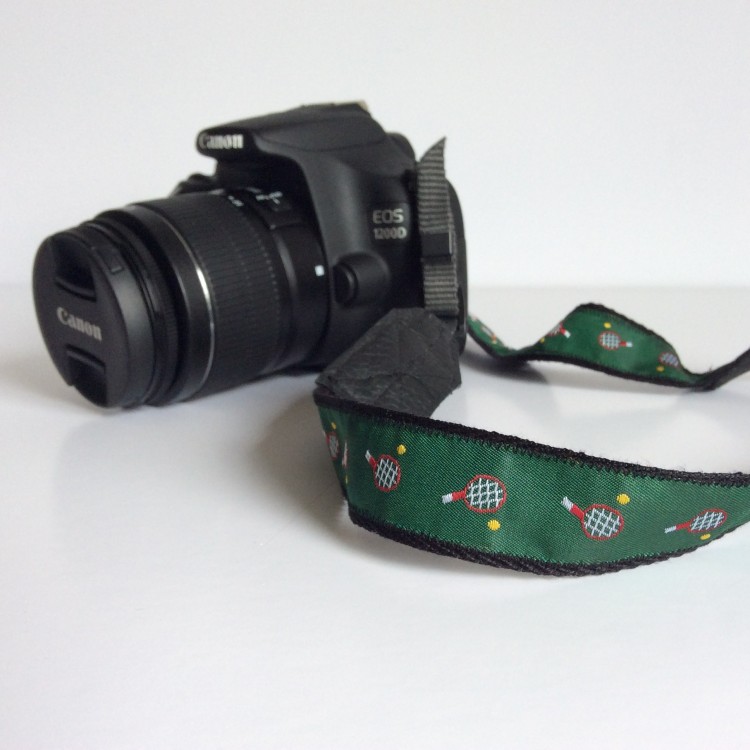
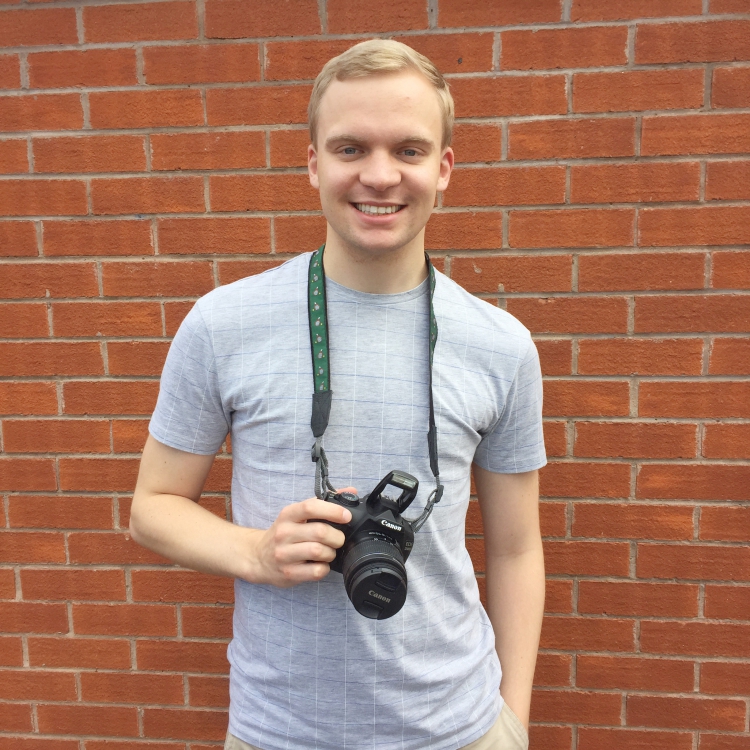
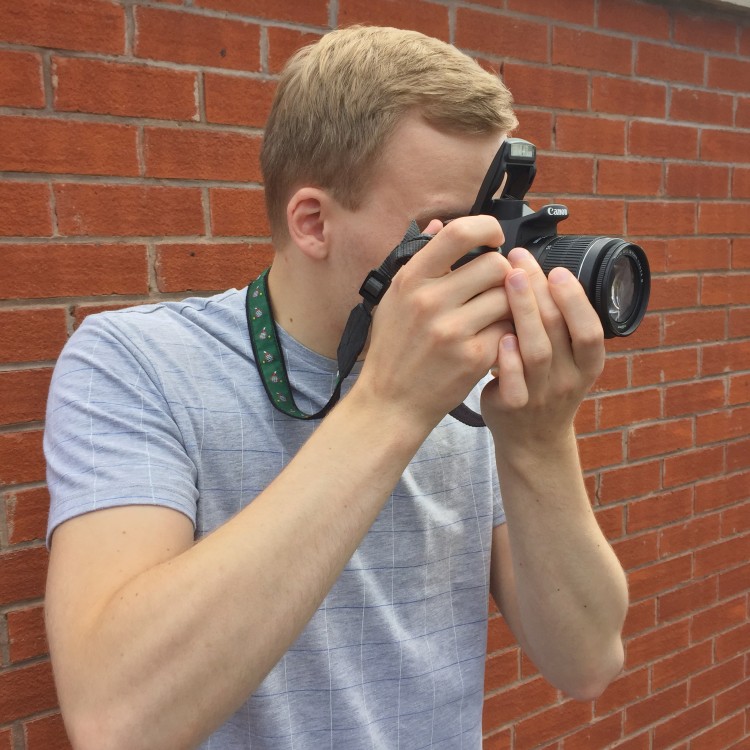
The only niggling annoyance I had with it was the camera strap – I wasn’t too keen on the massive “Canon” logo turning my neck into a walking advertisement, plus I wanted a way to spruce it up and make it a bit more personal to my style. So I grabbed some decorative ribbon from the craft store (check it out in the photos – it has a tennis print with little rackets and tennis balls!) and went into full craft mode on a new DIY camera strap – I love the result! Make your own with the tutorial below.

DIY camera strap
What you’ll need
- 80 cm strong wide strap or similar (at least 3 cm wide)
- 80 cm decorative ribbon (narrower than the strong strap/ribbon)
- 50 cm strong narrow strap (approximately 1 cm wide)
- 1 long piece of leather, approximately 15 cm x 3 cm
- 4 small rectangles of leather, approximately 2 cm x 3 cm
- Matching thread
- Several small bulldog clips
- 2 sets of adjuster buckles
What to do
- Join together the strong wide strap and the decorative ribbon using bulldog clips (do not use pins, as this will damage the ribbon and leave holes in it). Then use a small zig-zag stitch to sew the ribbon onto the strap, removing the bulldog clips as you go.
- Cut the long piece of leather to the same width as the strong wide strap. Use bulldog clips to attach this leather to the middle of the strap, so it runs along the length of the strap, where it will be in contact mans health with your neck. Make sure you attach it to the reverse side, so it doesn’t cover the decorative ribbon. (The addition of this leather will give the strap a little more grip so it doesn’t slide on your neck.) Sew the leather in place, removing the bulldog clips as you go.
- Cut the strong narrow strap into two 25 cm pieces.
- Take the four small pieces of leather and cut them into four identical 3 cm by 2 cm rectangles (optional: you can also cut half of the corners cut off, so one end of each rectangle is narrower than the other – this is how most camera straps look).
- Take one of the 25 cm narrow straps from step 3 and place it onto one end of the main strap you made in step 1. Then sandwich these two straps between two of the leather shapes you cut out in step 4. Hold them in place with a bulldog clip, then sew through all of these layers (2 straps and 2 pieces of leather) securely, so it joins them all together. To be sure the camera strap is secure, sew all around the edges of the leather, then sew a cross through the middle too.
- Repeat step 5 with the other end of the main strap.
- Thread the smaller straps through some adjuster buckles and attach them to your camera, then adjust the length to your comfort.
My DIY camera strap actually came out better than I’d expected. The leather detail looks pretty professional and the green tennis themed ribbon is a big improvement on the plain black one that the camera came with! Plus, it only cost about £4 in supplies and took an hour to make – I’m considering making a few more. Variety is the spice of life, after all!



3 Comments
50 Best Christmas Gifts for Boyfriends of 2016 – My Blog
November 29, 2016 at 11:57 am[…] DIY Camera Strap […]
50 Best Christmas Gifts for Boyfriends of 2015 | Dodo Burd
November 19, 2015 at 3:12 pm[…] DIY Camera Strap […]
Hugo A.
August 23, 2015 at 9:21 pmAwesome DIY. I’ve wanted to make one of these for a while. This is really well done. It looks professionally put together. Also, this is a really cool blog you’ve got too, there really isn’t anything out there for guys who craft.