
 Okay, I’m just gonna own up and say it: I never knew gardening could be so fun! With the spring sunshine making a glorious appearance this week, I’ve been spending most of my waking hours out in my garden – and I’m loving it. I thought it’d be fun to give you guys a bit of a sneak peek at how it’s shaping up… but first up, let me rewind a little.
We (that’s me and my partner Gareth) bought and moved into our first house last December. The house is a new build, meaning it’s a completely blank canvas for us to decorate how we want. Not only that, but this is the first time since our childhoods that either of us have lived in a place with a garden, so we were especially excited to get green fingered and creative with our little slice of outdoor space. Here’s how the garden looked when we first moved in:
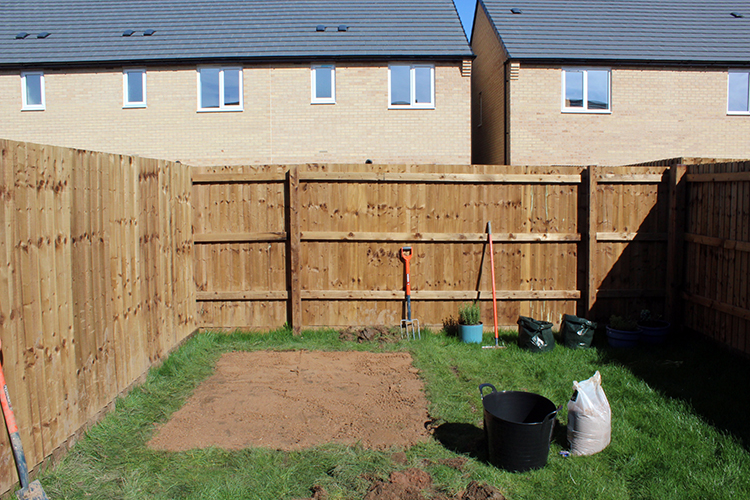
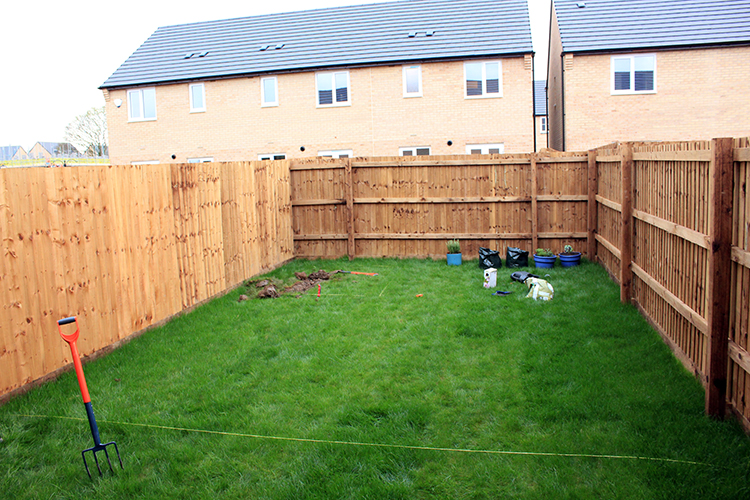 Nothing much, right? It’s a decent size, with turf and a single line of slabs by the door. That’s it. I told you that the house was a blank canvas! Since then, we’ve been working like mad to get the garden into shape before the summer arrives. We started off by ordering a bespoke shed from a local merchant (it cost a bit more than if we’d gone to a big garden centre chain – but the quality is SO worth it, not to mention the fact that it’s good to support local businesses). We then spent an afternoon digging up a patch of turf and laying the foundations for our shed.
We were pretty bummed to discover that the ground had not been levelled well by the builders. It was draining terribly, meaning it had become a boggy mess, and there was a shocking amount of rocks, stones and even plastic piping beneath the thin layer of top sand. But despite this, we persevered!
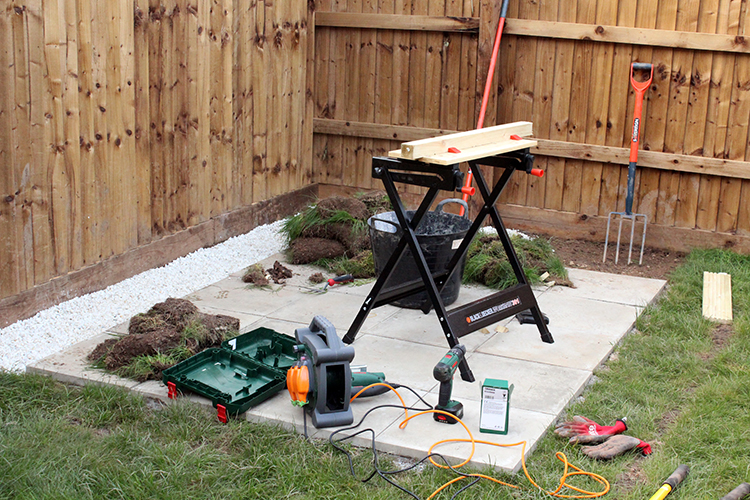

The shed was delivered last week. We love it. I can’t even describe how good it is to get our power tools, lawnmower and garden kit out of our spare bathroom and into their true home in the shed! The house feels so much less cluttered now. In time, we’re thinking of painting the shed and the fence… although I gotta admit, I do kinda like the raw wood look. I think I’ll need to ponder on that one for a bit, before making a decision on what to do.
In addition to the shed, we’ve also made some custom raised beds. I’ll share more about these in an upcoming DIY tutorial, but here’s the quick spoiler: they were super easy, cheap and quick to make – but they look awesome! I can’t wait for our vegetables to grow and fill the raised beds.

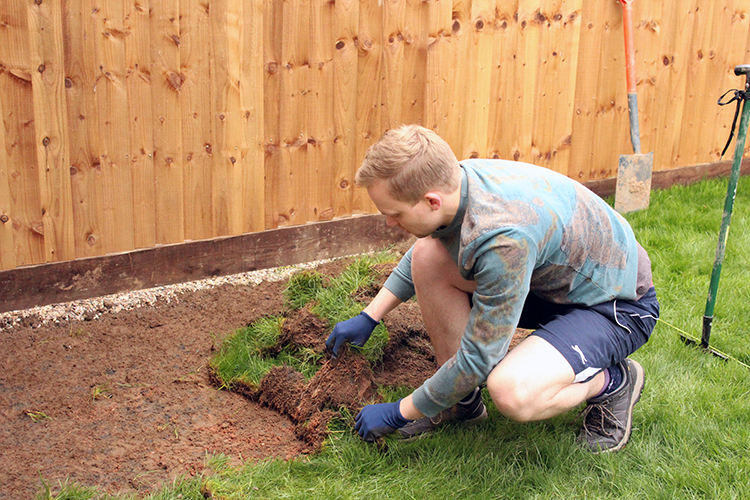
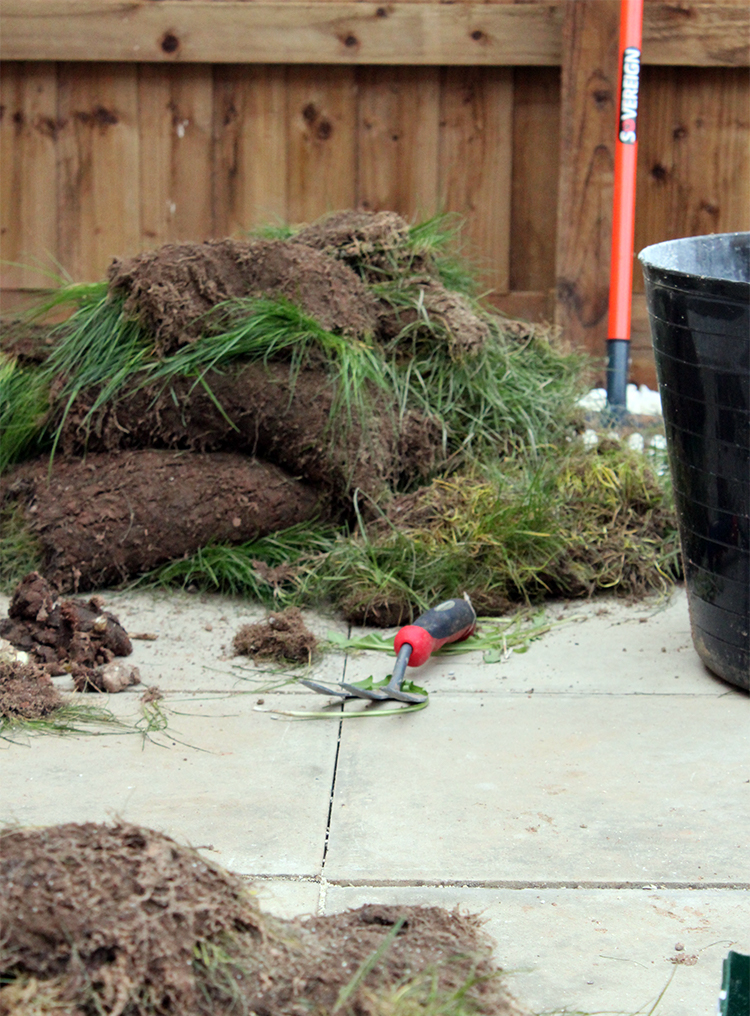
Last up on the list of major changes: we spent a whole afternoon last week digging up approximately a third of the turf and all of the slabs laid by the builders. Why? Because we’re planning on replacing it with a patio; al fresco dining, here we come! We’ve ordered the patio slabs (geez, they are not cheap…), and should hopefully get around to laying them over the next week. We’re going to extend the patio into a small path leading to the shed, so we don’t need to traipse over the grass to get to it. Once that’s done, we’re going to get some garden furniture and start adding potted plants and garden lights to finish it off.

Keep an eye on my Instagram page for more updates on my garden and house; although I’ll of course be blogging some more updates soon too! – Mike.



5 Comments
Jocelyn Poole
April 22, 2017 at 3:03 pmNot good Mike to put your turf excess on your newly laid slabs. The soil will fall in to the gaps and create weeds giving you another job. If temporary place on plastic!!!!!!
Mike
April 24, 2017 at 11:32 amGreat tip, thank you!!
Jocelyn Poole
April 22, 2017 at 2:59 pmNot good Mike to put your turf on your newly laid slabs, all the soil will fall off in to the slab cracks and seed weeds, creating another problem. Hopefully you have now moved the turfs to the bottom of your raised beds!!!!! Jocelyn.
Paul
April 14, 2017 at 10:51 amHi,
You can put the turf you’ve cut out in the bottom of the raised beds, stack it grass to grass and it will soon rot down to decent loam. It will save buying a few of the bags of topsoil you’ll need.
Mike
April 18, 2017 at 4:53 pmYep, that’s just what we did! Good tip on stacking it grass-to-grass though – I’ll be sure to do that for the next set of raised beds I’ve got planned. Thanks! 🙂 – Mike.