

For a long time, there’s been a handful of crafts on my ‘bucket list’ – things I really want to make, and techniques I really want to try. I’ve already done a few of them (like carving a spoon and trying pottery throwing). But one of the biggest things on my list was to sew a shirt… and today, I did it!
I actually tried to sew a shirt about ten years ago, shortly after I got my first sewing machine. Even though I could barely do the basics of sewing, I jumped in at the deep end and bought a shirt pattern – needless to say, it was a bit of a fail! The stitching was scruffy, the fit was poor. It was unwearable, so I gave up before I finished it.
Since then, I’ve been a little intimidated by making a shirt… Memories of that failed attempt have put me off, even though I’ve now been sewing for a decade!
But thankfully, I finally decided to give it a try again this weekend. And it worked really well!
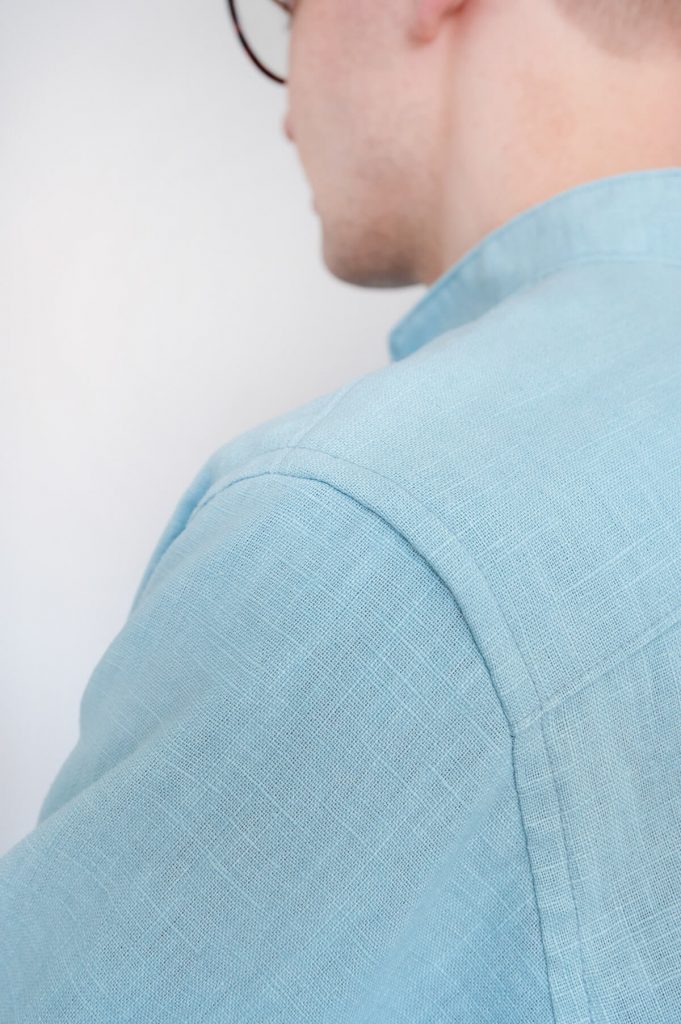
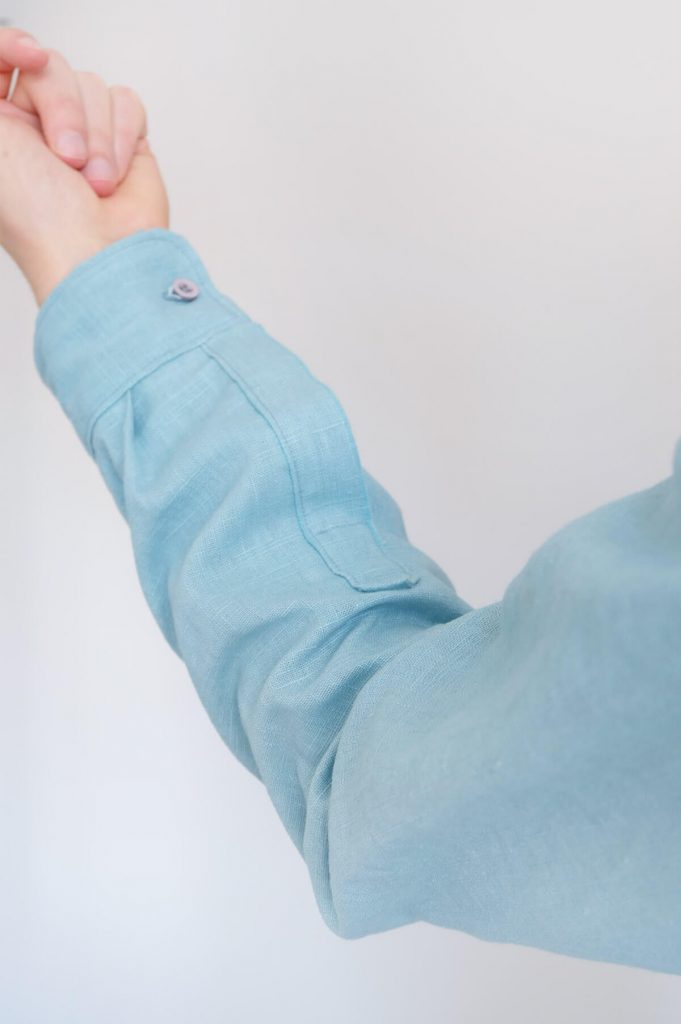
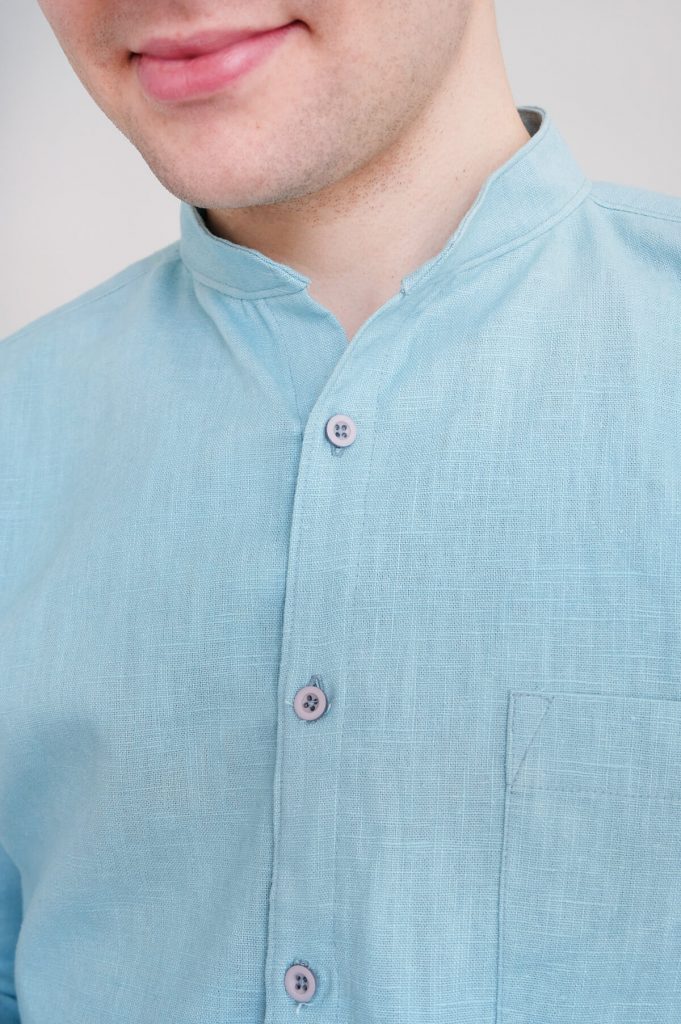
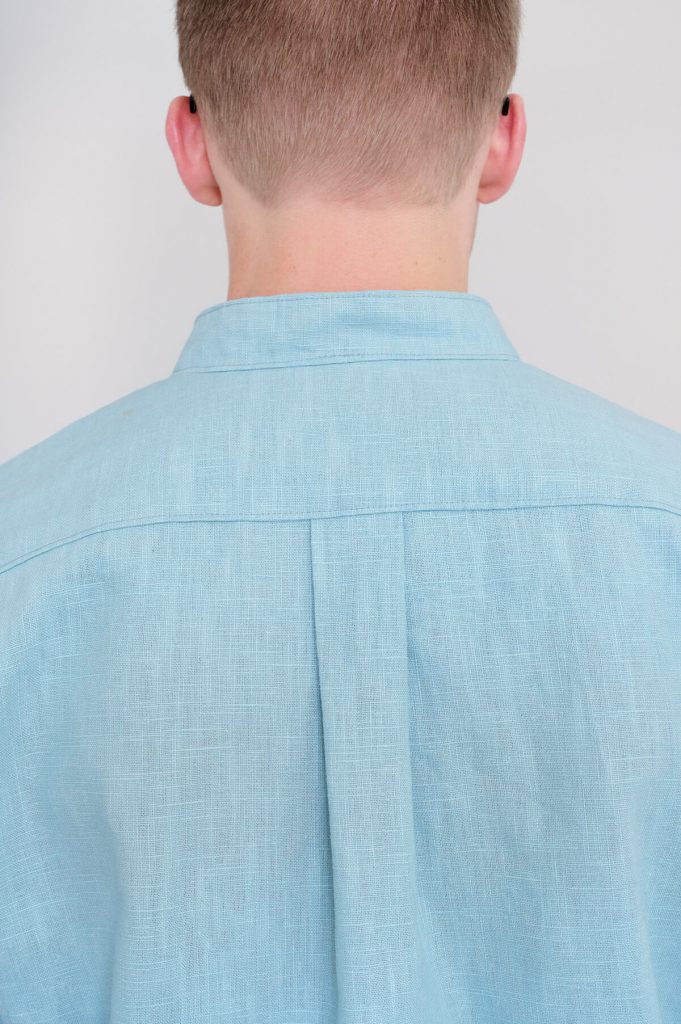
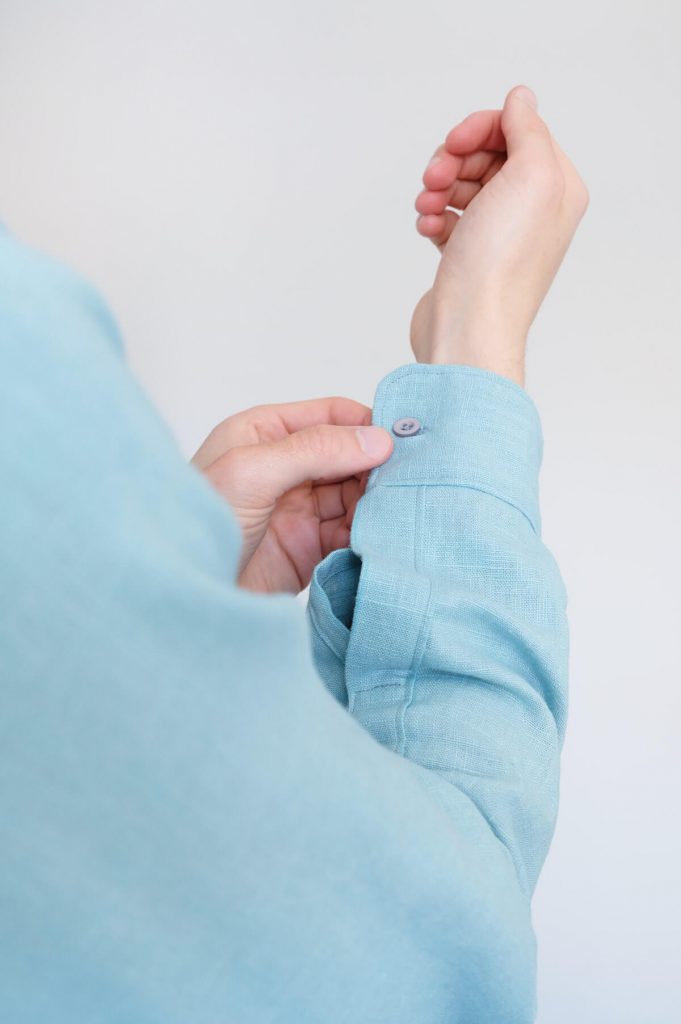
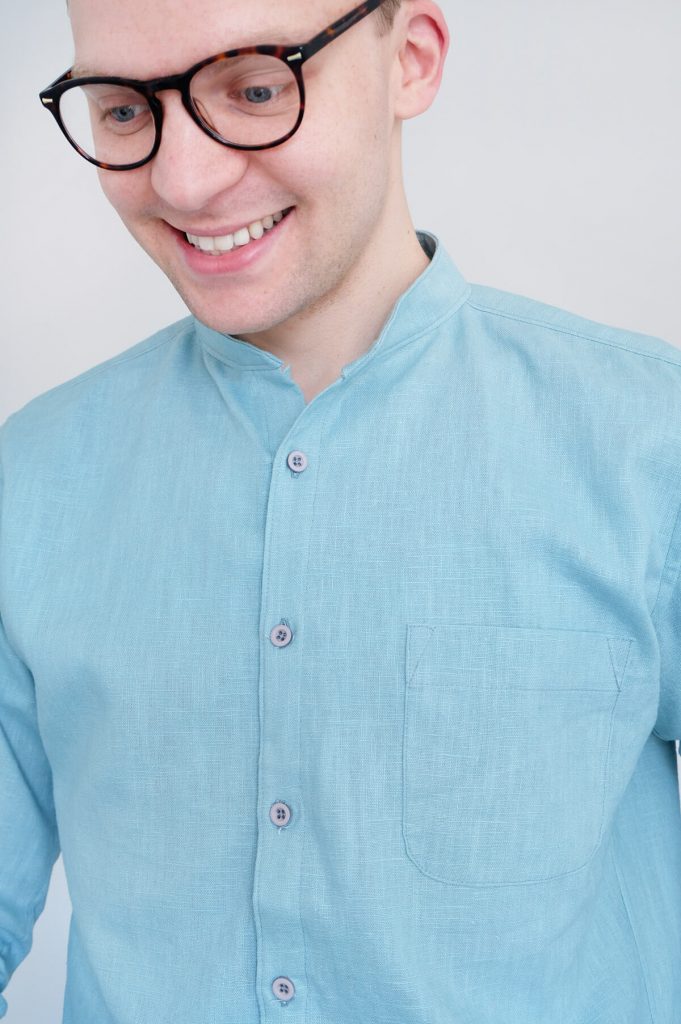
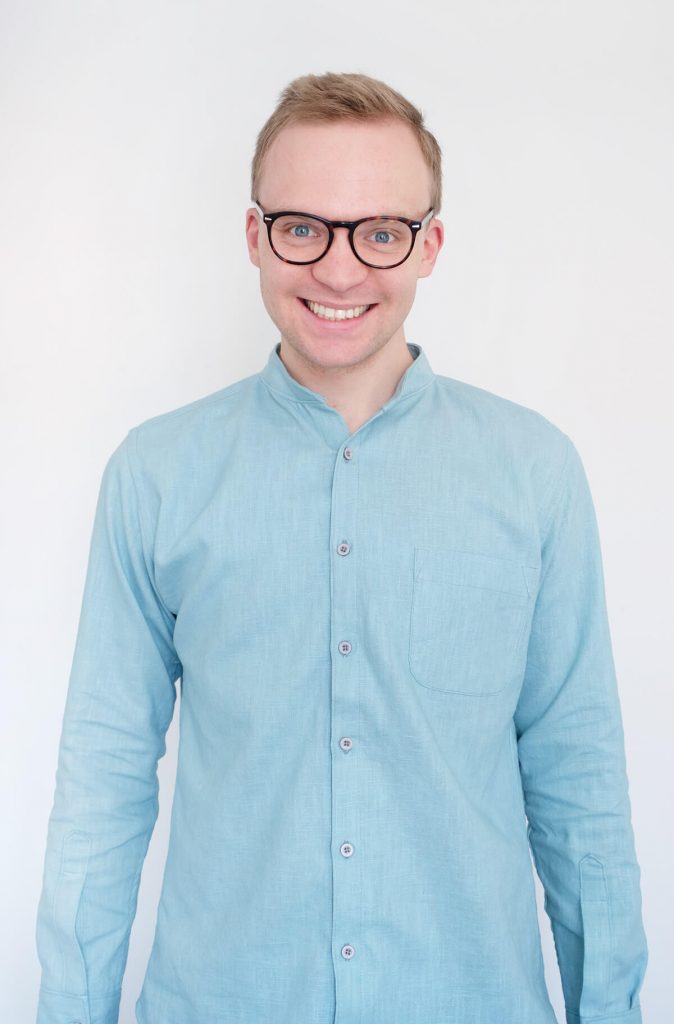
I used the Hackney shirt pattern by Sew Over It, and a duck-egg linen from Ditto Fabrics. This was a great project to cover all the core shirt-making techniques: yolks, button plackets, tower plackets, cuffs, box pleats, flat-felled seams and collar stands. Overall, it was WAY easier than I expected! I even made a few adjustments to the shirt, namely removing the collar and resizing the cuffs.
And amazingly, the shirt fits!! I was expecting this to be a bit of a messy first attempt, which I’d improve on in a second attempt. But it’s actually turned out to be a completely wearable, comfortable shirt. 😀
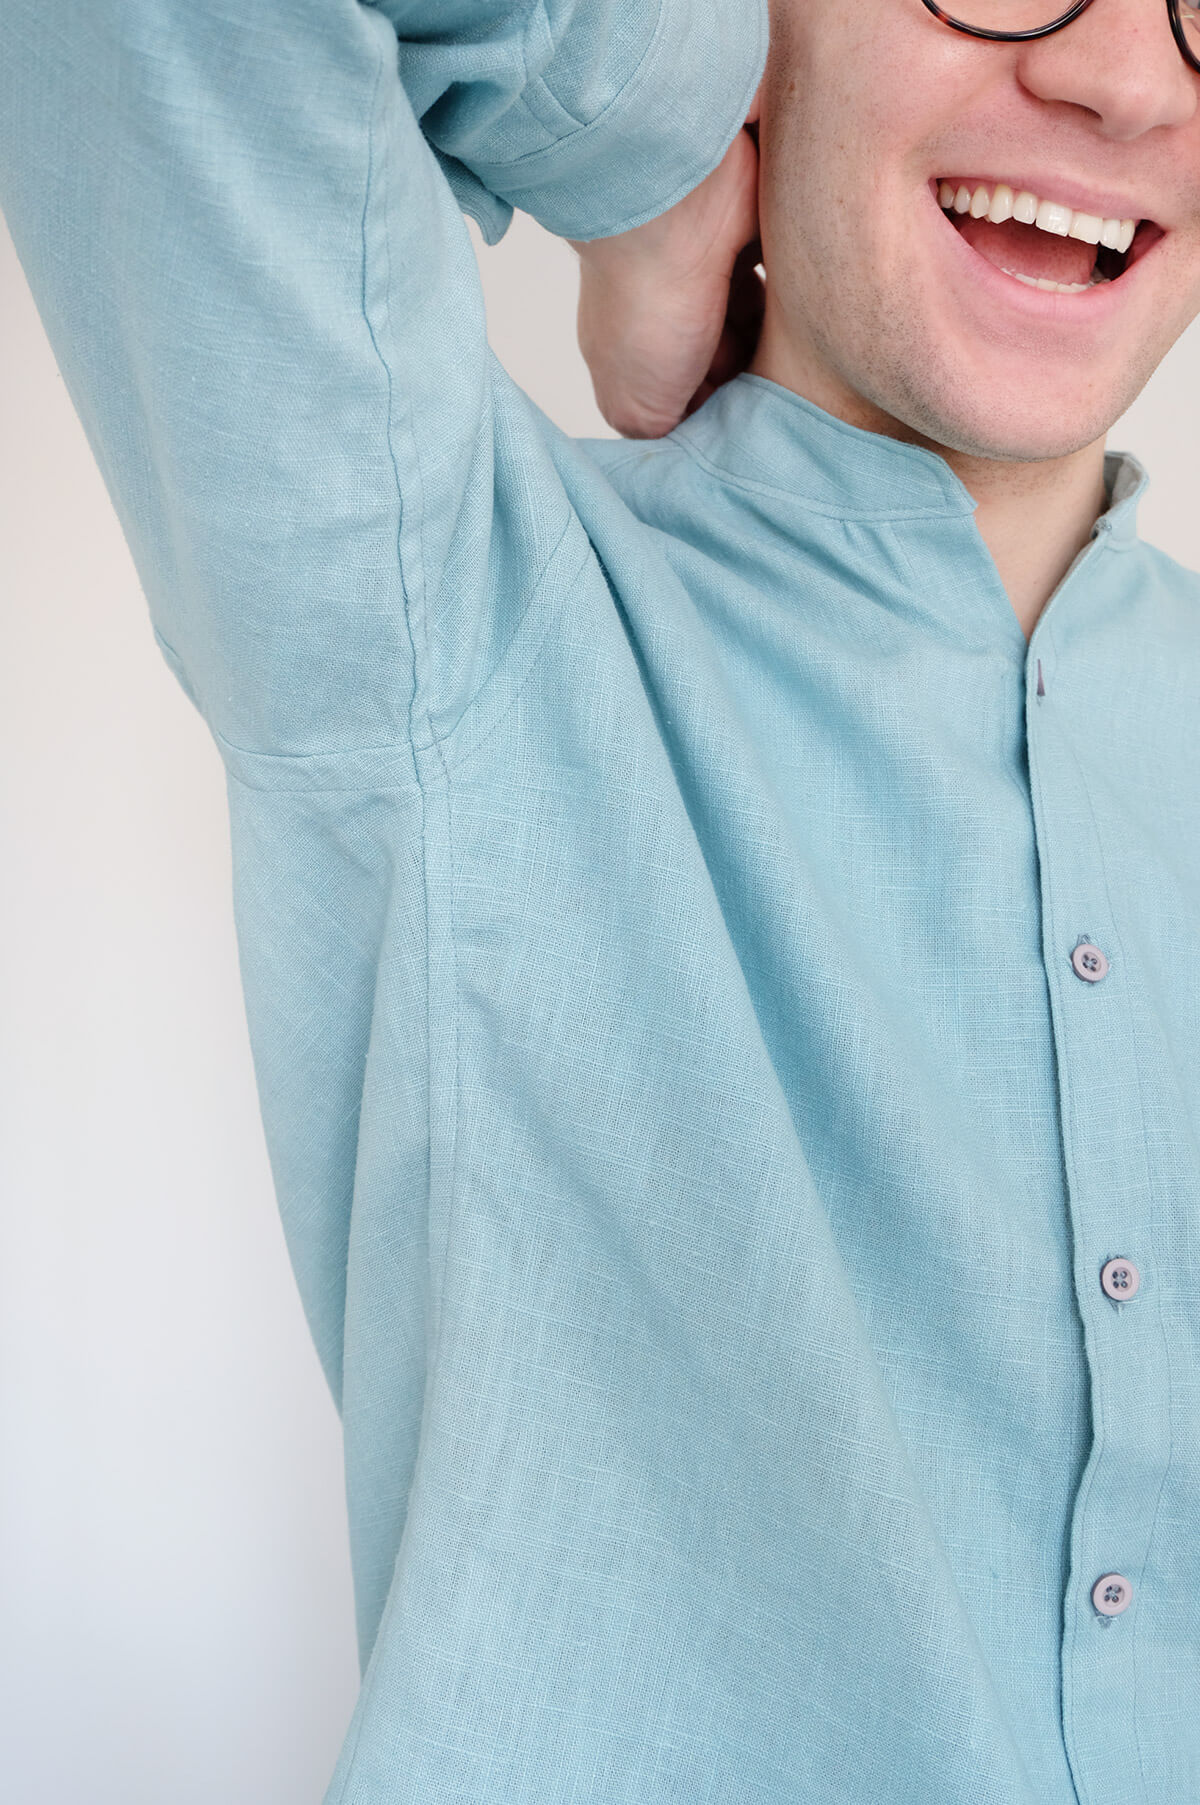
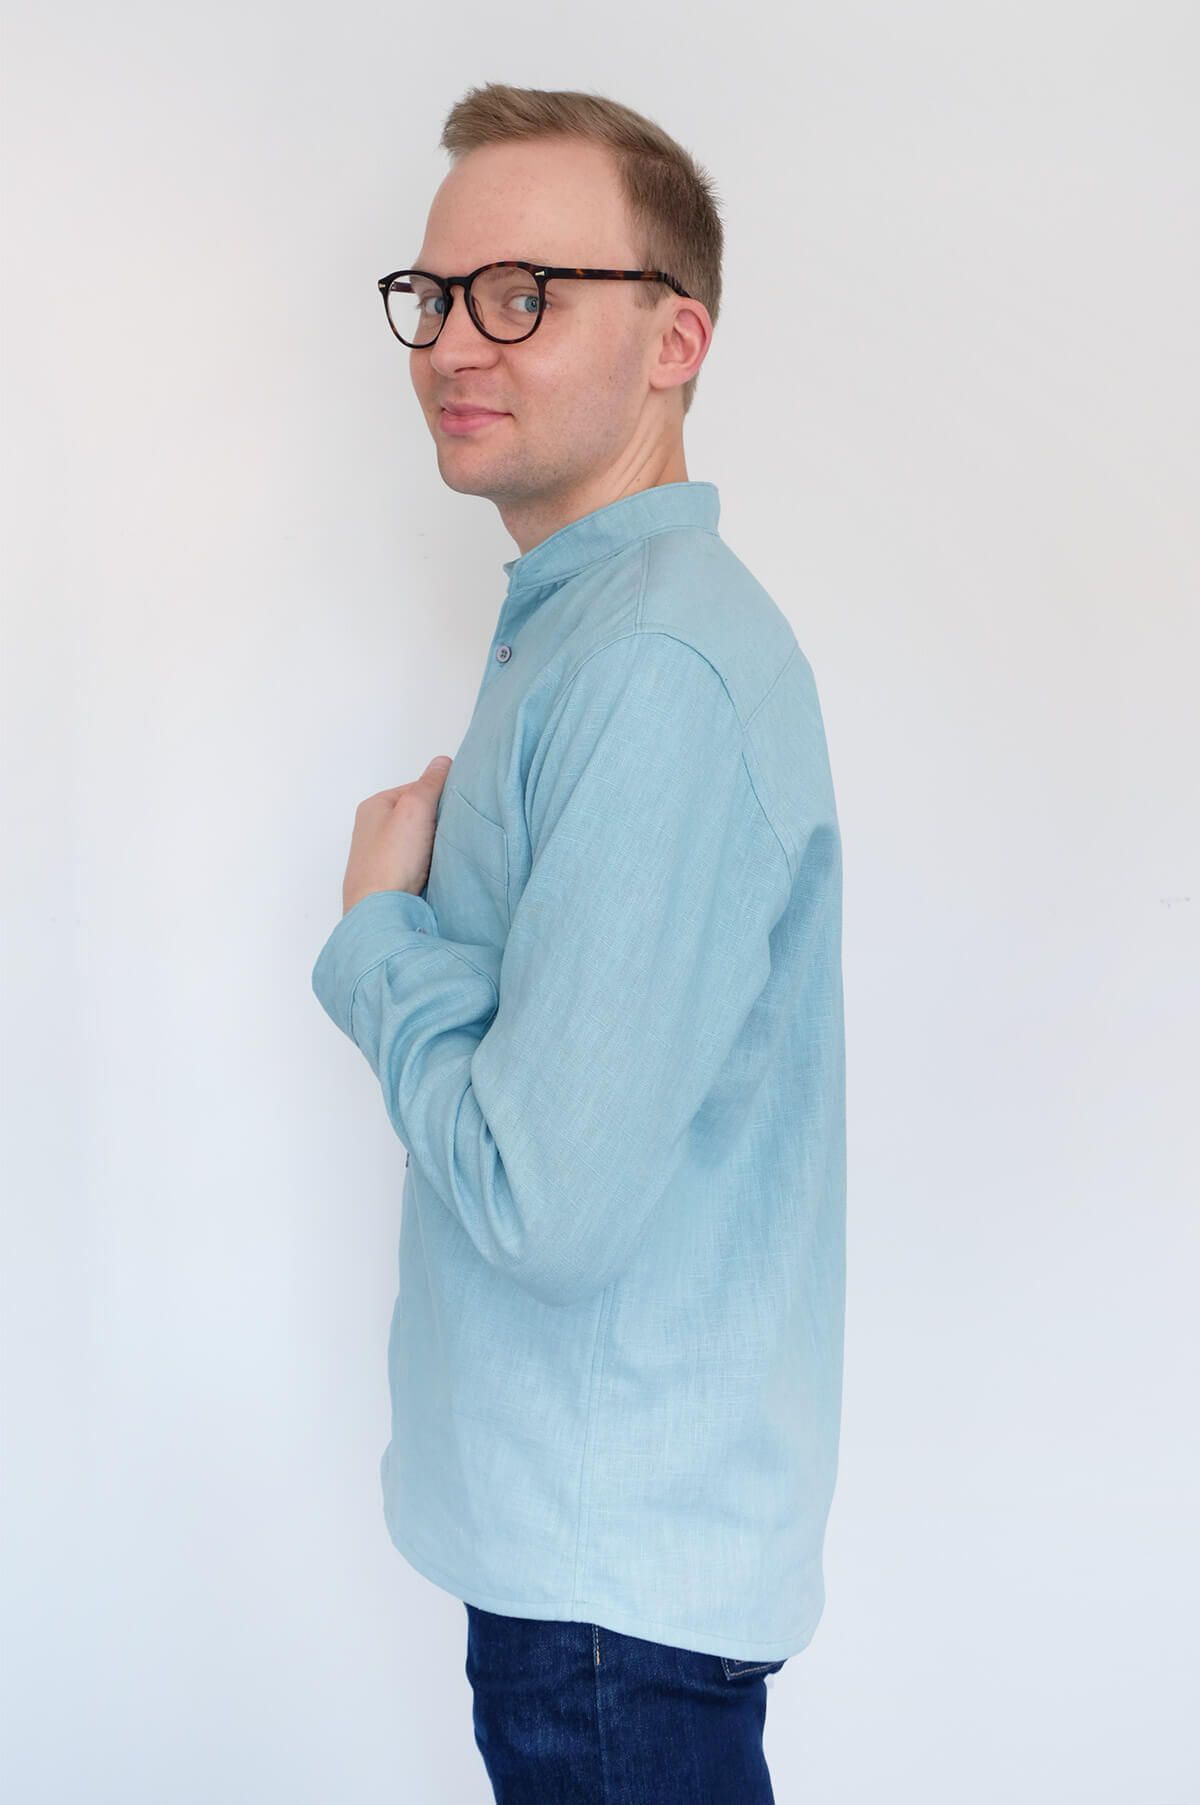
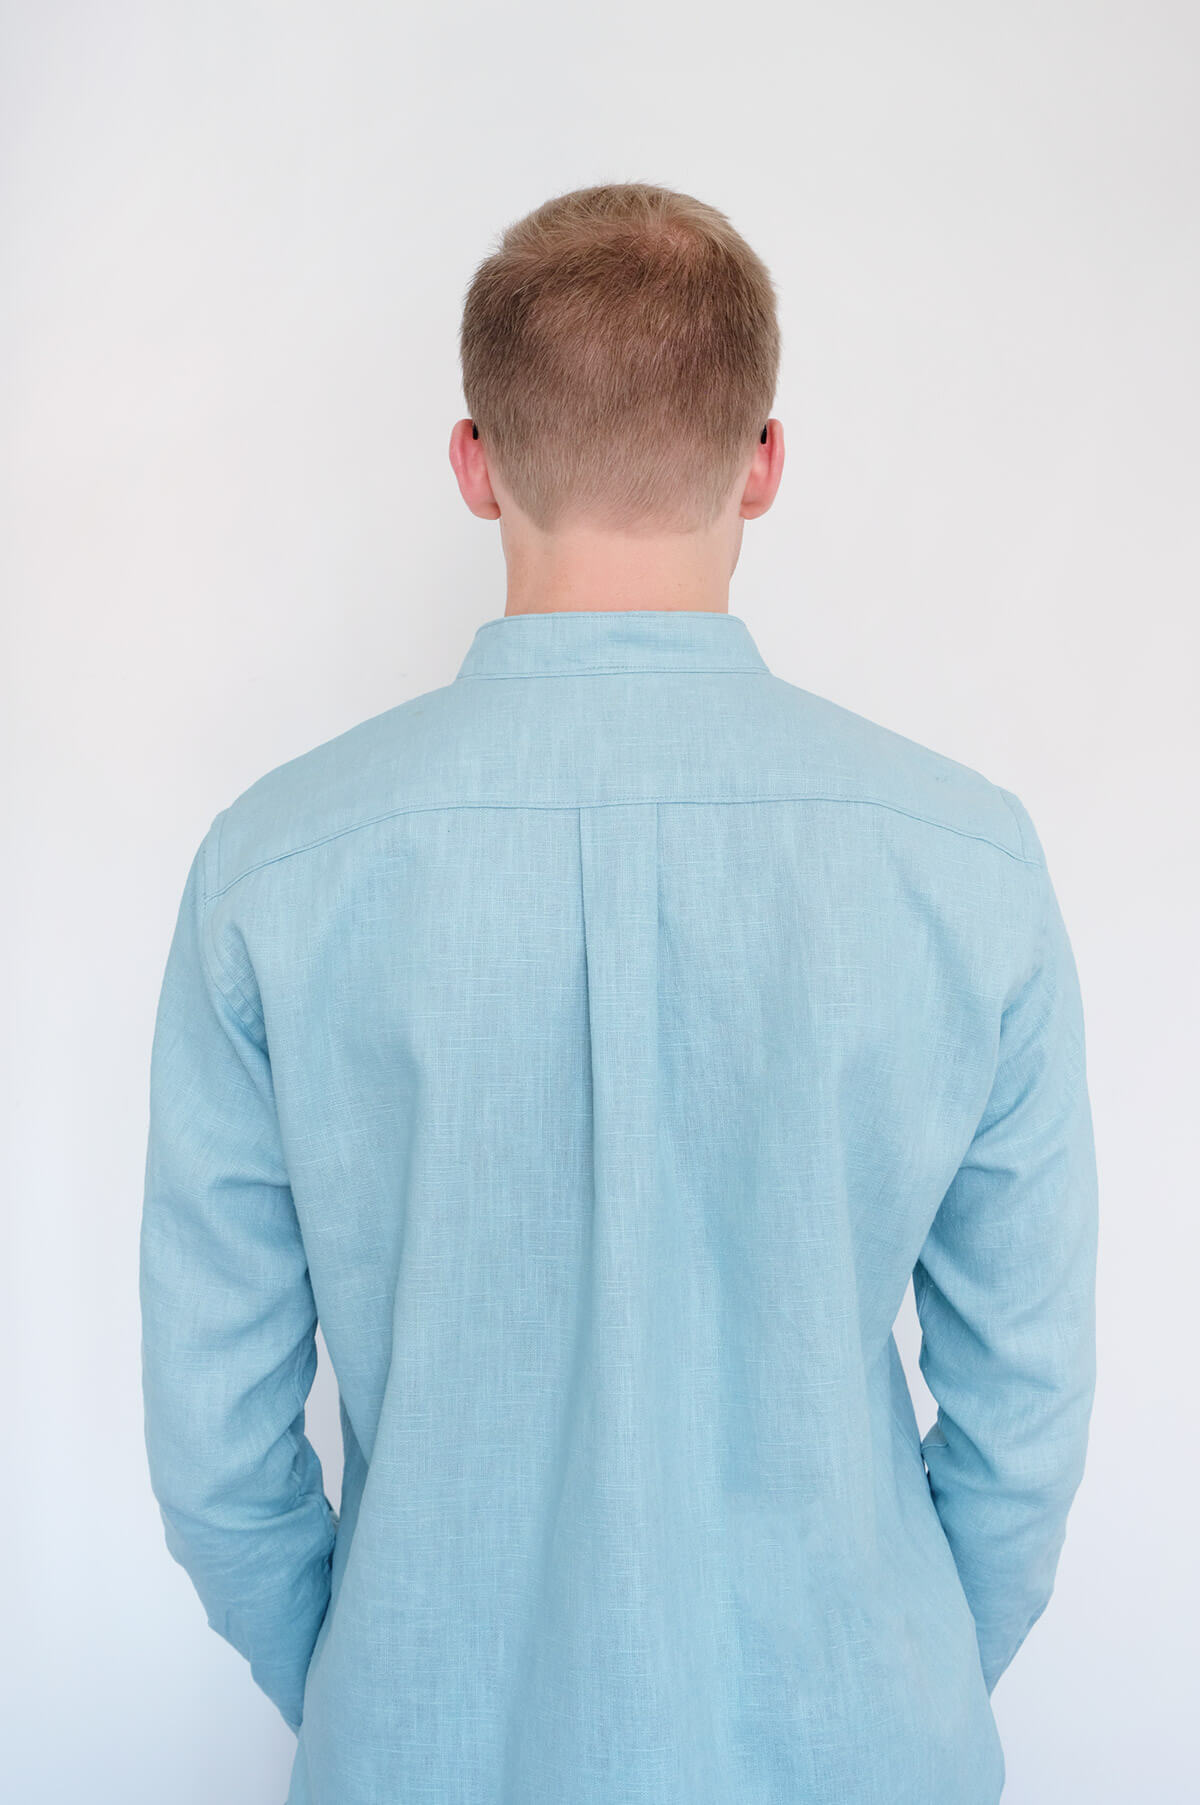
However, in saying that, I will make a few minor adjustments when I make my next shirt:
- Narrow the width of the back panel (maybe by adding some extra back pleats or darts)
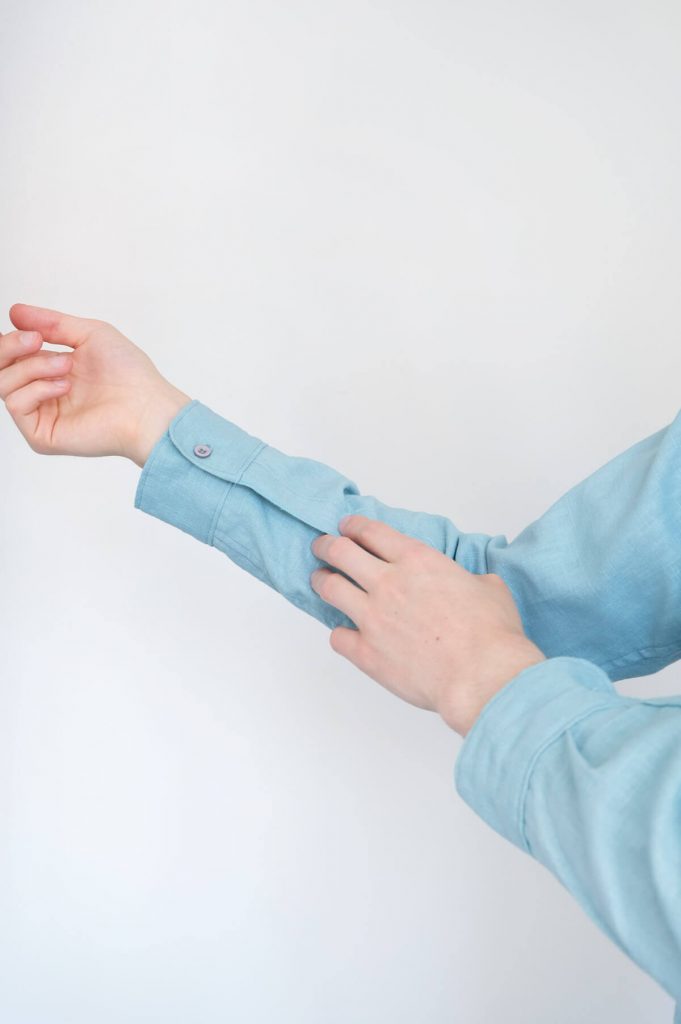
- Widen the cuffs slightly
- Narrow the width of the arm holes, so they fit a little tighter
- Don’t add interfacing to the collar stand
- Reduce the height of the collar stand
- Move the pocket 1-2cm closer to the button placket
Also, eagle-eyed sewists reading this might notice a pretty major error I’ve made in the shirt. I added the sleeves on the wrong way round! The right sleeve is on the left, and vice-versa. Whoops! This doesn’t affect the wearability at all, it just means that the cuffs are on the front of the arms instead of the back. I actually didn’t realise until I was adding the buttons (which is the very last step)! But if that’s the only major mistake, I’m pretty chuffed with that.
I’ve already ordered some more fabric to make another shirt! I’m planning on short-sleeved shirt in a lightweight, summery fabric. I can’t wait to get back into the craft room and sewing some more!
If you want to see more behind-the-scenes of me sewing this shirt, I documented it in an Instagram Story highlight. Thanks for following along on my sewing journey – I’ll be sure to share my next makes, too!
Until next time. 🙂 – Mike.


4 Comments
Linus Forss
September 12, 2020 at 2:50 pmIt looks pretty great to me!
Do you know where one can read about how to make one? (Or did I miss out?)
I know that you have a great T-shirt tutorial but I would love to make a shirt:)
Thanks!
/Linus
Mike
September 12, 2020 at 5:53 pmThank you! I used a pattern and course by Sew Over It to make the shirt, it’s really good! (https://sewoveritstitchschool.co.uk/courses/intro-to-sewing-shirts-ultimate-shirt-hackney-shirt) – Mike.
Susan Layton
June 10, 2020 at 9:51 amHi Mike you are a true inspiration. I have always said that if you want to learn to sew garments you should learn to sew a shirt, it gives you everything you need to learn, seams, darts, pockets, plackets, cuffs, collar, etc. the only thing it doesn’t do is a zip and I am sure someone like you would be able to incorporate that as well. So thank you for fulfilling my dream.
Mike
June 10, 2020 at 10:14 amThank you so much, Susan! That’s really kind of you to say. I completely agree – a shirt is the perfect sewing project to really grow your skills. I can’t wait to make another one! 🙂 – Mike