
#ad I’m working with Gorilla Glue in this post on how to make a spring wreath – but all thoughts and opinions are my own. Thank you for supporting the brands that keep me blogging!

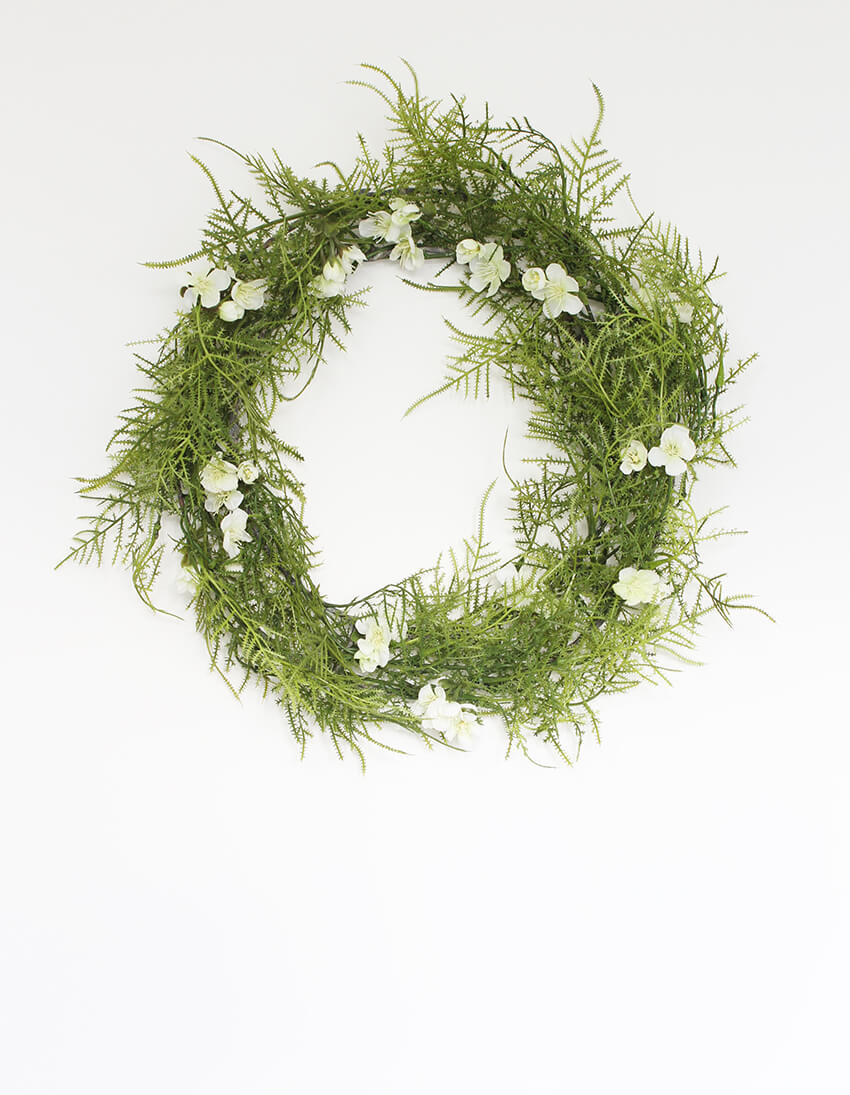
Spring has sprung – and with it, an excuse to update my home decor! I tend to redecorate my home every 3-4 months with new wall art, throw cushions and rugs. It’s such an easy, quick way to refresh your surroundings. There’s even something kinda therapeutic about it… that process of channelling the transformation that’s happening in nature. Or am I just overthinking it?! 😛
Anyway, I’ve just gone through this process for springtime; brightening up my home with bursts of greenery and soft pastels. This process always gets me in the mood for crafting – I usually make at least one or two new DIY home decor pieces at the start of each season.
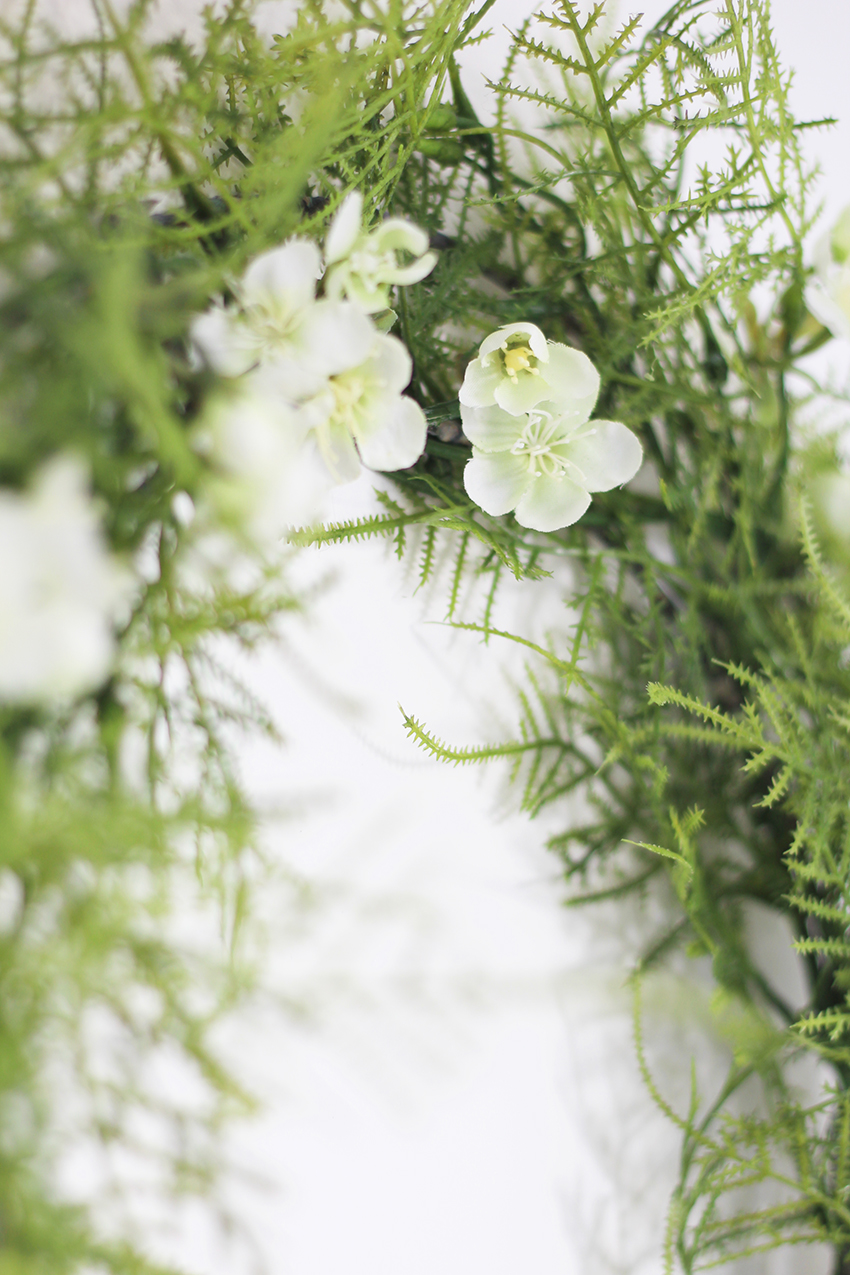

This year, I also wanted to add a seasonal accent to my entryway. A DIY spring wreath seemed like the perfect solution! I’d never actually made one before, so I really enjoyed the creative challenge of sourcing and arranging the faux greenery.
How to make a spring wreath
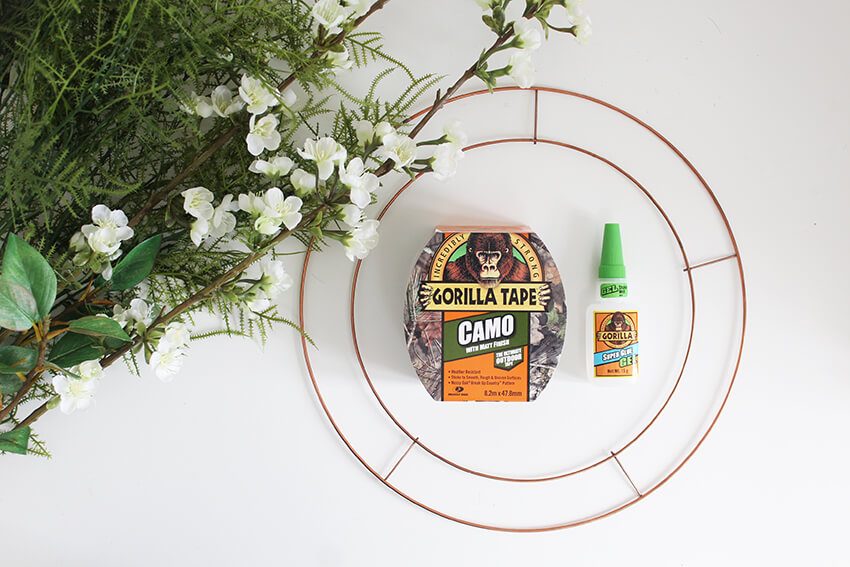
Supplies and tools
- Gorilla Super Glue Gel
- Gorilla Contact Adhesive Clear
- Gorilla Camo Tape
- Metal wire wreath frame
- Artificial plants
- Scissors
Tutorial
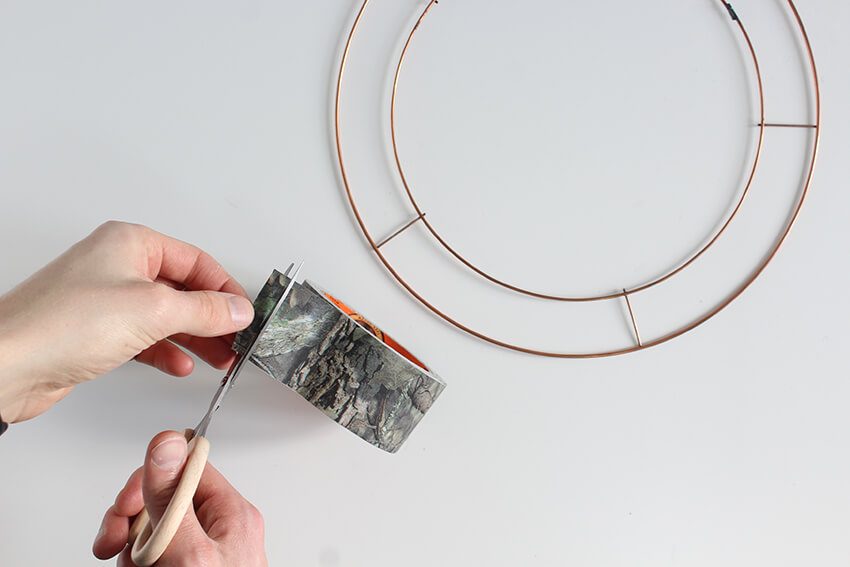
To begin with, you’ll need to cover up the metal of your metal wreath frame. If you skip this step, you’ll probably see the shiny metal through the greenery of your spring wreath – which is a sure-fire way to ruin the natural effect!
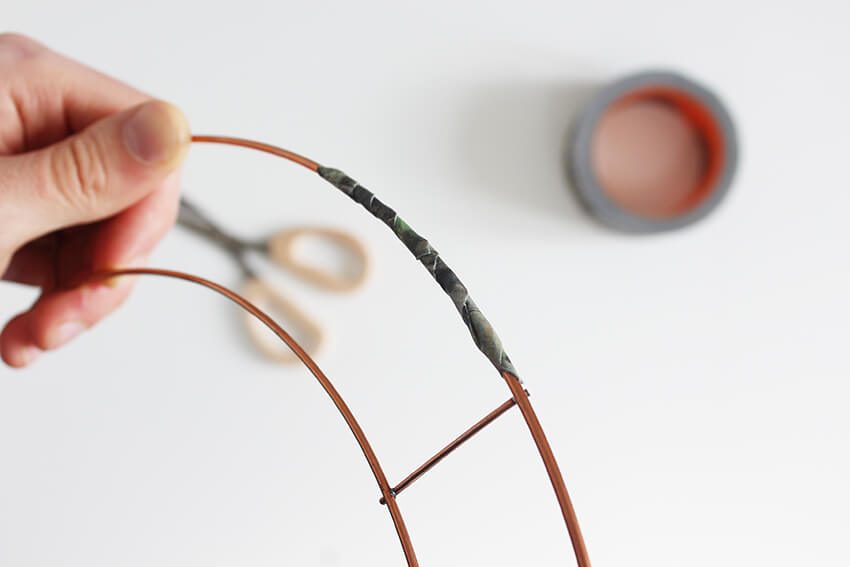
I used Gorilla Camo Tape. It couldn’t be more perfect for this task. Not only does it blends perfectly with the faux plants, it’s also super strong and waterproof, so you can hang your wreath outside.
Simply cut some long strips of tape and wrap them around the metal wreath until it’s completely covered. Be sure to rub the tape into the surface to achieve a better bond .

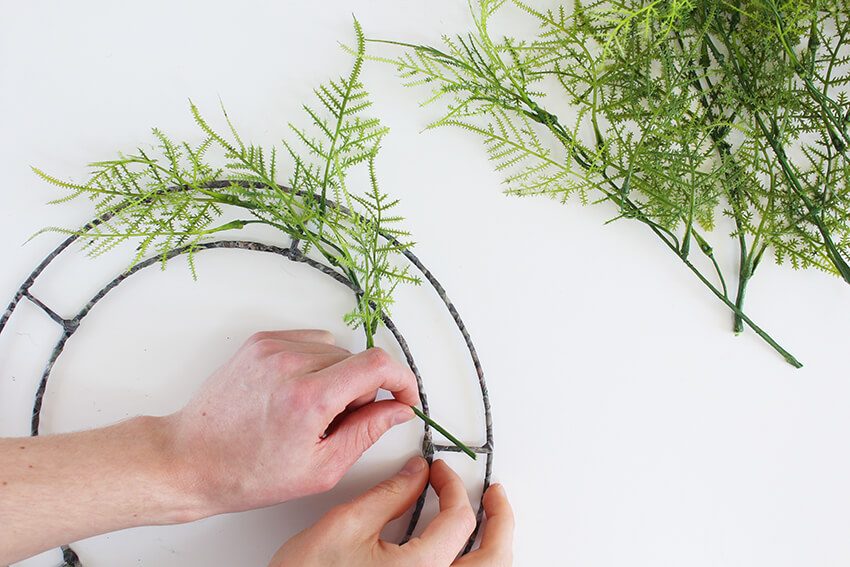
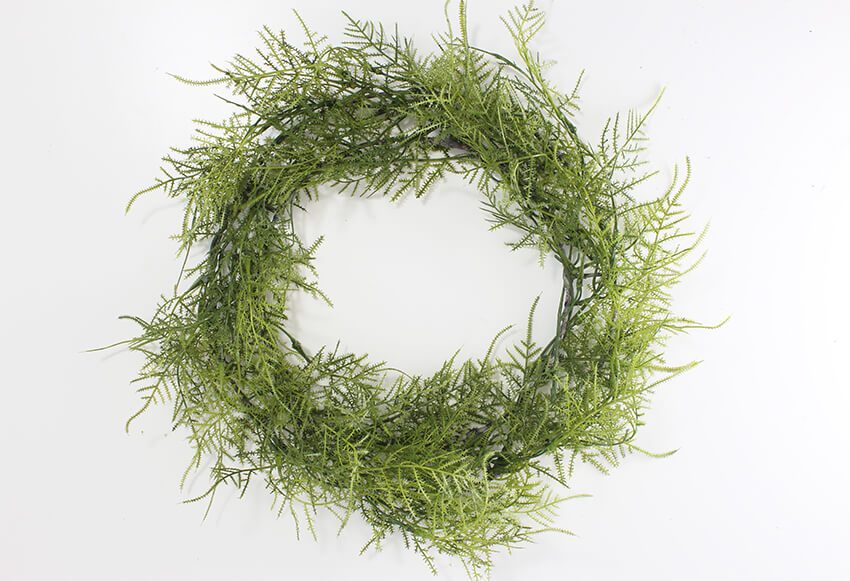
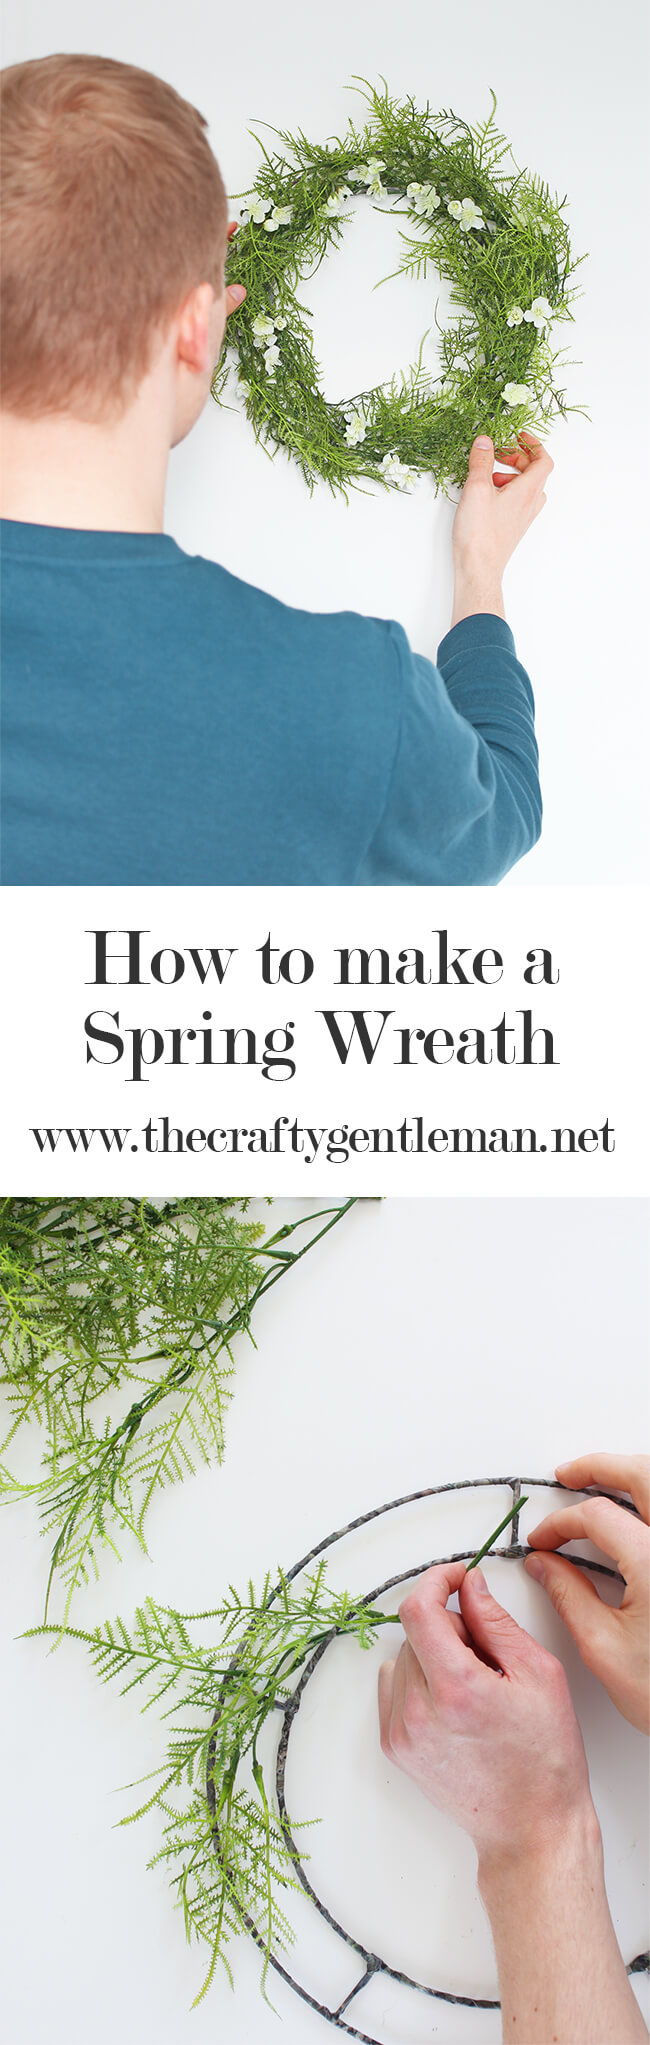
Next, cut some long, individual stems of your faux greenery. Loosely weave these stems around the metal wreath, one at a time. Keep adding more until you have a good base coverage, with no big gaps. This step can be a little tricky – but it’s worth persevering until you get a good result.
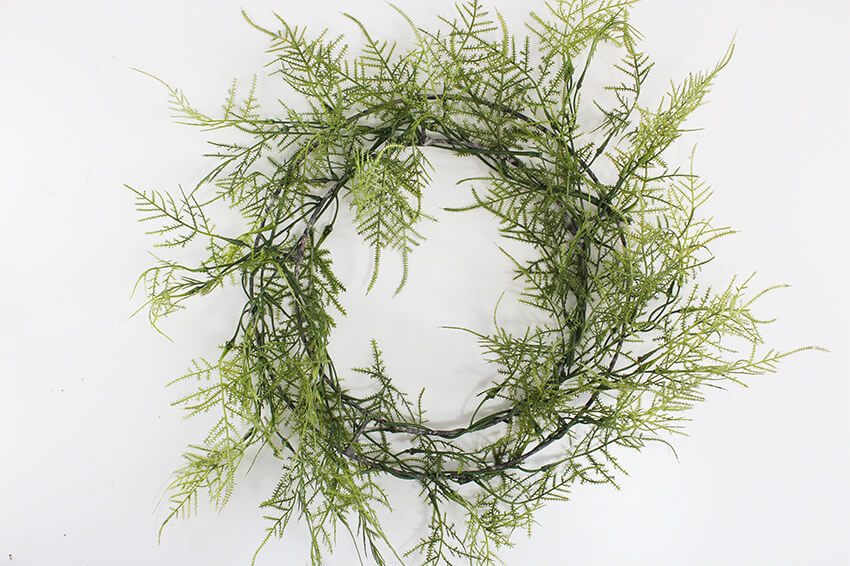
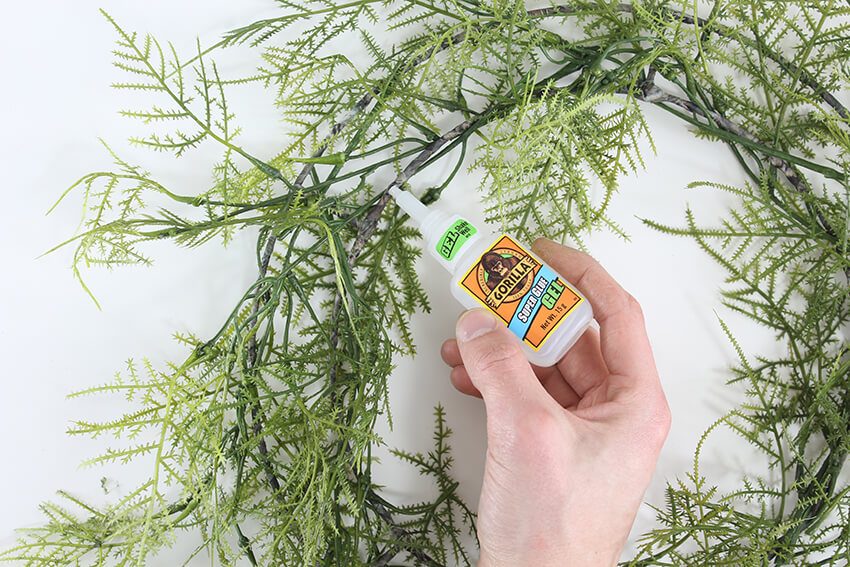
Next, use some Gorilla Super Glue Gel to permanently adhere the greenery to the metal frame. Add a few drops to every point that the core stems touch the metal frame, then leave to dry for 10 minutes. If there are any leaves sticking out from your frame, simply tuck them into the middle and use some glue to keep them in place (pressing them in place for 10-45 seconds).
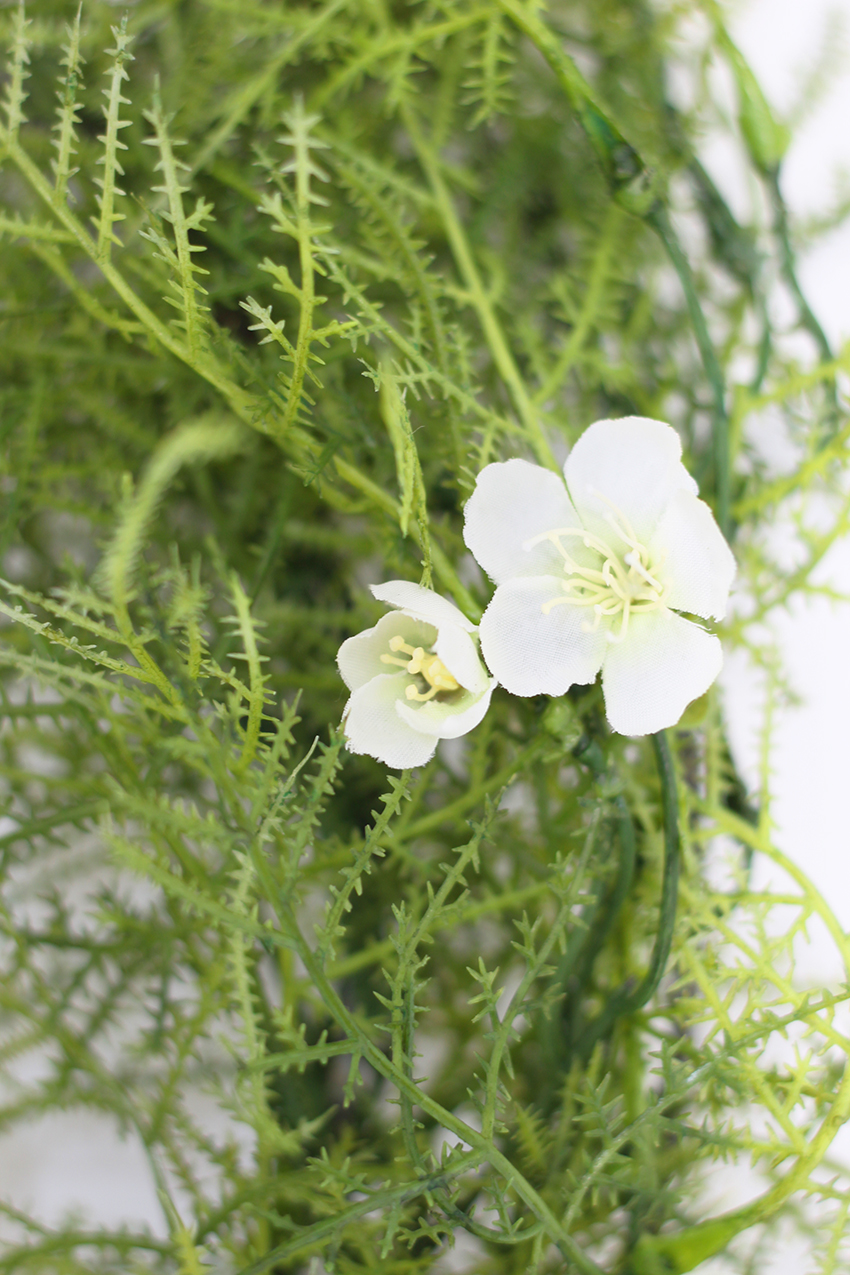
Finally, add some flowers or buds to the wreath for a pop of colour. I used off-white faux flowers, to add a subtle springtime feel – but you could go crazy with brights, pastels or anything else!
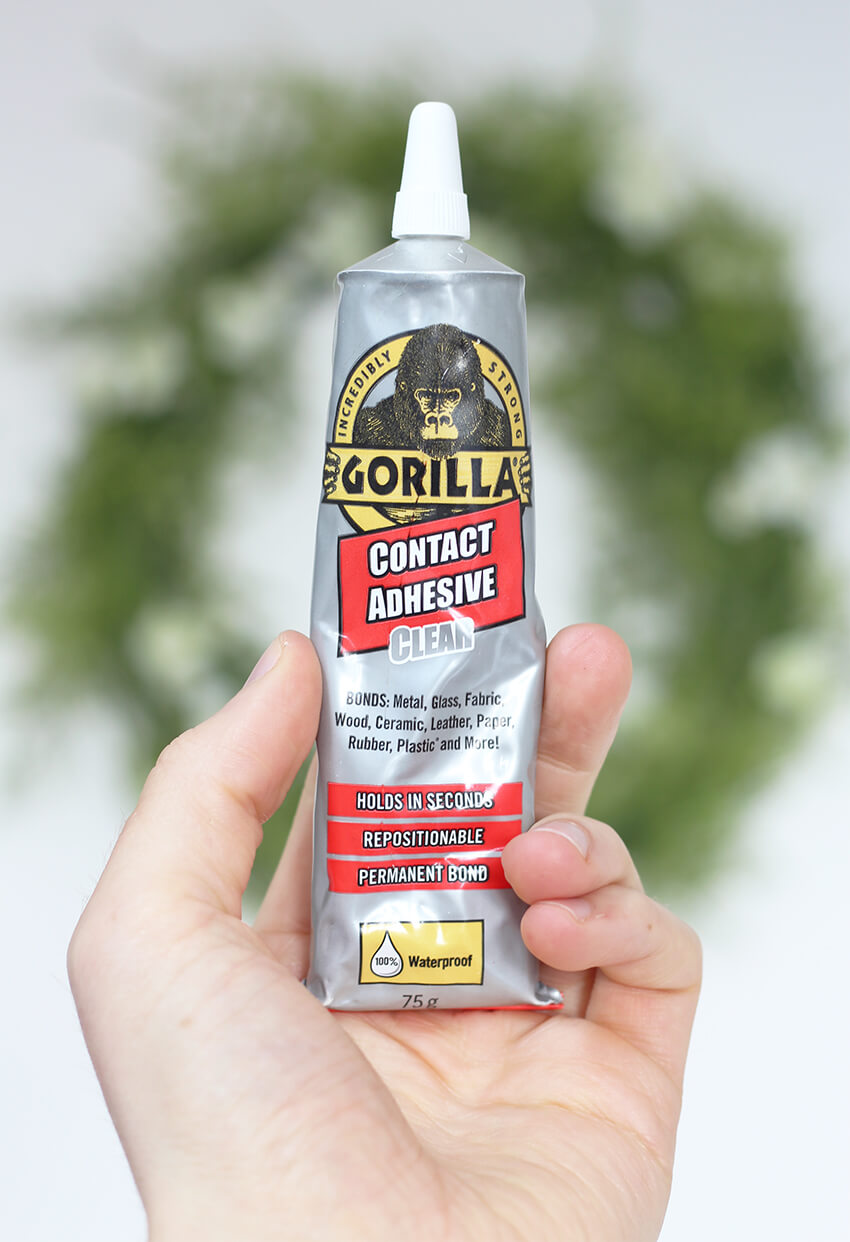
To apply the flowers, I used a generous blob of clear Gorilla Contact Adhesive Clear to stick them directly to the stems I’d already added. This glue needs to set for 24 hours, but the finished bond is super strong – so you can hang your wreath outdoors, with no chance of your flowers flying off in the wind!
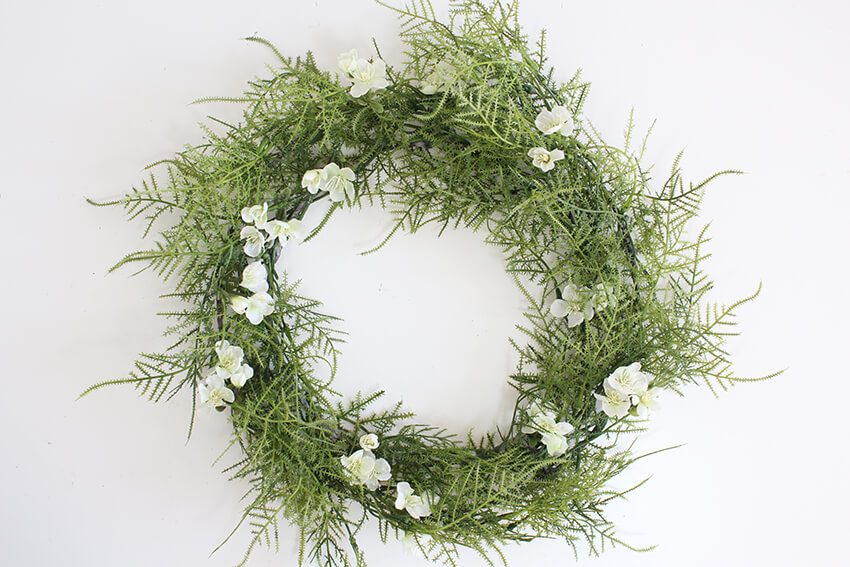
This spring wreath is now hanging happily in my entryway – it’s a nice “welcome home” every time I get back from a long day out! I love the subtle nod to the changing season. 🙂 – Mike.




2 Comments
Lacey Green
July 1, 2019 at 5:08 pmWow, simple and easy to make yet it is perfect for a decoration. Great Work Mike!
Bradford Handyman
Mike
July 2, 2019 at 1:56 pmThanks so much! 🙂 – Mike