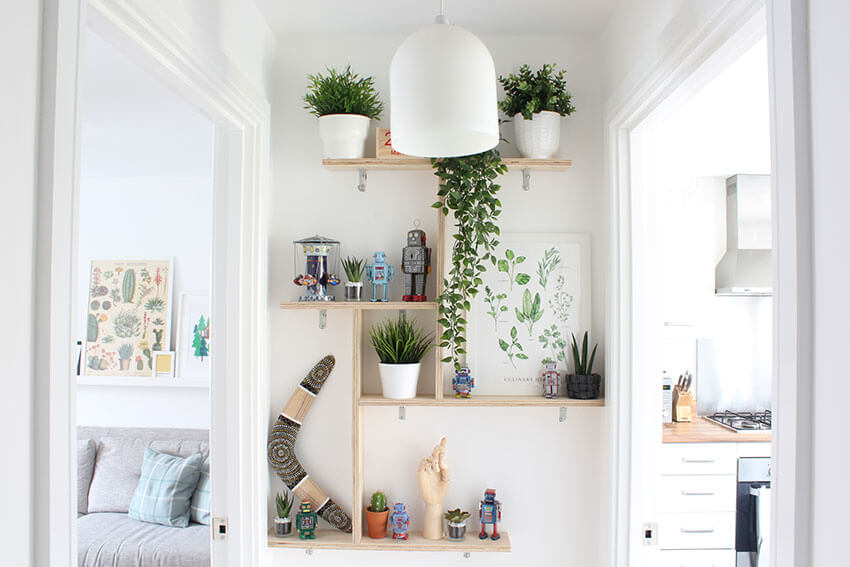
At the bottom of the stairs in my house, there’s a really awkward bit of space. It’s a small walkway, around 1 metre square, with the kitchen on one side and the living room on the other. It’s got a little bit of wall space, which immediately faces the stairs – so it’s the first thing you see when you get the the bottom.
For a good few months after moving in, we were unsure what to do with this bit of wall. A statement piece of artwork felt like the obvious choice, or perhaps a floor length mirror? But when we tried this out, it just didn’t feel right…
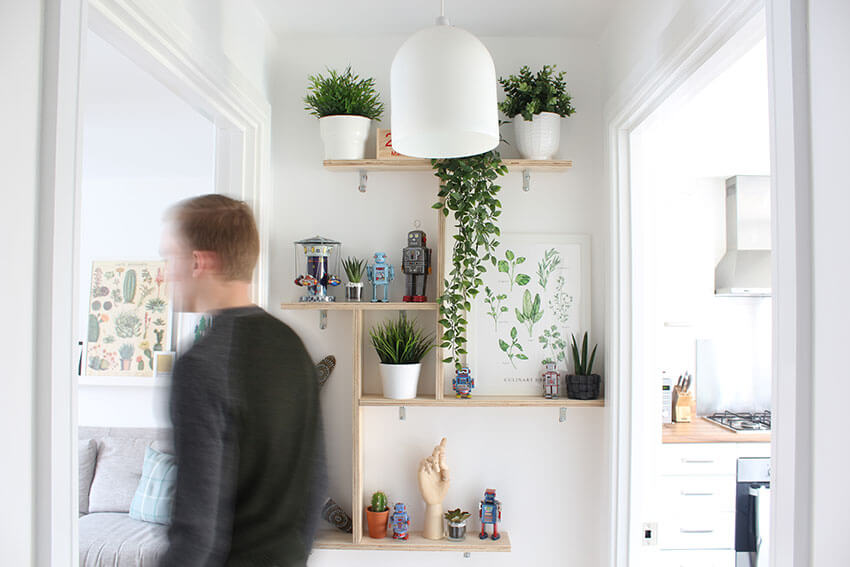
After throwing around some more ideas, we decided to go the DIY route and make some custom plywood shelves to fill the gap. I LOVE how they came out! They’re perfect for the space, and we can easily switch out the things on the shelves to refresh it each season. Winner!
Surprisingly, the hardest part in this project was measuring it all and planning the space. Once that was done, it was just a case of cutting some wood to size – easy peasy! If you fancy doing this yourself, then you can easily adjust the measurements to make it custom to your space. Here’s how…
Update: Since taking these photos, I’ve repainted the wall behind the shelves. It’s now a bright, fresh mint – which looks great against the plywood shelves! Have a look at the mint accent wall here.
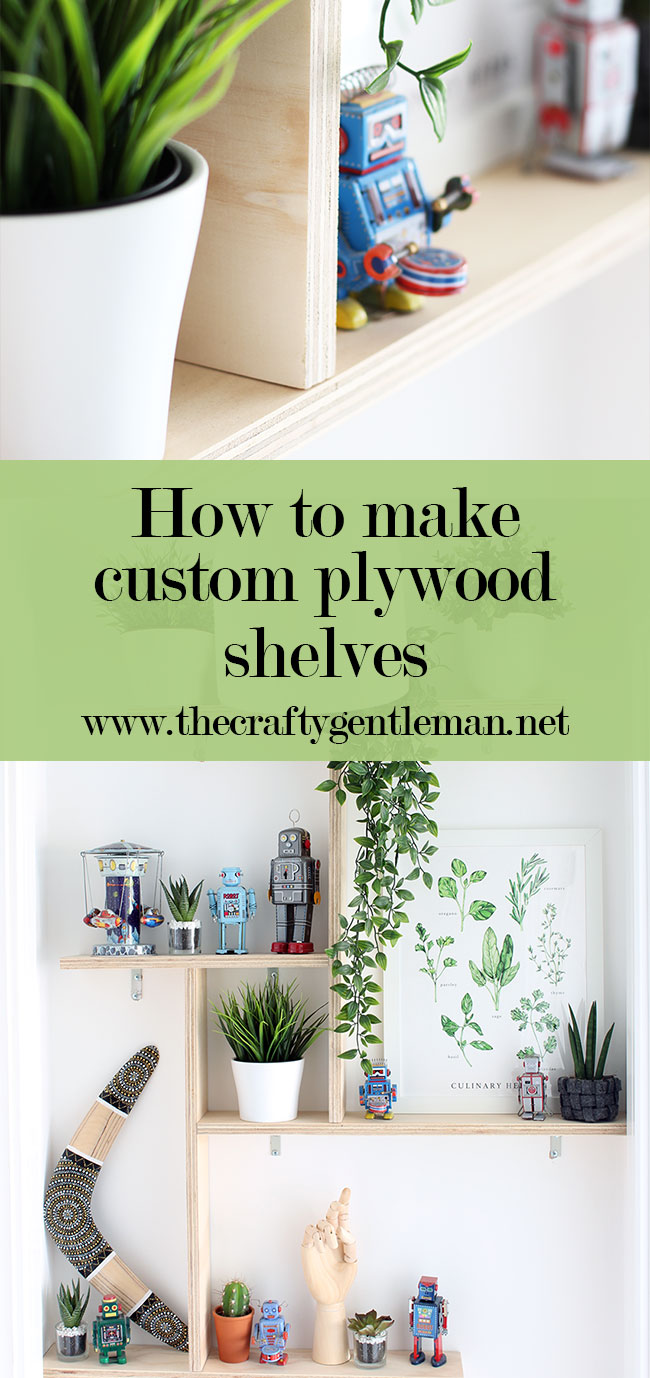
How to make custom plywood shelves
Supplies and tools
- Several lengths of plywood
- Wall brackets and screws
- Wall plugs
- Power drill and bit
- Jigsaw, mitre saw, hacksaw or suitable alternative
- Sandpaper
- Paper and pencil
- Ruler or tape measure
- Masking tape
Tutorial
1. Start off by planning the layout of your shelves. This is probably the most important part, so don’t rush it! There’s lots of ways to do this, but my preferred method is to make a scaled-down sketch. I started off by carefully measuring the space I wanted to fill, then scaled down the measurements (so 10cm in real life equated to 1cm on paper). I then sketched a few different shelf layouts on paper, to see which one looked the best. When I’d found a layout I liked, I used masking tape to mark it out on the wall to make sure it still looked good when scaled back up. Scroll down for a few tips on how to design your custom plywod shelves.
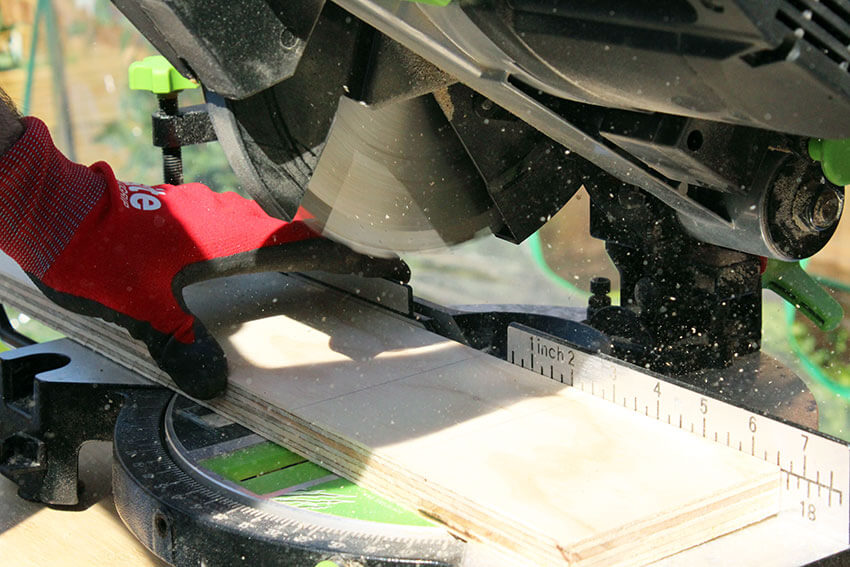
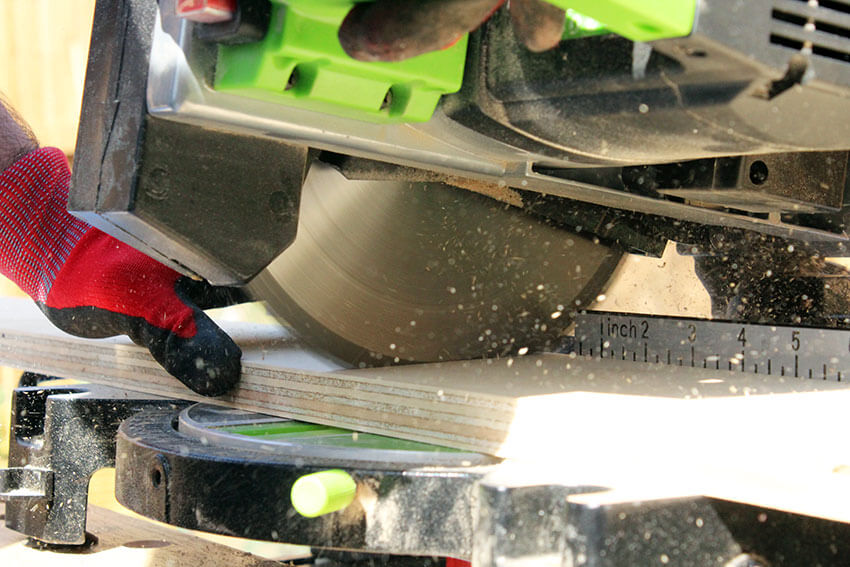
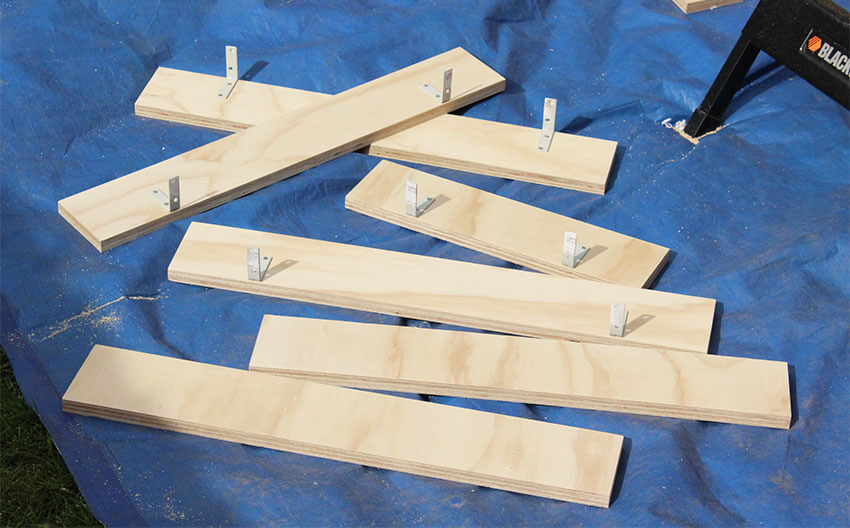
2. Once you’re happy with your plan, write down all of the lengths of wood you will need. Take this list to a DIY shop and have them cut some plywood lengths to these dimensions. (Most big DIY shops will do this for free!). If you can’t get them cut at the shop, you can easily use a jigsaw or alternative to cut them at home. Just buy a few planks of plywood in the depth you want your shelves to be, then cut them to your required lengths.
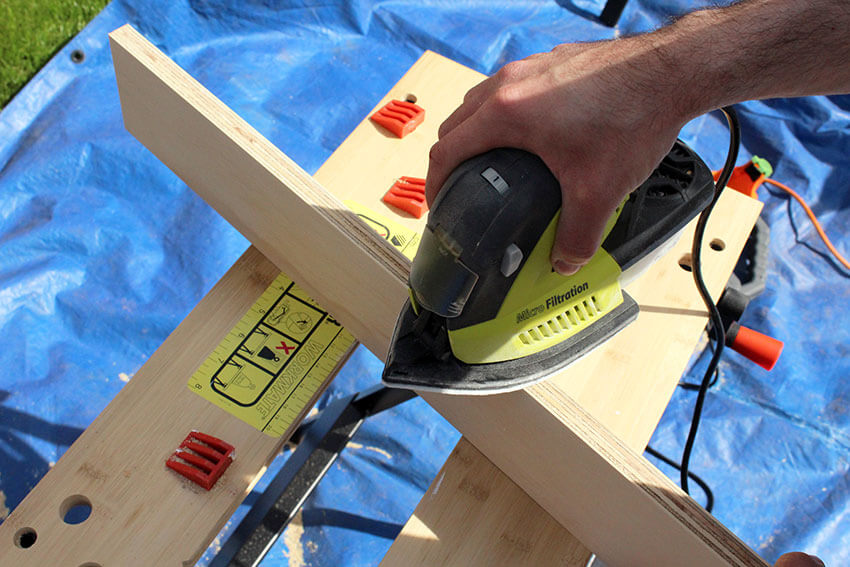
3. With the plywood shelves cut to size, you’ll now need to smooth the edges with sandpaper. Start off with a rough grain sandpaper, then slowly work down to a fine grit. Focus on getting the edges as smooth and splinter-free as possible.
4. Time to add the brackets! It’s easiest to mark the bracket positions on the wall first, then translate the measurements of their positions to the corresponding piece of wood. Using masking tape to mark out the shelf positions is a really easy way to do this. If in doubt, add more than you think you’ll need! Too many brackets is better than a collapsed shelf… Note: vertical sections of wood (like in my shelf layout) do not need brackets; they can just be slotted in to place.
5. Once you’ve marked the bracket positions onto the wood and the wall, it’s time to add wall plugs. Wall plugs will mean you can put much heavier things onto the shelves, without risk of it collapsing. Simply follow the instructions on the wall plug packaging to make sure you install them correctly. And don’t be put off by them – they’re a lot easier to install than you might think!
6. With the wall plugs added, all that’s left is to screw the brackets to the wall and then add the shelves. Then step back and admire your handiwork. 😉

Tips for designing your custom plywood shelves
- Balance the practical with the aesthetic. In other words, your shelves need to look good, whilst also providing enough space to store all the things you want to put on them!
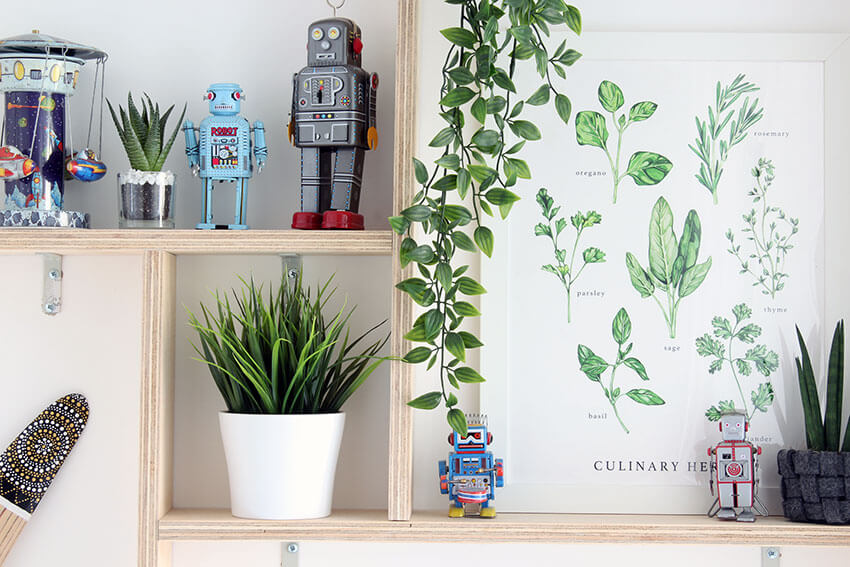
- Don’t limit yourself only to horizontal shelves! Sure, you obviously can’t put things on a vertical shelf, but they add visual impact and can help tie the whole layout together.
- Less is more! Remember that your shelves will eventually be covered in stuff, so don’t pack them too closely or plan on putting too many up.
- Don’t forget to consider where the brackets will go. The brackets will stick out a little from underneath the shelves, so make sure you leave enough room.
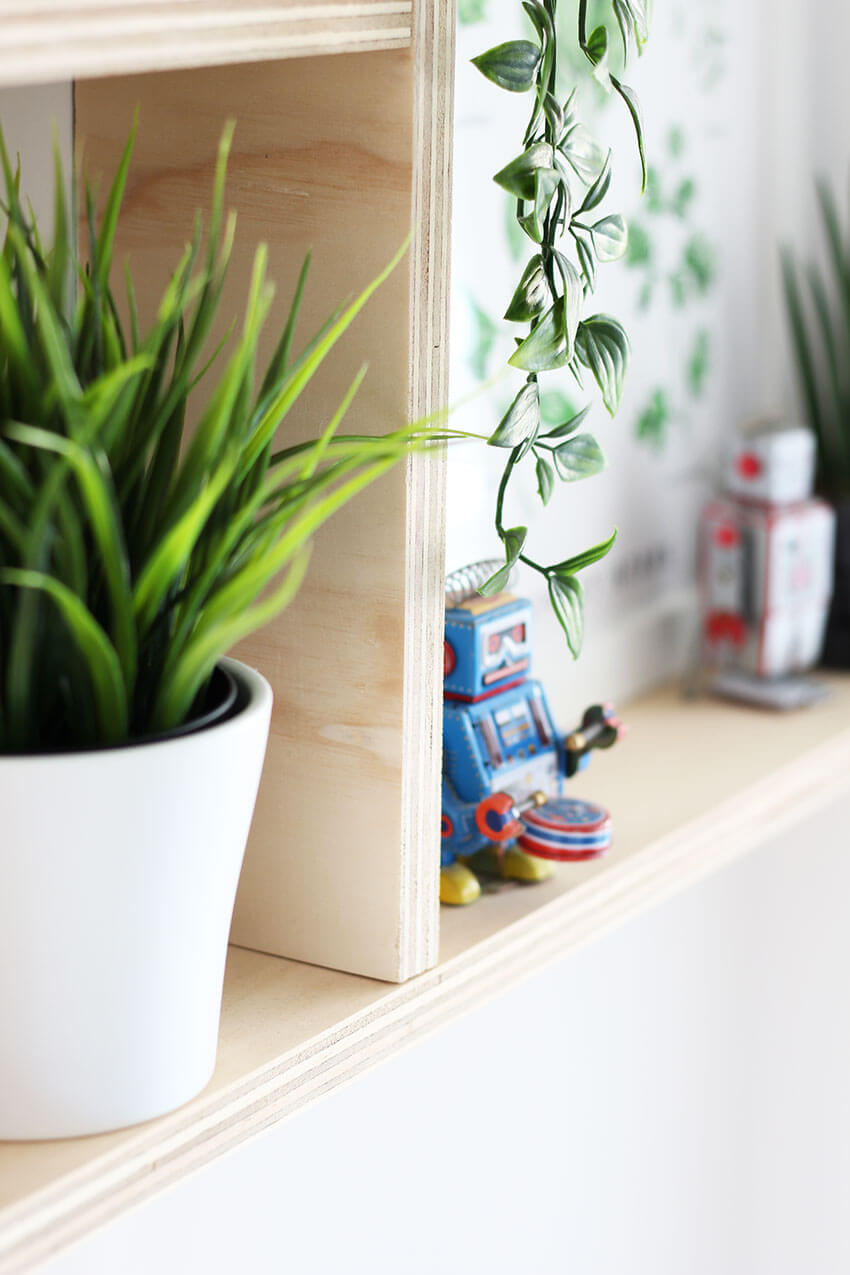
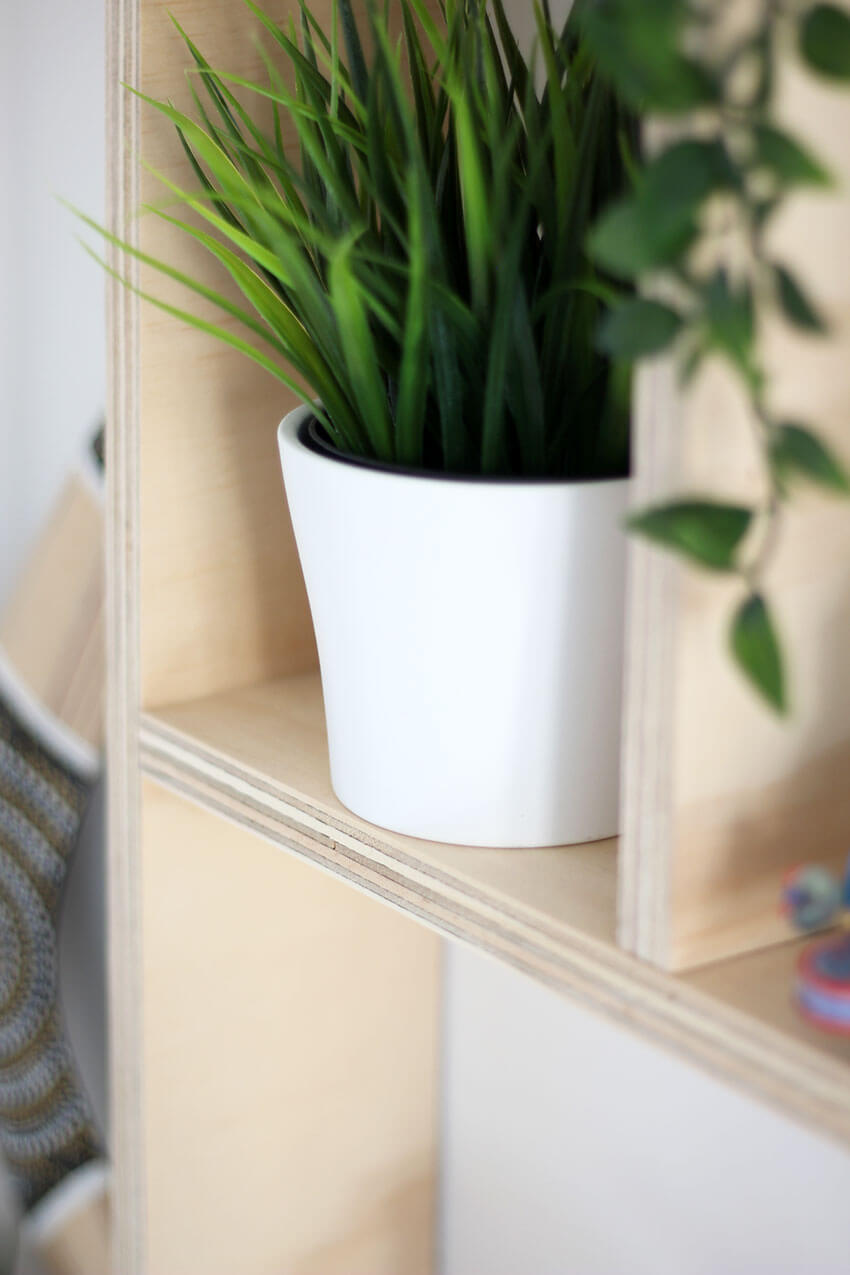
How easy was that?! In total, it took just one afternoon to plan and make these custom plywood shelves. We’ve intentionally left the wood raw and unfinished (channeling that hipster coffee shop vibe!), but of course you could easily varnish or paint them.
If you’ve got any awkward spaces in your home, I hope this helps you fill them! Happy DIY-ing. 🙂 – Mike.
Please consider sharing the below image on Pinterest to help spread the word!


15 Comments
Abbie
April 14, 2020 at 7:06 pmHi Mike,
This looks beautiful. I definitely want to give it a go. As such what thickness of plywood did you use? Also it looks lovely and light in colour, a lot of ply wood has darker colour banding, did you use a specific grade/ make?
Thanks, Abbie
Mike
April 16, 2020 at 9:47 amHi Abbie. Thank you so much – I’m glad you like the shelves! The wood is a 180mm thick plywood. It was just what my local DIY shop had available, so I’m not sure on the specific grade or make I’m afraid – although I think it is possible to bleach plywood to lighten it, if you can’t manage to find a pale one. I hope this helps!
Mike
January 21, 2022 at 2:08 pm180mm thick – that’s 18cm! Do you mean 18mm?
Mike
February 10, 2022 at 3:28 pmAh, good spot! I definitely meant 18mm, that was a typo – thanks for pointing it out!
Lloyd Jones
July 2, 2019 at 12:22 pmYou are an artist Mike! I’ll create my something like this to save more space.
Swindon Handyman
Mike
July 2, 2019 at 1:56 pmThanks so much! Glad you like it. 🙂 – Mike
Terry
June 5, 2018 at 10:41 amWhat happened to the walls? Looks like you damaged the paint and plaster around the screws. To avoid this you should tap the plug below the surface, preferably well into or beyond the plaster to get a strong fixing.
Mike
June 6, 2018 at 4:59 pmWell spotted! Yep, the plaster on the very surface was damaged a little. I’m planning on painting over it (it’s just minor surface damage, nothing too drastic, so it doesn’t need filling in or anything). But thanks for the tip – I’ll definitely remember that for next time! – Mike.
Alison North
May 22, 2018 at 7:02 amIt’s a waste of money to buy expensive showpieces for shelving I am really thankful to you for sharing such a helpful article.
Sean Mahan
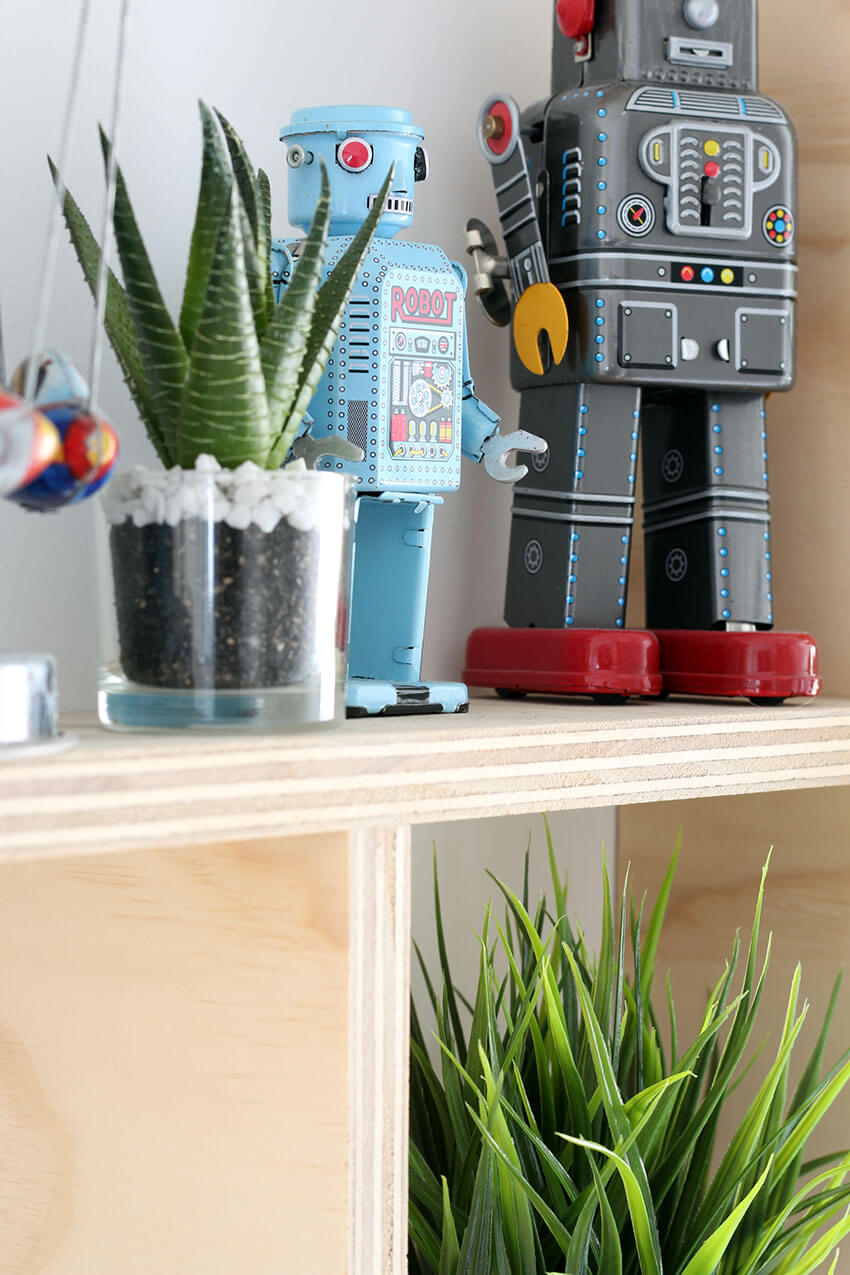
April 12, 2018 at 7:24 pmNot only do I love the shelves, but also the plants! The whole place looks amazing, really.
Mike
April 13, 2018 at 3:04 pmThank you so much! They’re mostly all faux plants, believe it or not – it’s amazing what a nice pot and a bit of styling will do! So glad you like it 🙂 – Mike.
Inessa
April 6, 2018 at 1:18 pmThis is so great! I’ve been looking for an inexpensive yet nice looking option for shelving. I’m definitely going to try this. Thanks for the inspiration!
Mike
April 11, 2018 at 10:13 amAwesome, so glad you like it! Hope you enjoy making your own 🙂 – Mike
MAVİ
April 5, 2018 at 6:59 amvery good job, you are inspired
Mike
April 5, 2018 at 10:38 amThank you so much! 🙂 – Mike.