
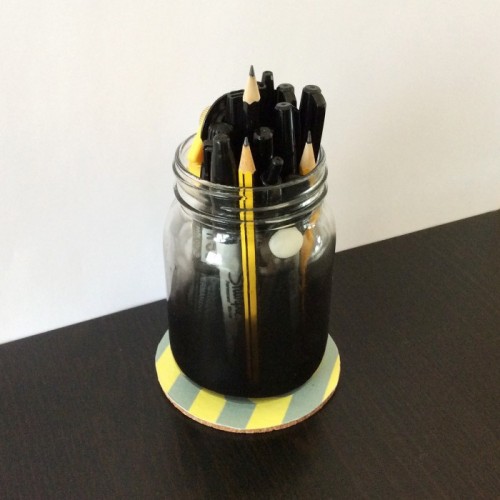
 Over the years, I seem to have amassed a pretty sizeable collection of Mason jars, Kilner jars and a whole assortment of other quirky glassware. I’m not entirely sure where it’s all come from… but I’m not complaining, glass jars are SO USEFUL. I’ll admit, I do tend to use them mostly for storing dry goods in the kitchen, like pasta or rice – boring I know, especially when you look at the multitude of things you can do with them (i.e. when you type “DIY Mason jar” into Pinterest).
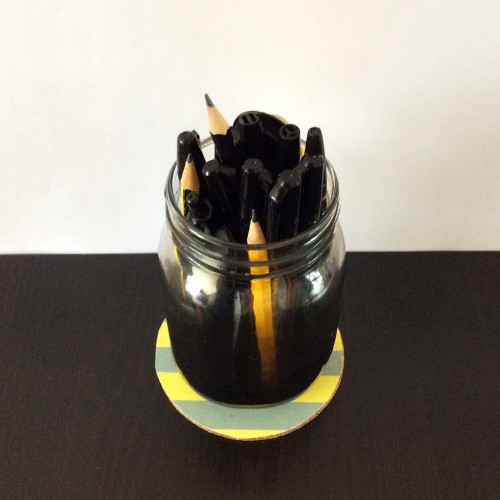
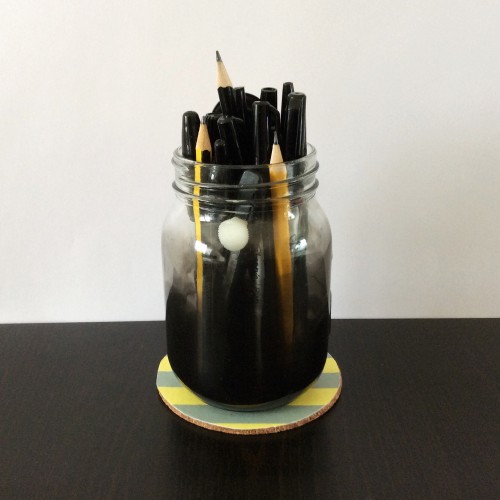
One of the Mason Jar DIYs that’s caught my eye, is staining the glass to make them different colours. There are looooooads of tutorials for this, but I wanted to try something a little different – I wanted to add a gradient tint, rather than a full stain. With a bit of experimenting, I managed to stain my Mason jar black at the base, with a gradual blend into transparent grey, which faded to clear glass at the top. (It would work with any colour, or even a combination of colours!). It’s so effective, yet so easy to do!
What you’ll need
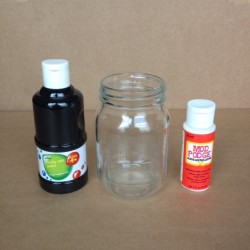
- A jar (eg. a Kilner jar, Mason jar or even just a jam jar)
- Gloss Mod Podge
- Acrylic paint
- Water
- An oven
What to do
1. Give your jar a good clean to remove dust and grease, then leave it to dry.
2. Add 2 tsp of Gloss Mod Podge and 1 tsp of acrylic paint to the bottom of the jar, followed by 1 tsp of water.
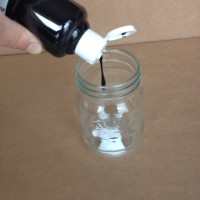
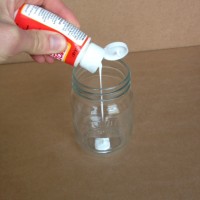
3. Swirl the liquids together in the jar (they don’t have to be completely mixed together, but it helps). Tilt the jar to coat the sides – aim to coat about three quarters of the glass.
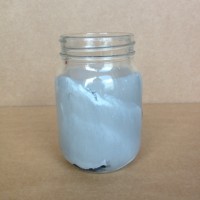
4. Put the Mason jar into a cold oven, then set the temperature to low and leave it to warm up. DO NOT put the jar directly into a hot oven, as the thermal shock may damage the glass.
5. Every 10 minutes, take the jar from the oven and swirl the Mod Podge mixture around the sides again – but each time you do this, don’t swirl the mixture quite as high up the glass. You’ll notice it getting a lot thicker as it starts to dry.
6. When the liquid has almost dried completely, you might need to add a little more paint to ensure the base is dark enough.
7. Wait until the liquid has completely dried, then remove from the oven and leave the jar to cool.
8. Depending on how the jar has turned out, you can repeat the process again to add more depth of colour (or a second colour) to the jar.
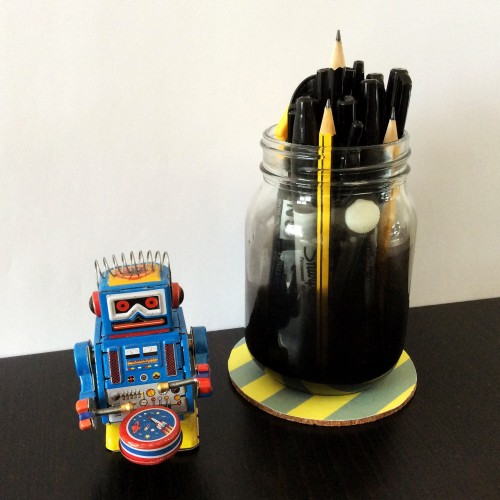
Once the paint has completely dried, you should have a fairly even gradient of colour. Looks good, hey?! I’m using my newly stained Mason jar as stationery storage – I love how the semi-opaque stain covers most of the pens and pencils, so it looks professional rather than messy. This would also make a great tea-light holder; just place a battery powered tea light inside and you’ll see all the different layers of colour shining through. Great effect!
(by the way – to see the DIY for the yellow and grey coaster that’s in the photos, click here!)
If you like this, I think you’ll also like:
Candle in a Mason Jar


3 Comments
Patricia
January 8, 2025 at 3:48 amI decided to experiment a little bit so I added one teaspoon of acrylic paint and 30 drops of blue food coloring along with the two teaspoon of gloss modge podge mixed it in a plastic cup until well mixed, swished half the mixture to start with in the jar and when couldn’t get that to spread any further I added rest of mixture and continue to swirl it around then layed upside down on scrap paper and aluminum foil to drain excess color out now just waiting to see what happens if it’s possible when I’m finished I’ll comment back and let you know how turned out and thanks for the tips
Anonymous
December 2, 2019 at 12:39 pmThis is a nice project. Now I know what I can do with my Jars.
Mike
December 4, 2019 at 12:54 pmThank you!